 Since I last posted, my husband got me a new journaling Bible as an early birthday present so that I could finally have a wide-margin Bible in which to do my art and journaling. I got the ESV double-column black hardcover journaling Bible from Amazon. I was also able to pick up some Pentel Aquash water brushes and a date stamp, and I also received a new watercolor set (36 color Artist Loft from Michaels), some alphabet stamps, and other goodies in a Valentine’s Day happy mail swap in which I participated.
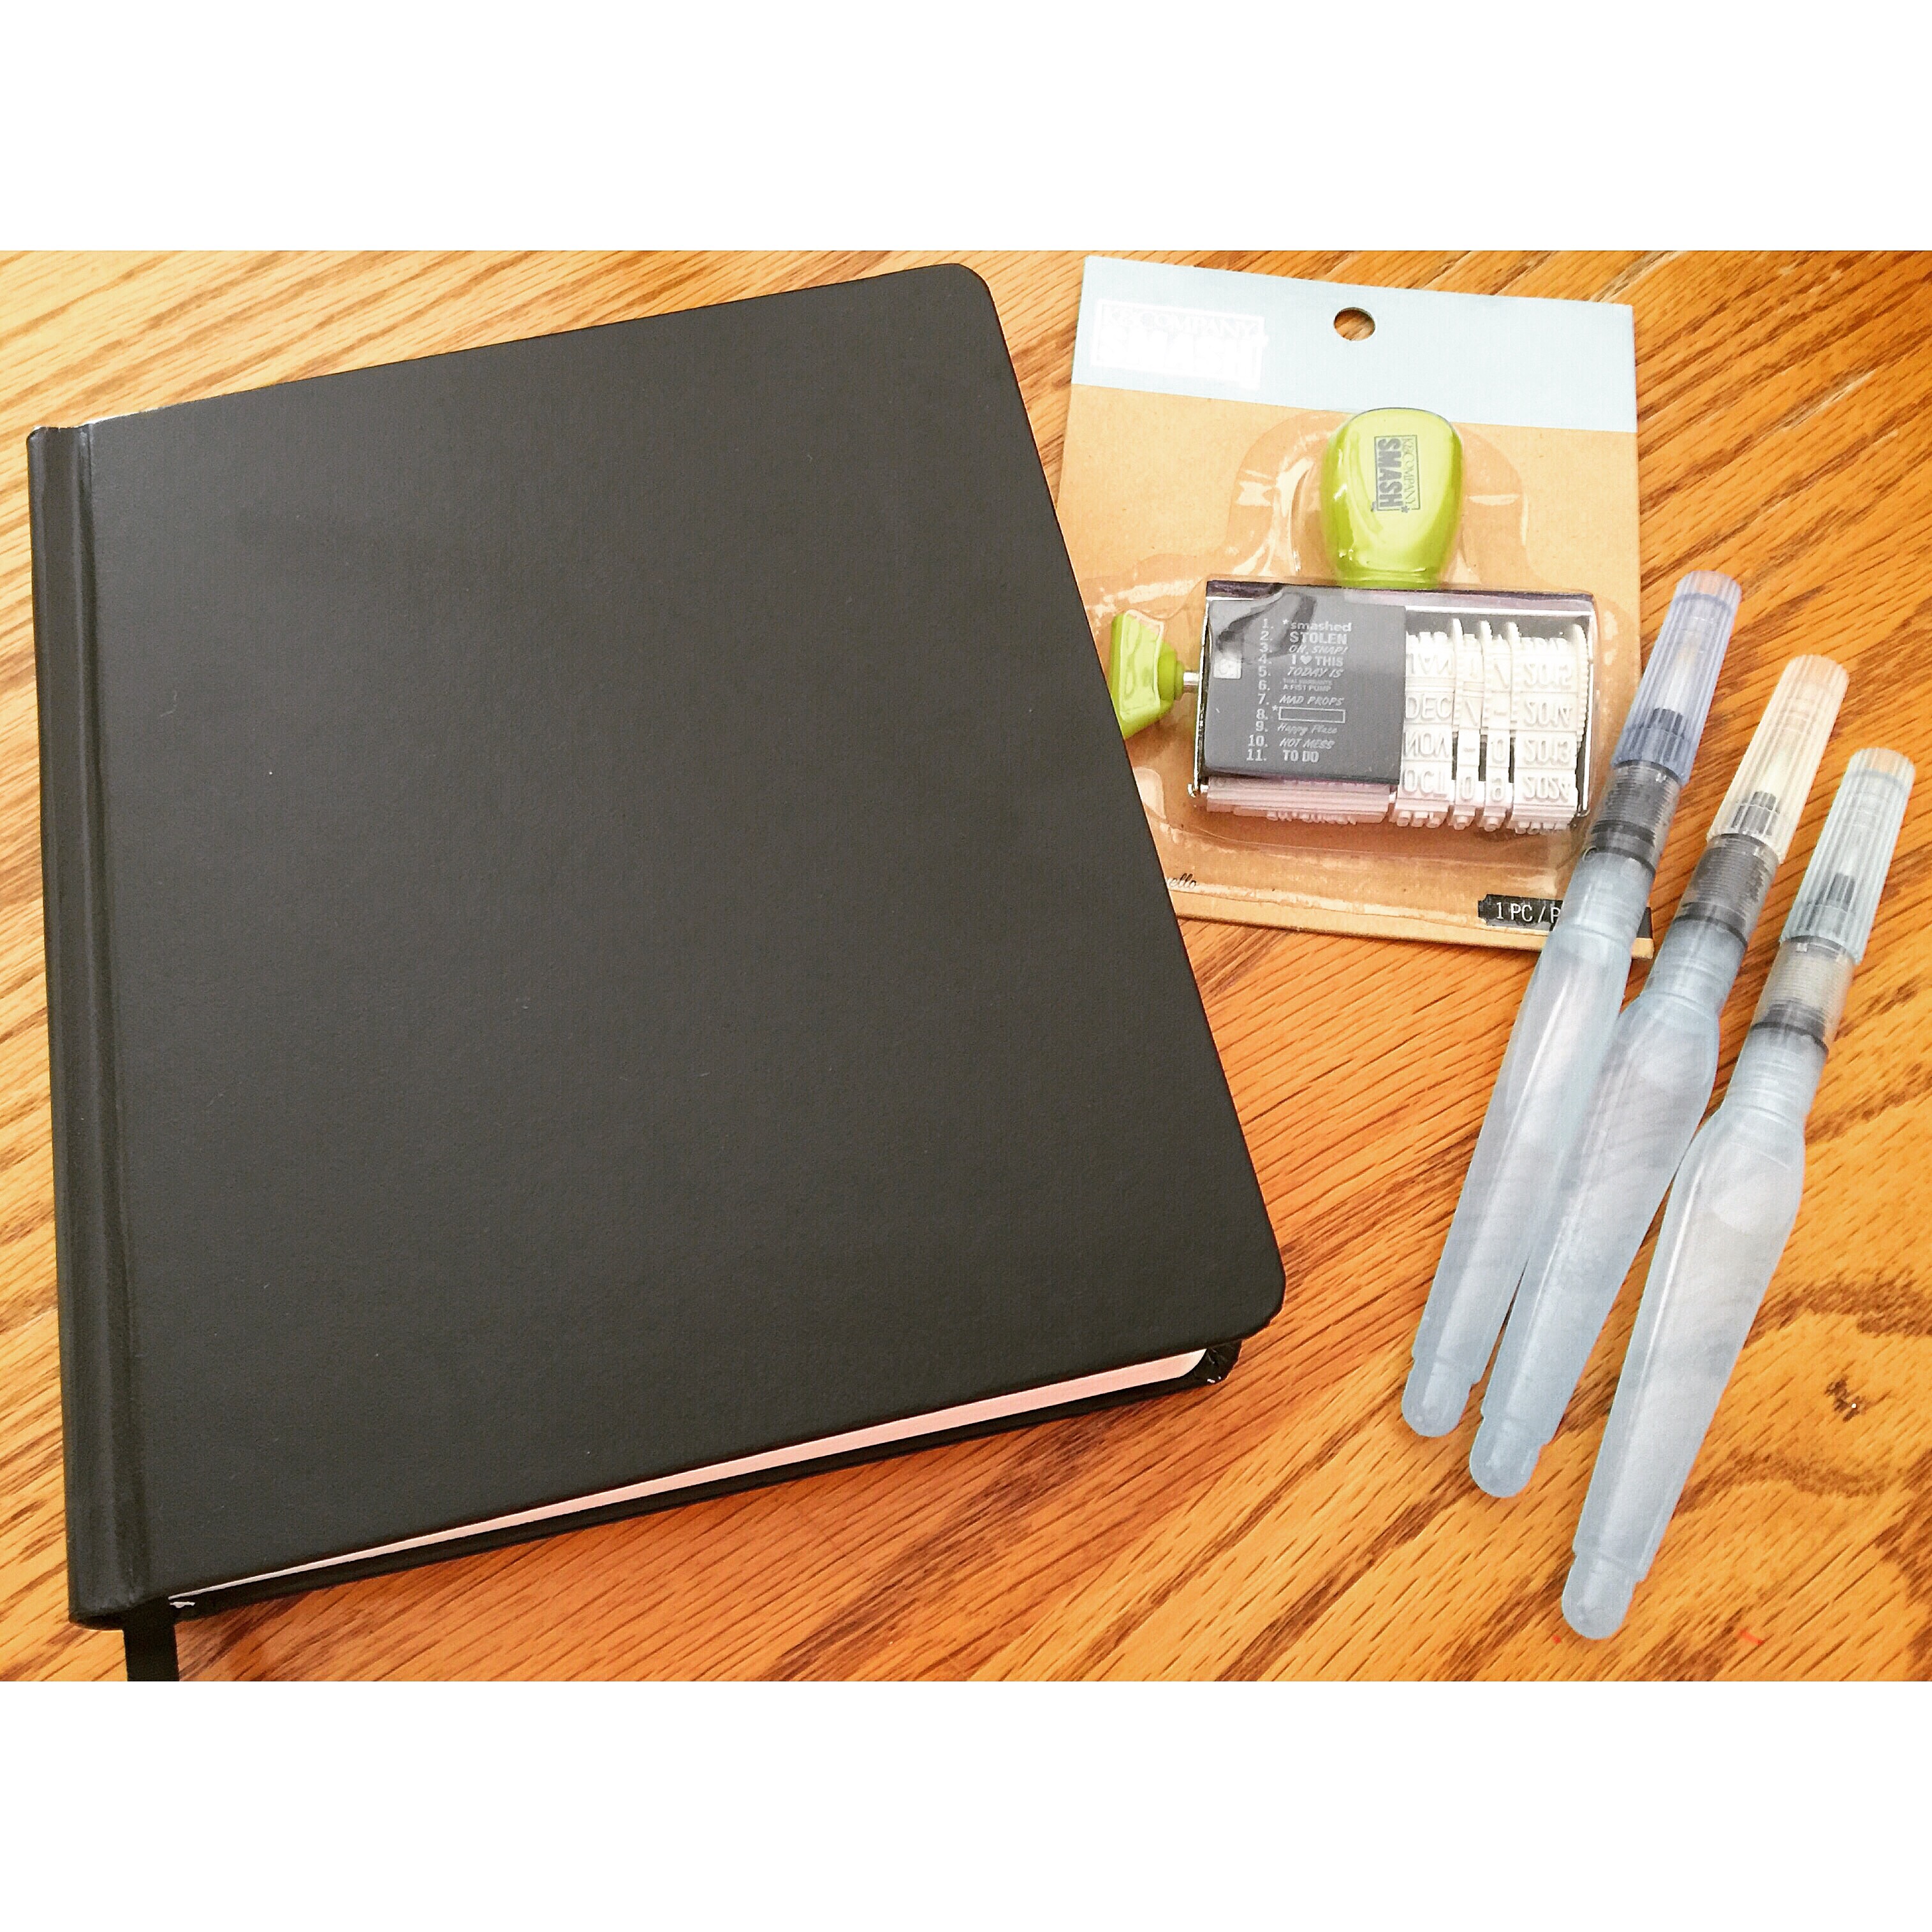 When I got my new Bible, I decided that I wanted to journal through it by doing one entry per book of the Bible each day. For Part 1, I will post my pages in Genesis through Ruth and briefly explain my process per page.
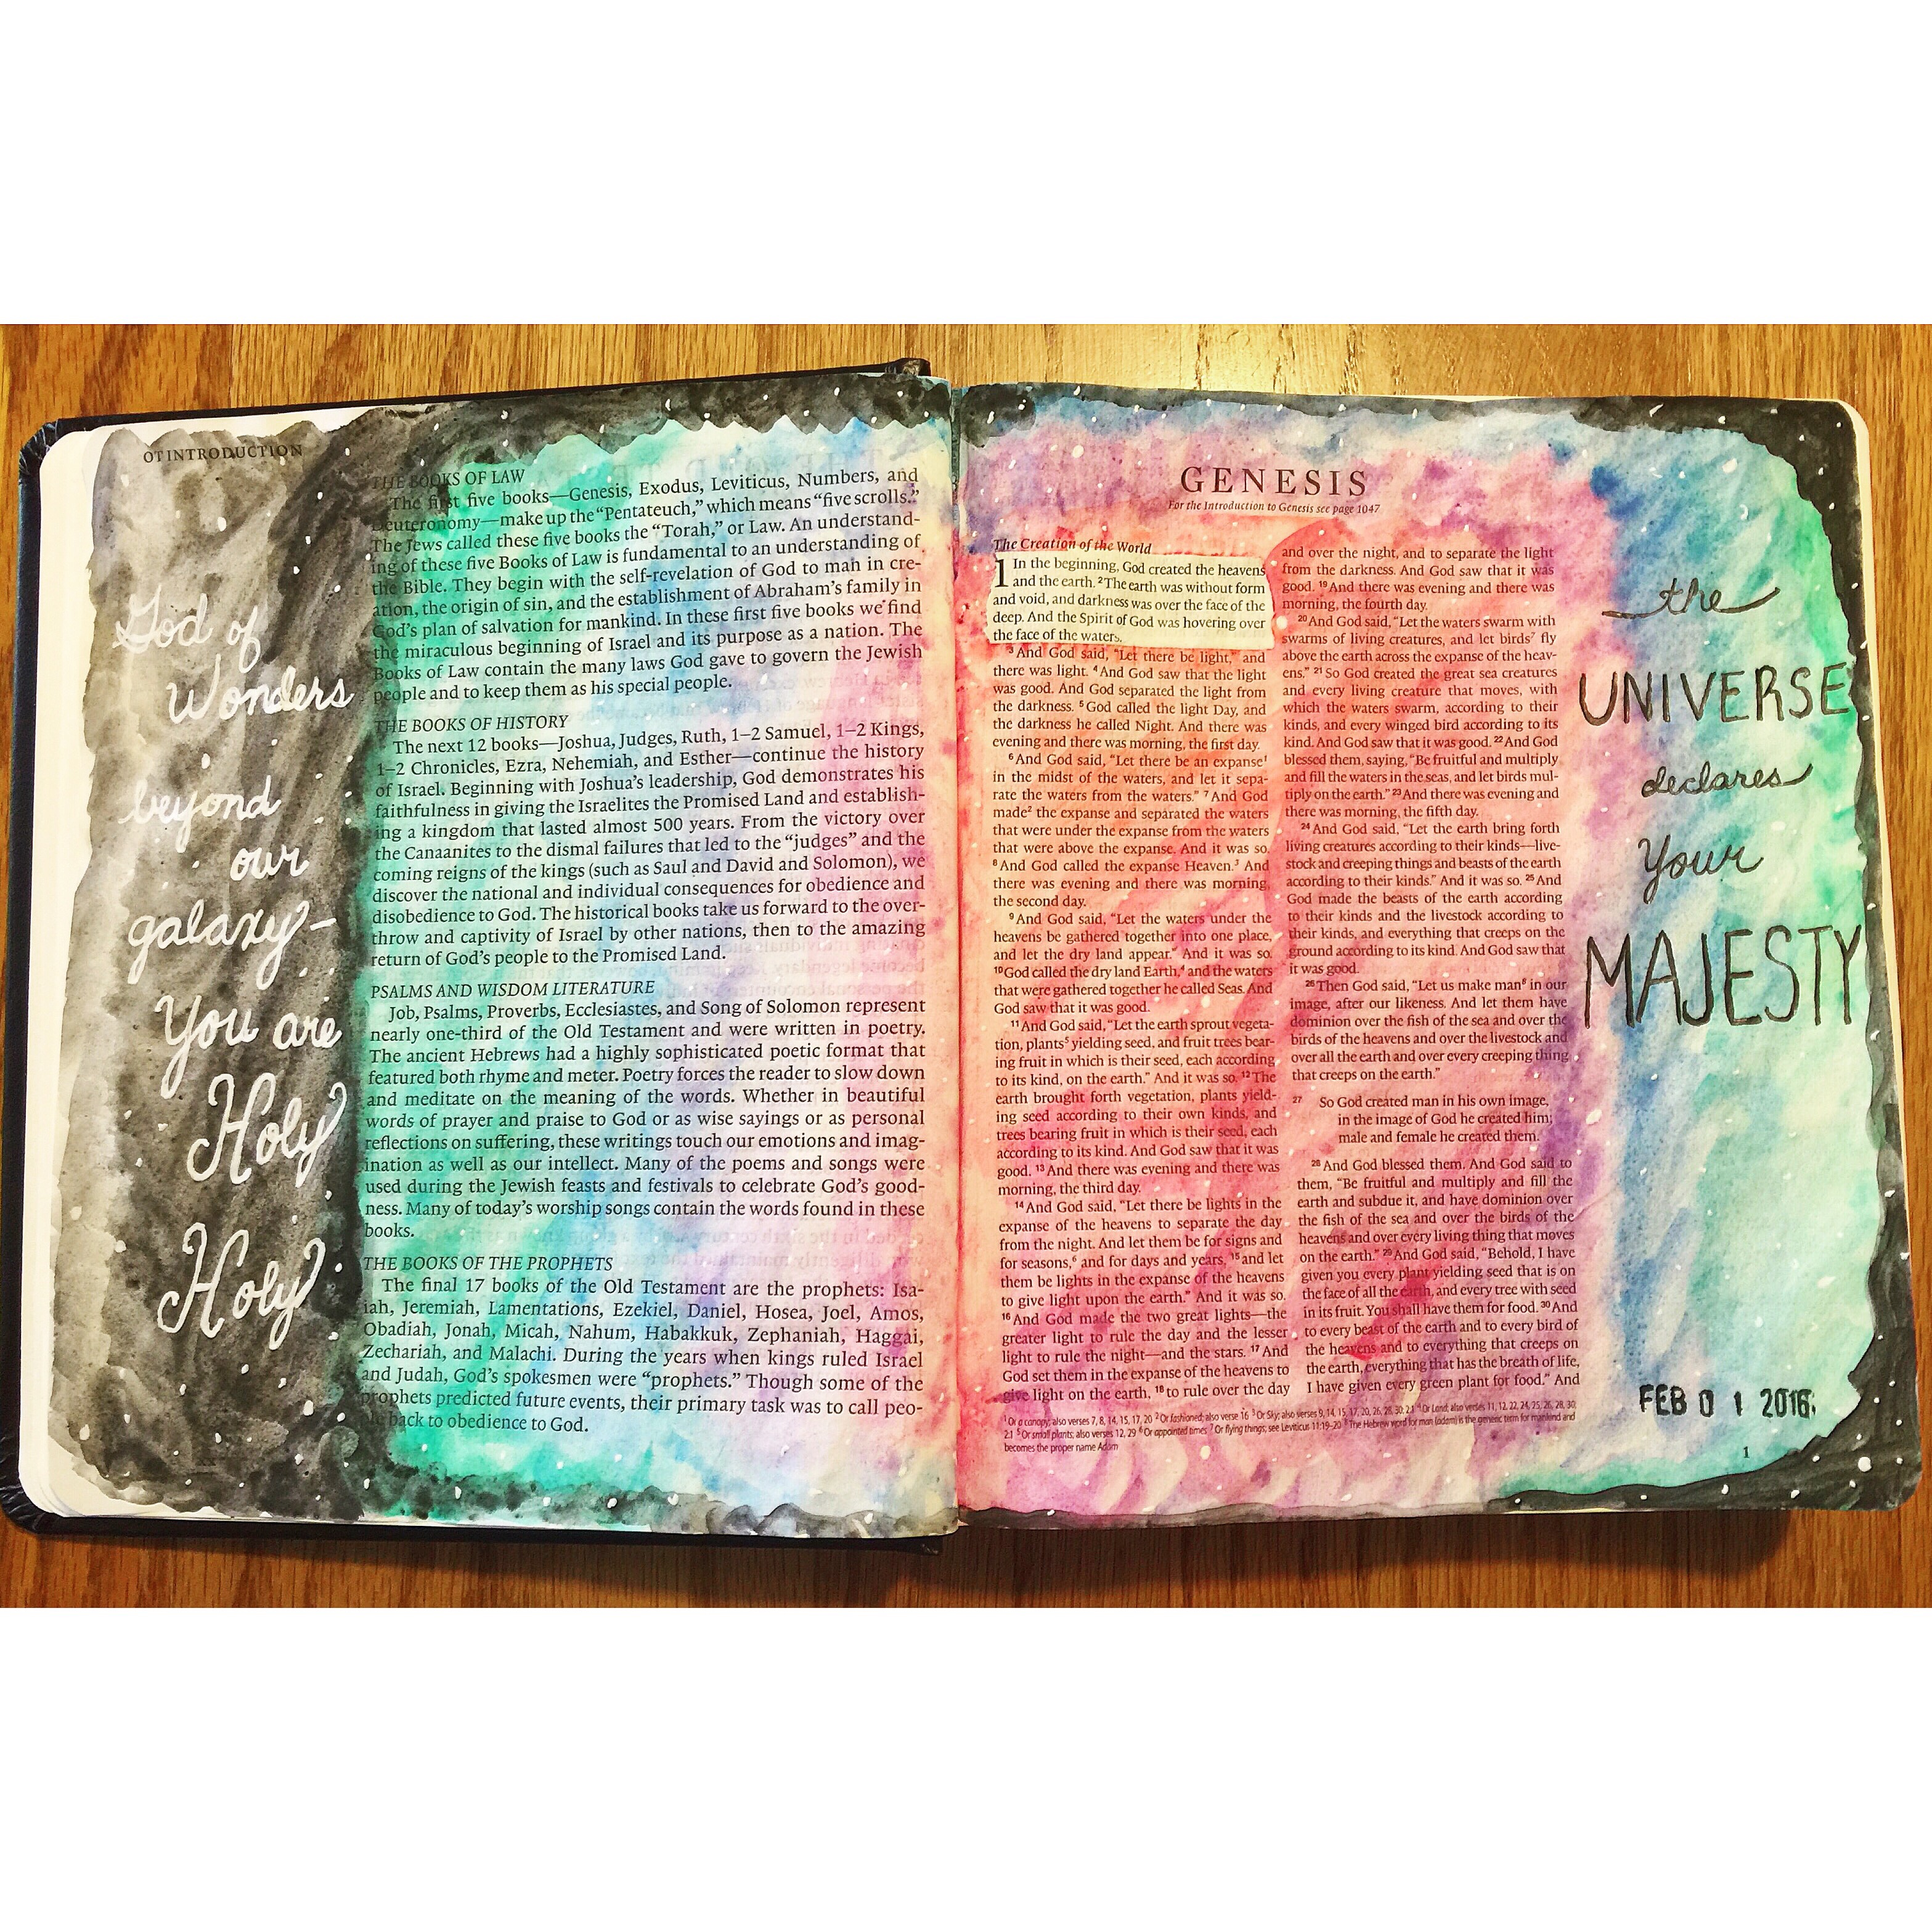
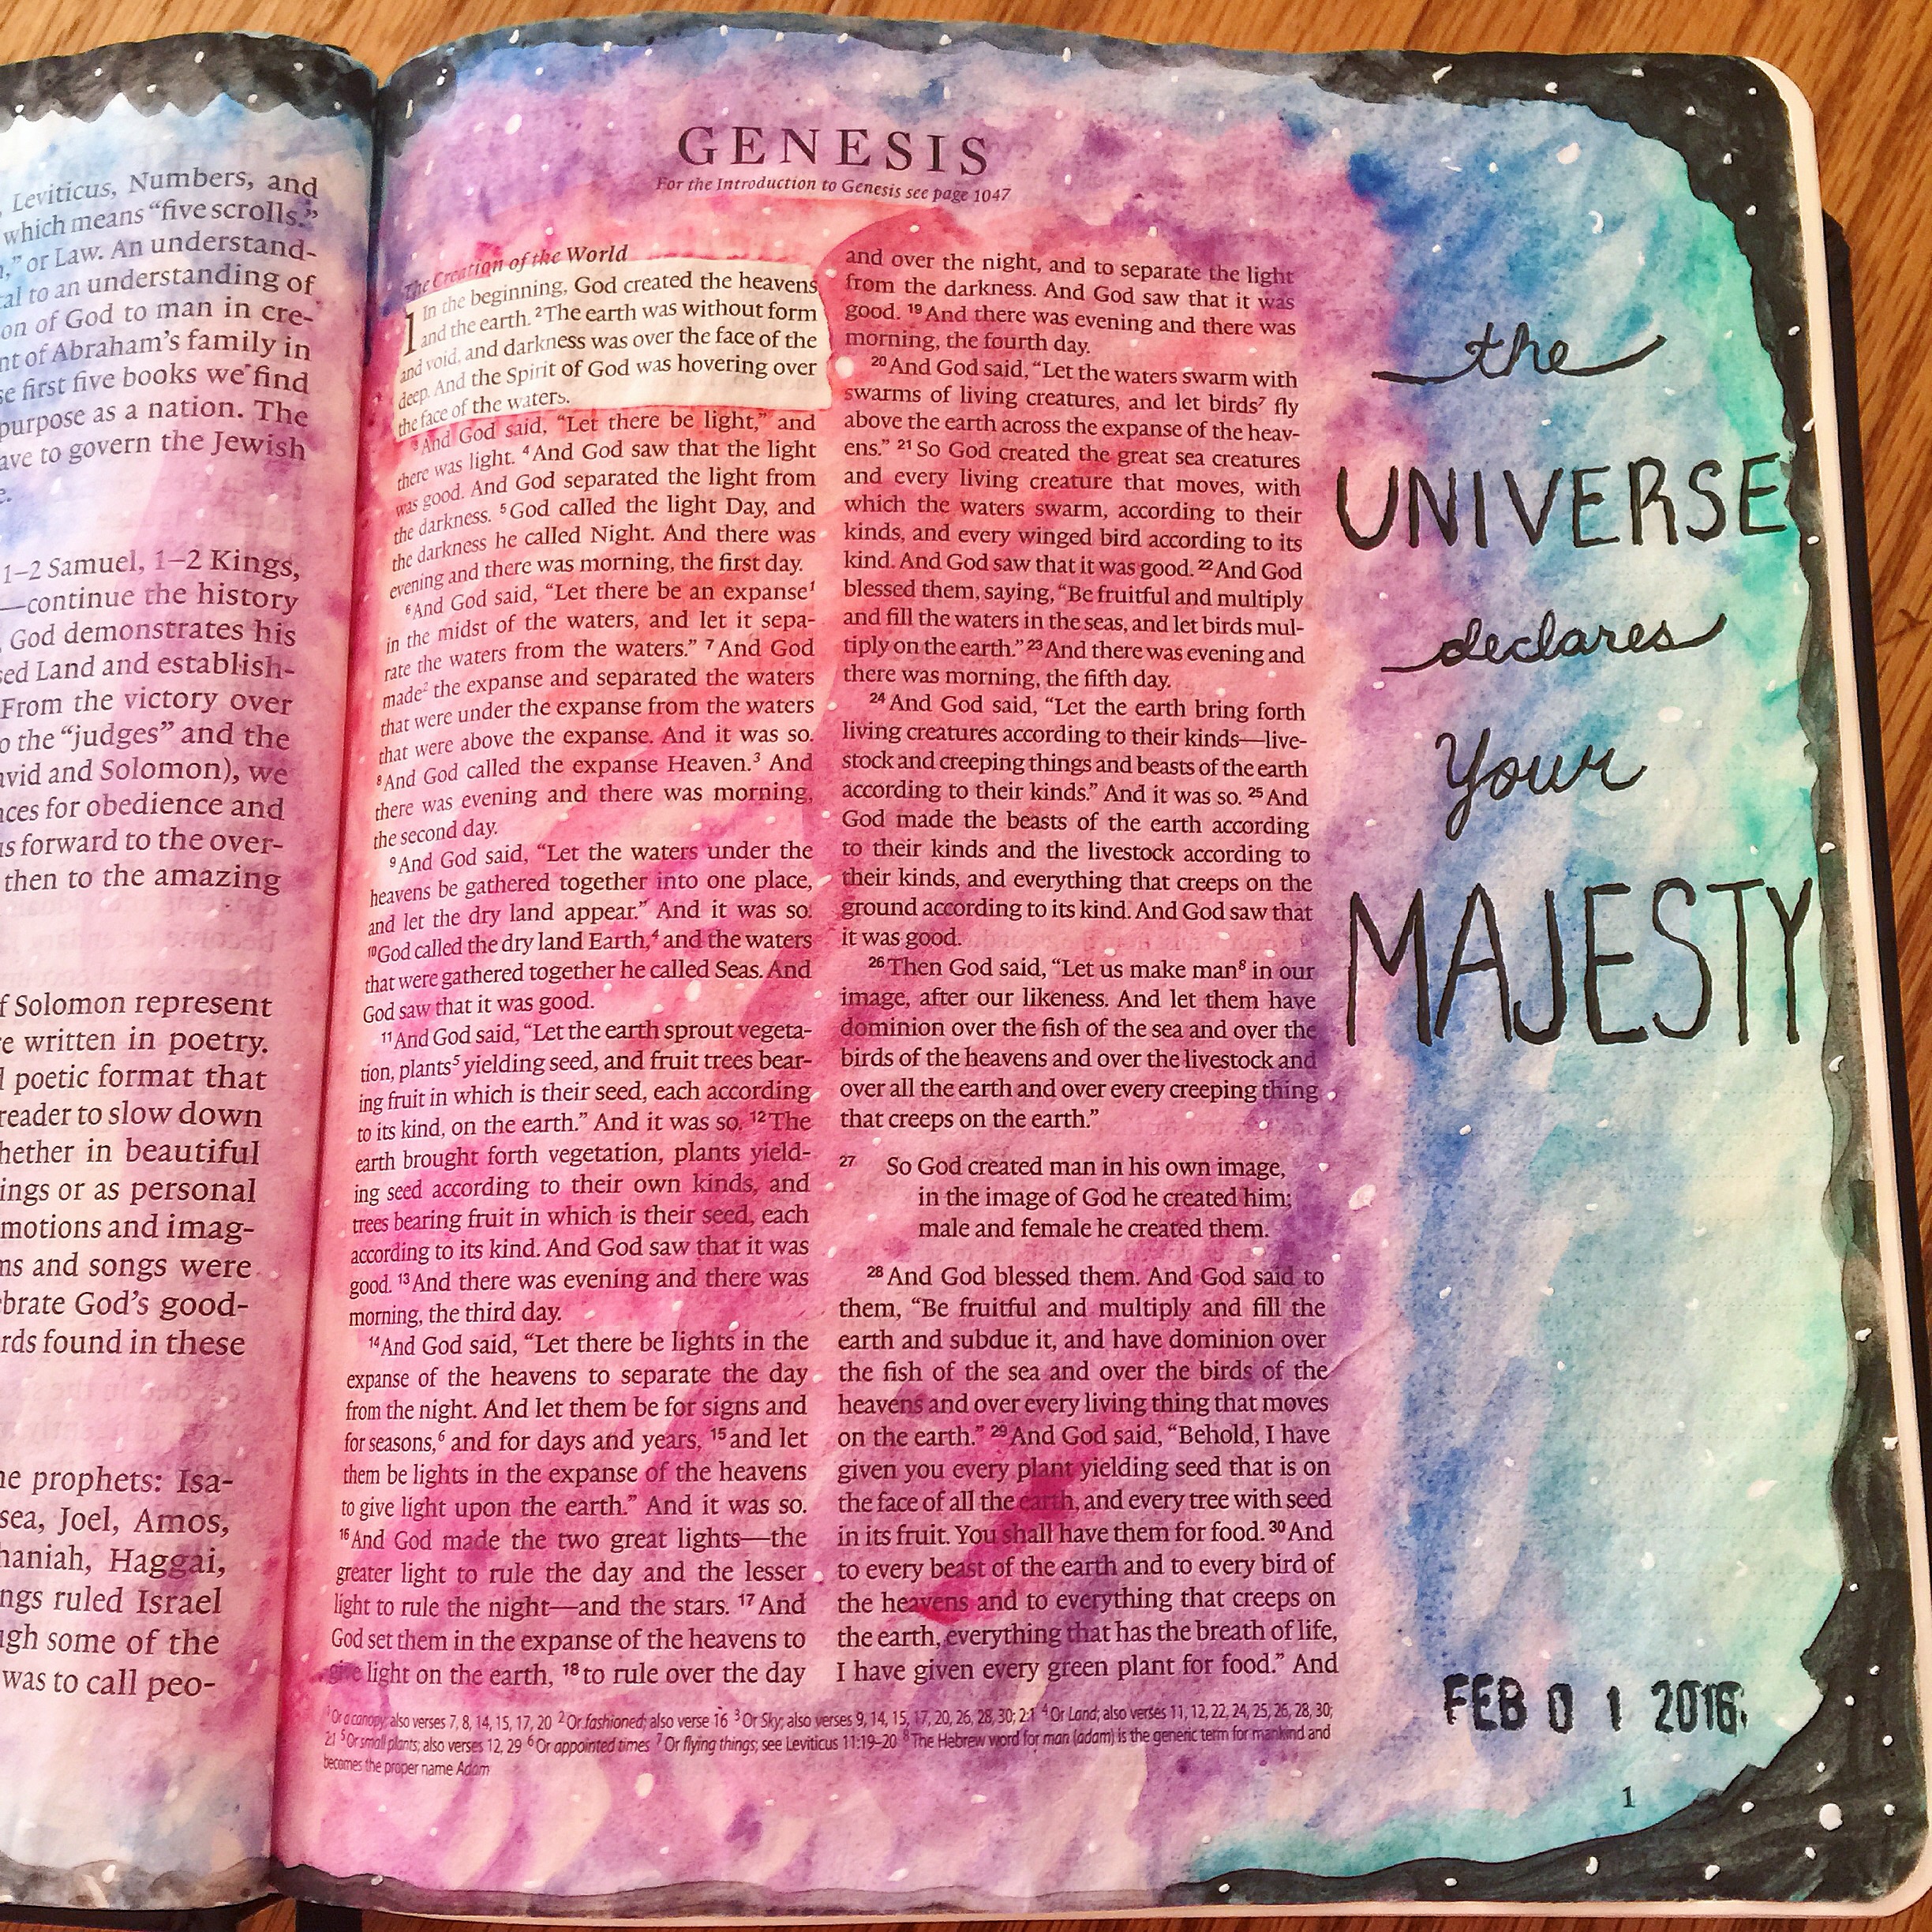 Genesis: I wanted to do a galaxy page in my new Bible for the beginning of Genesis. As I was using my new waterbrushes to add the color to the page, these song lyrics were going through my head: “God of wonders beyond our galaxy, You are holy, holy. The universe declares Your majesty, You are holy, holy. Lord of heaven and earth.” I decided to use some of these lyrics and write them on the page.
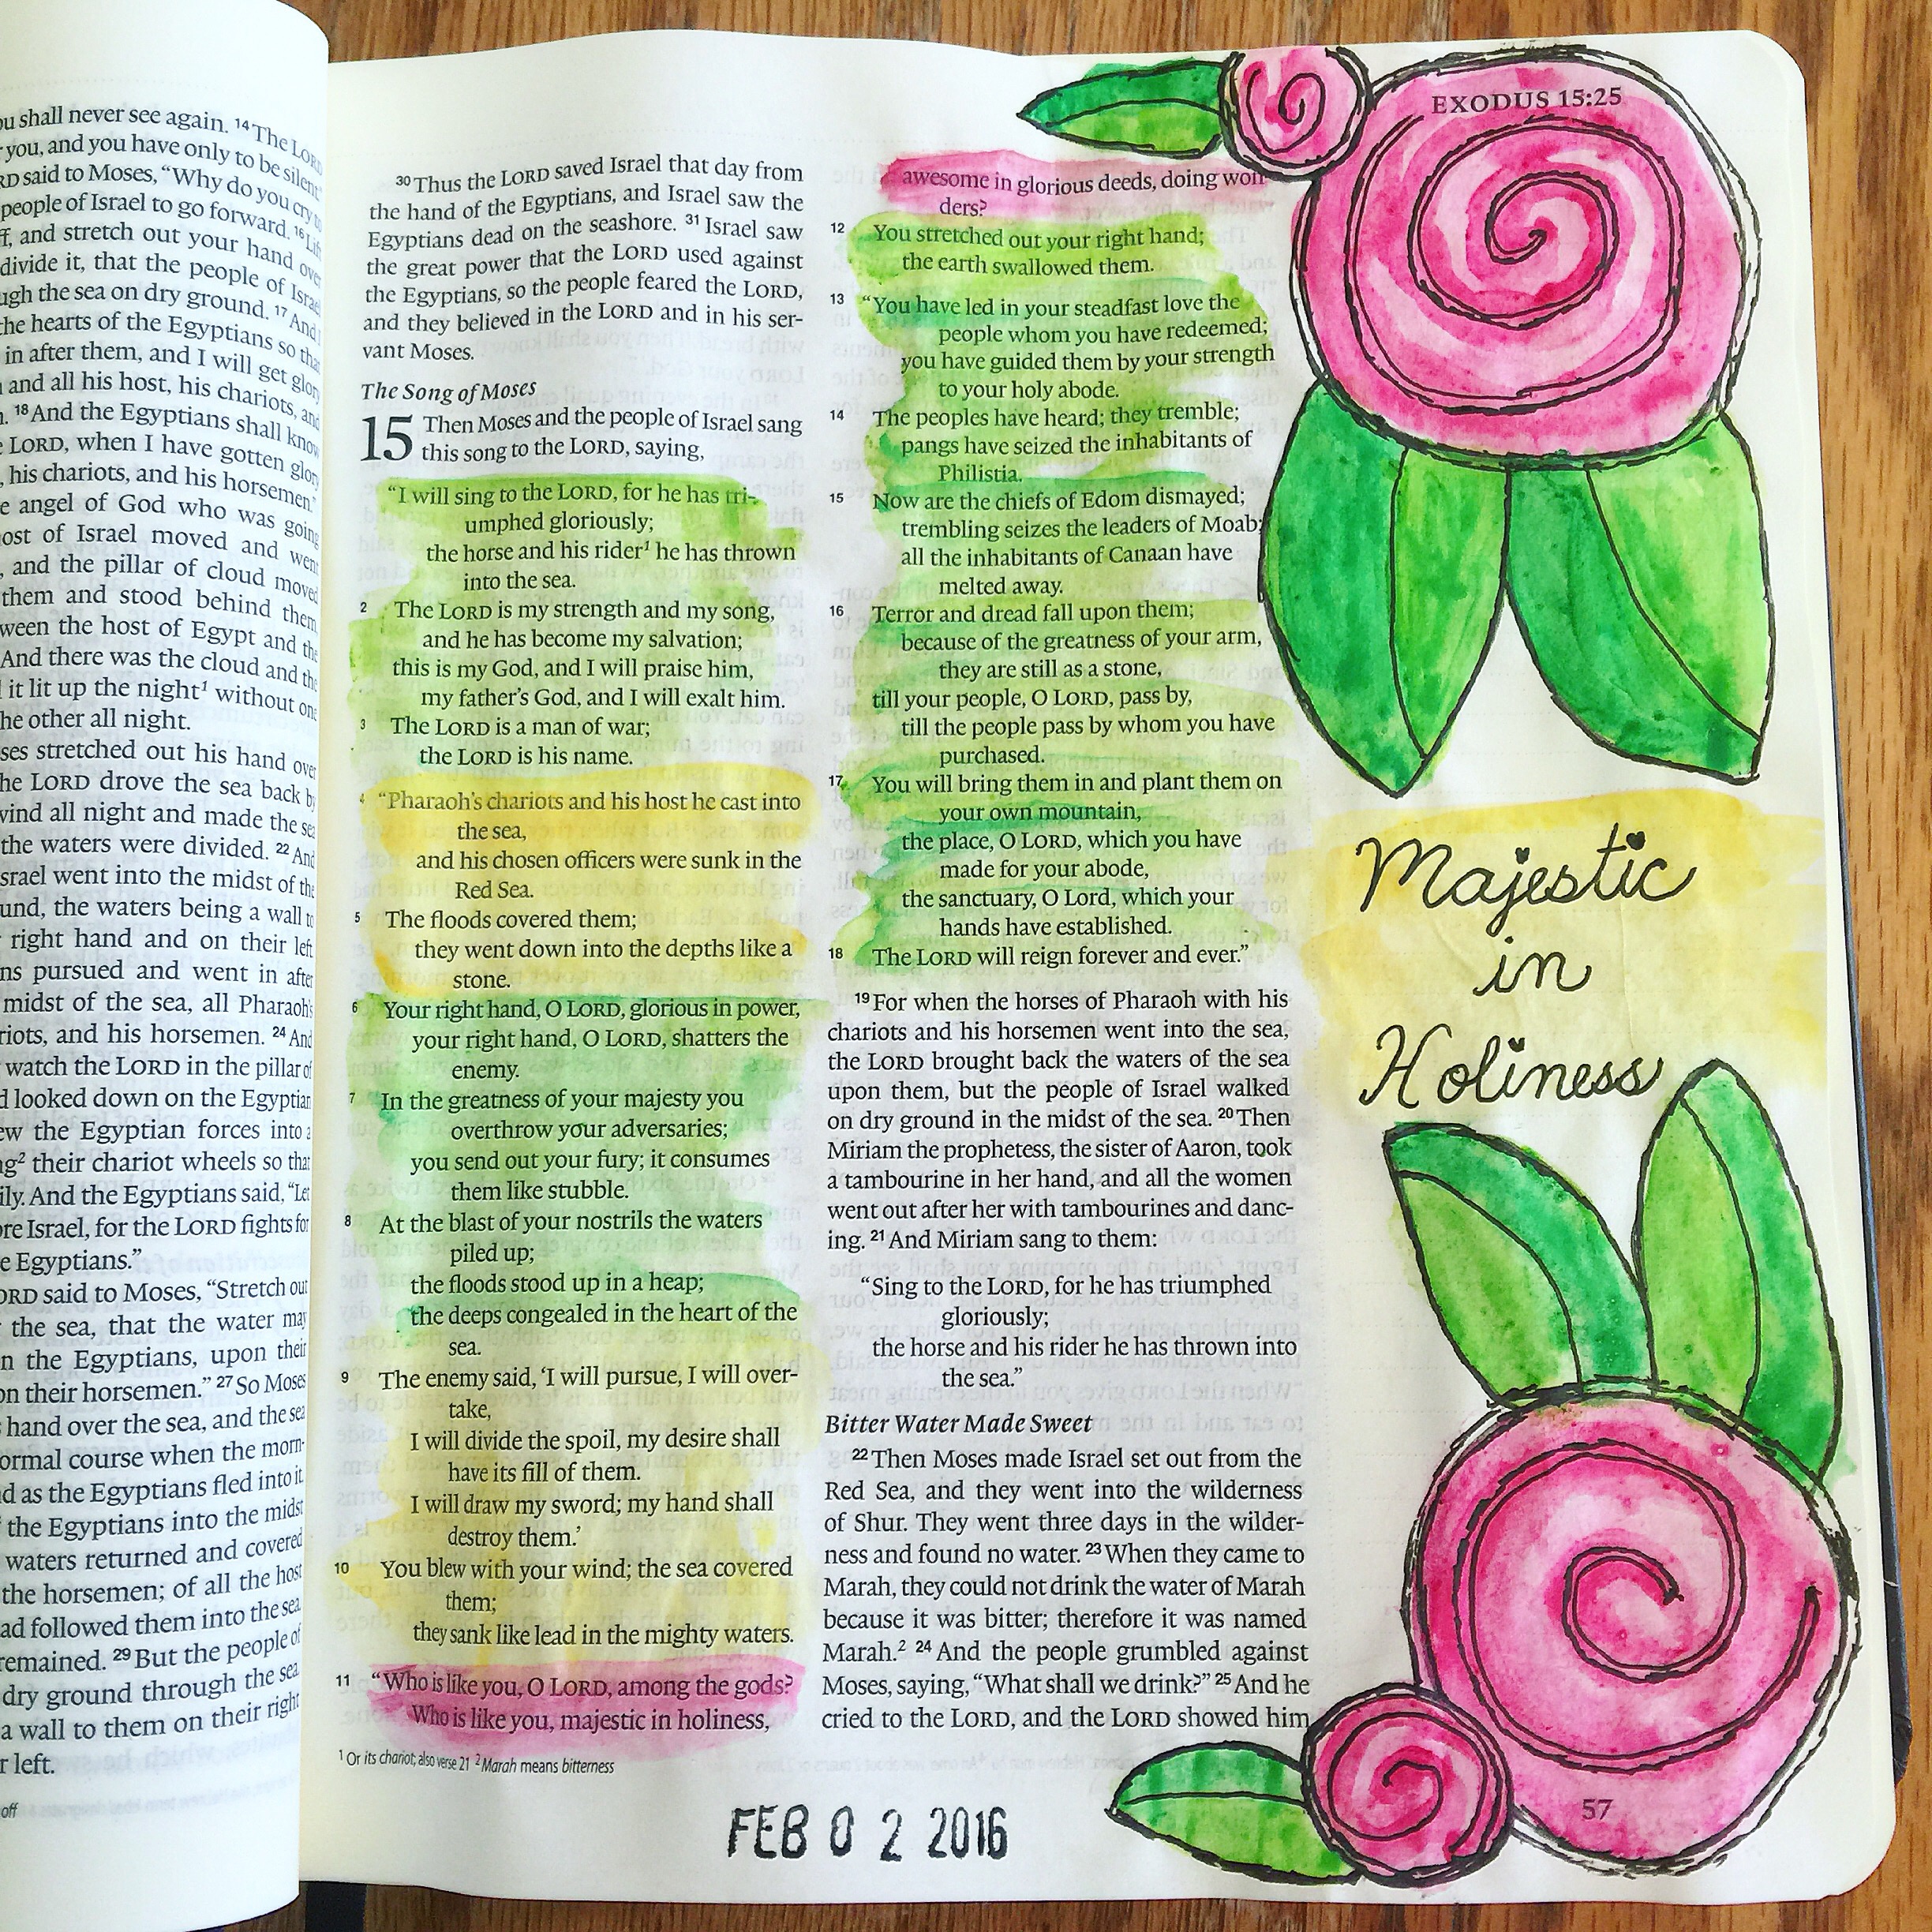 Exodus: I love to paint flowers, so I knew the next page I did needed to have flowers. I traced the flowers first in pencil, added watercolor, then once dry traced over my lines in black gel pen. I’ve decided that I like doing double lines because it helps make any wonkiness look intentional (and sometimes it is). This page helped me decide that my style is simple, whimsical, and imperfect with lots of color. I also like to highlight my verse or passage on each page so that I can remember exactly what I was meditating on while illustrating.
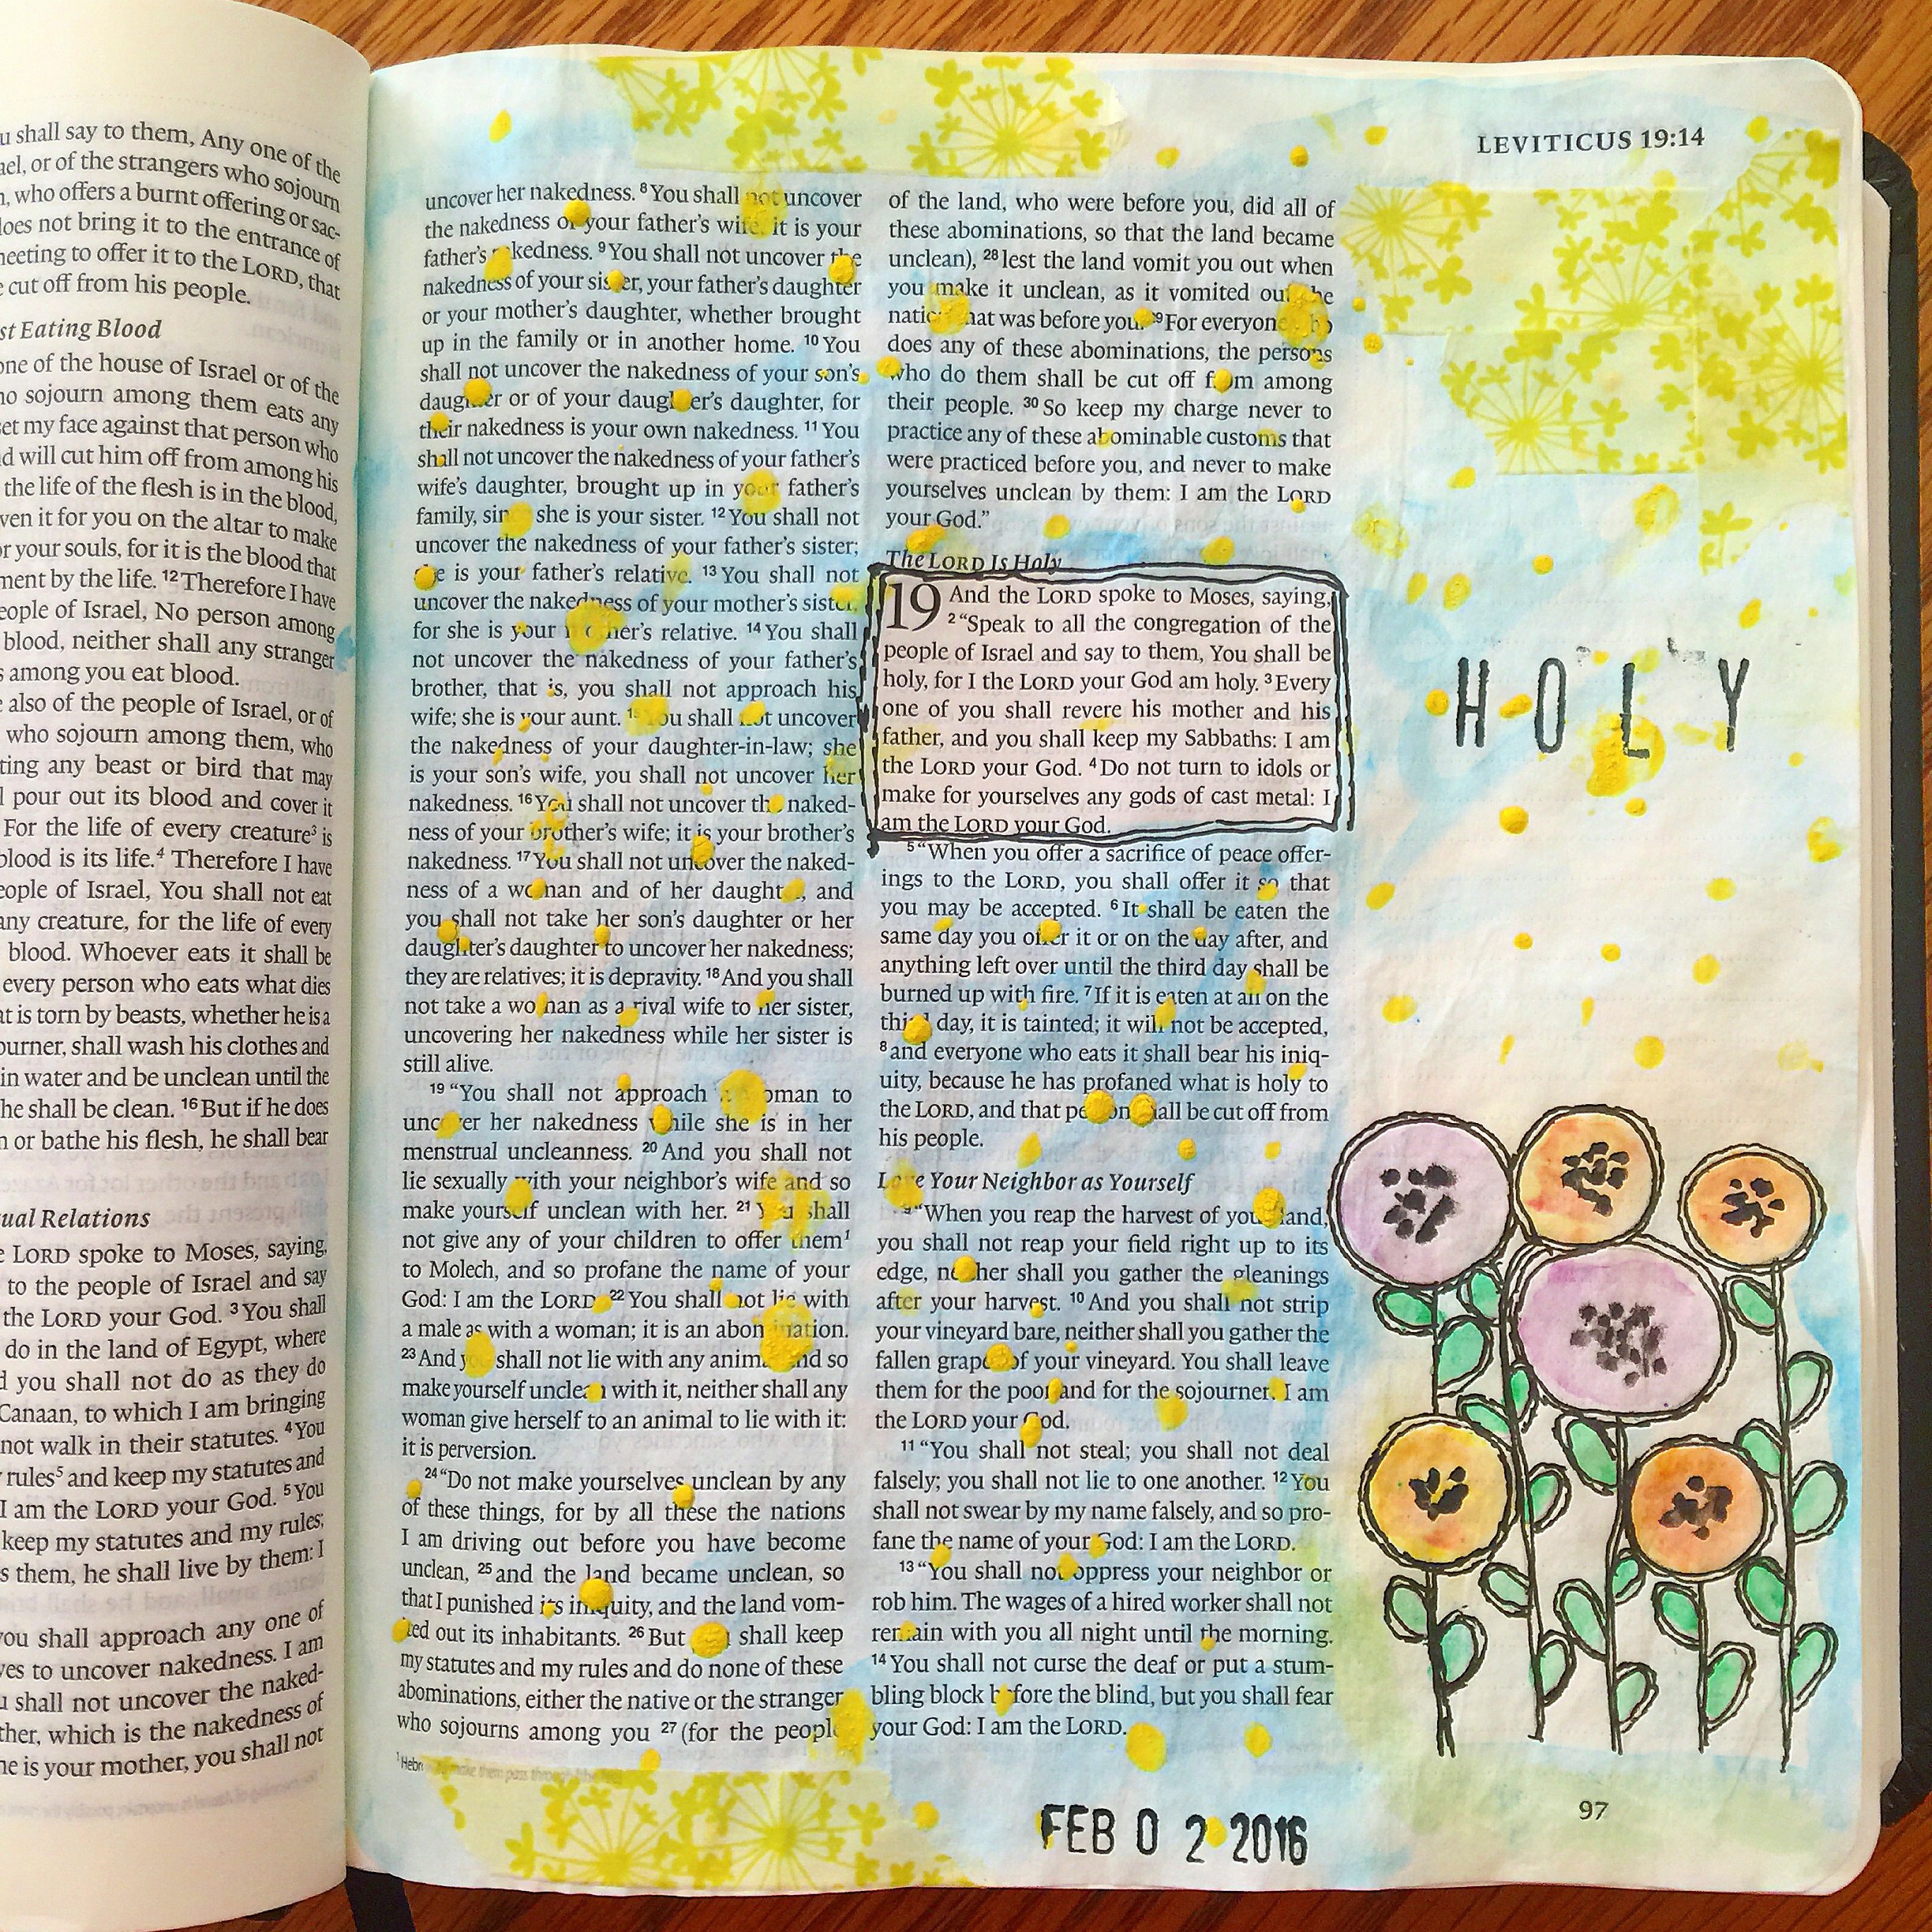 Leviticus: As I was doing the watercolor on this page, I really did not like how it was coming out. I thought that this might be a page I end up hiding because it doesn’t turn out. However, I just trusted the creative process and slowly waited for the paint to dry. I added the outlines, a simple stamping of the word “holy” and some washi tape. When it was finished, it turned out to be one of my favorite pages! Because I wasn’t quick to try and “fix” it by adding lots of extra things and just kept it simple, I feel that my patience salvaged the page.
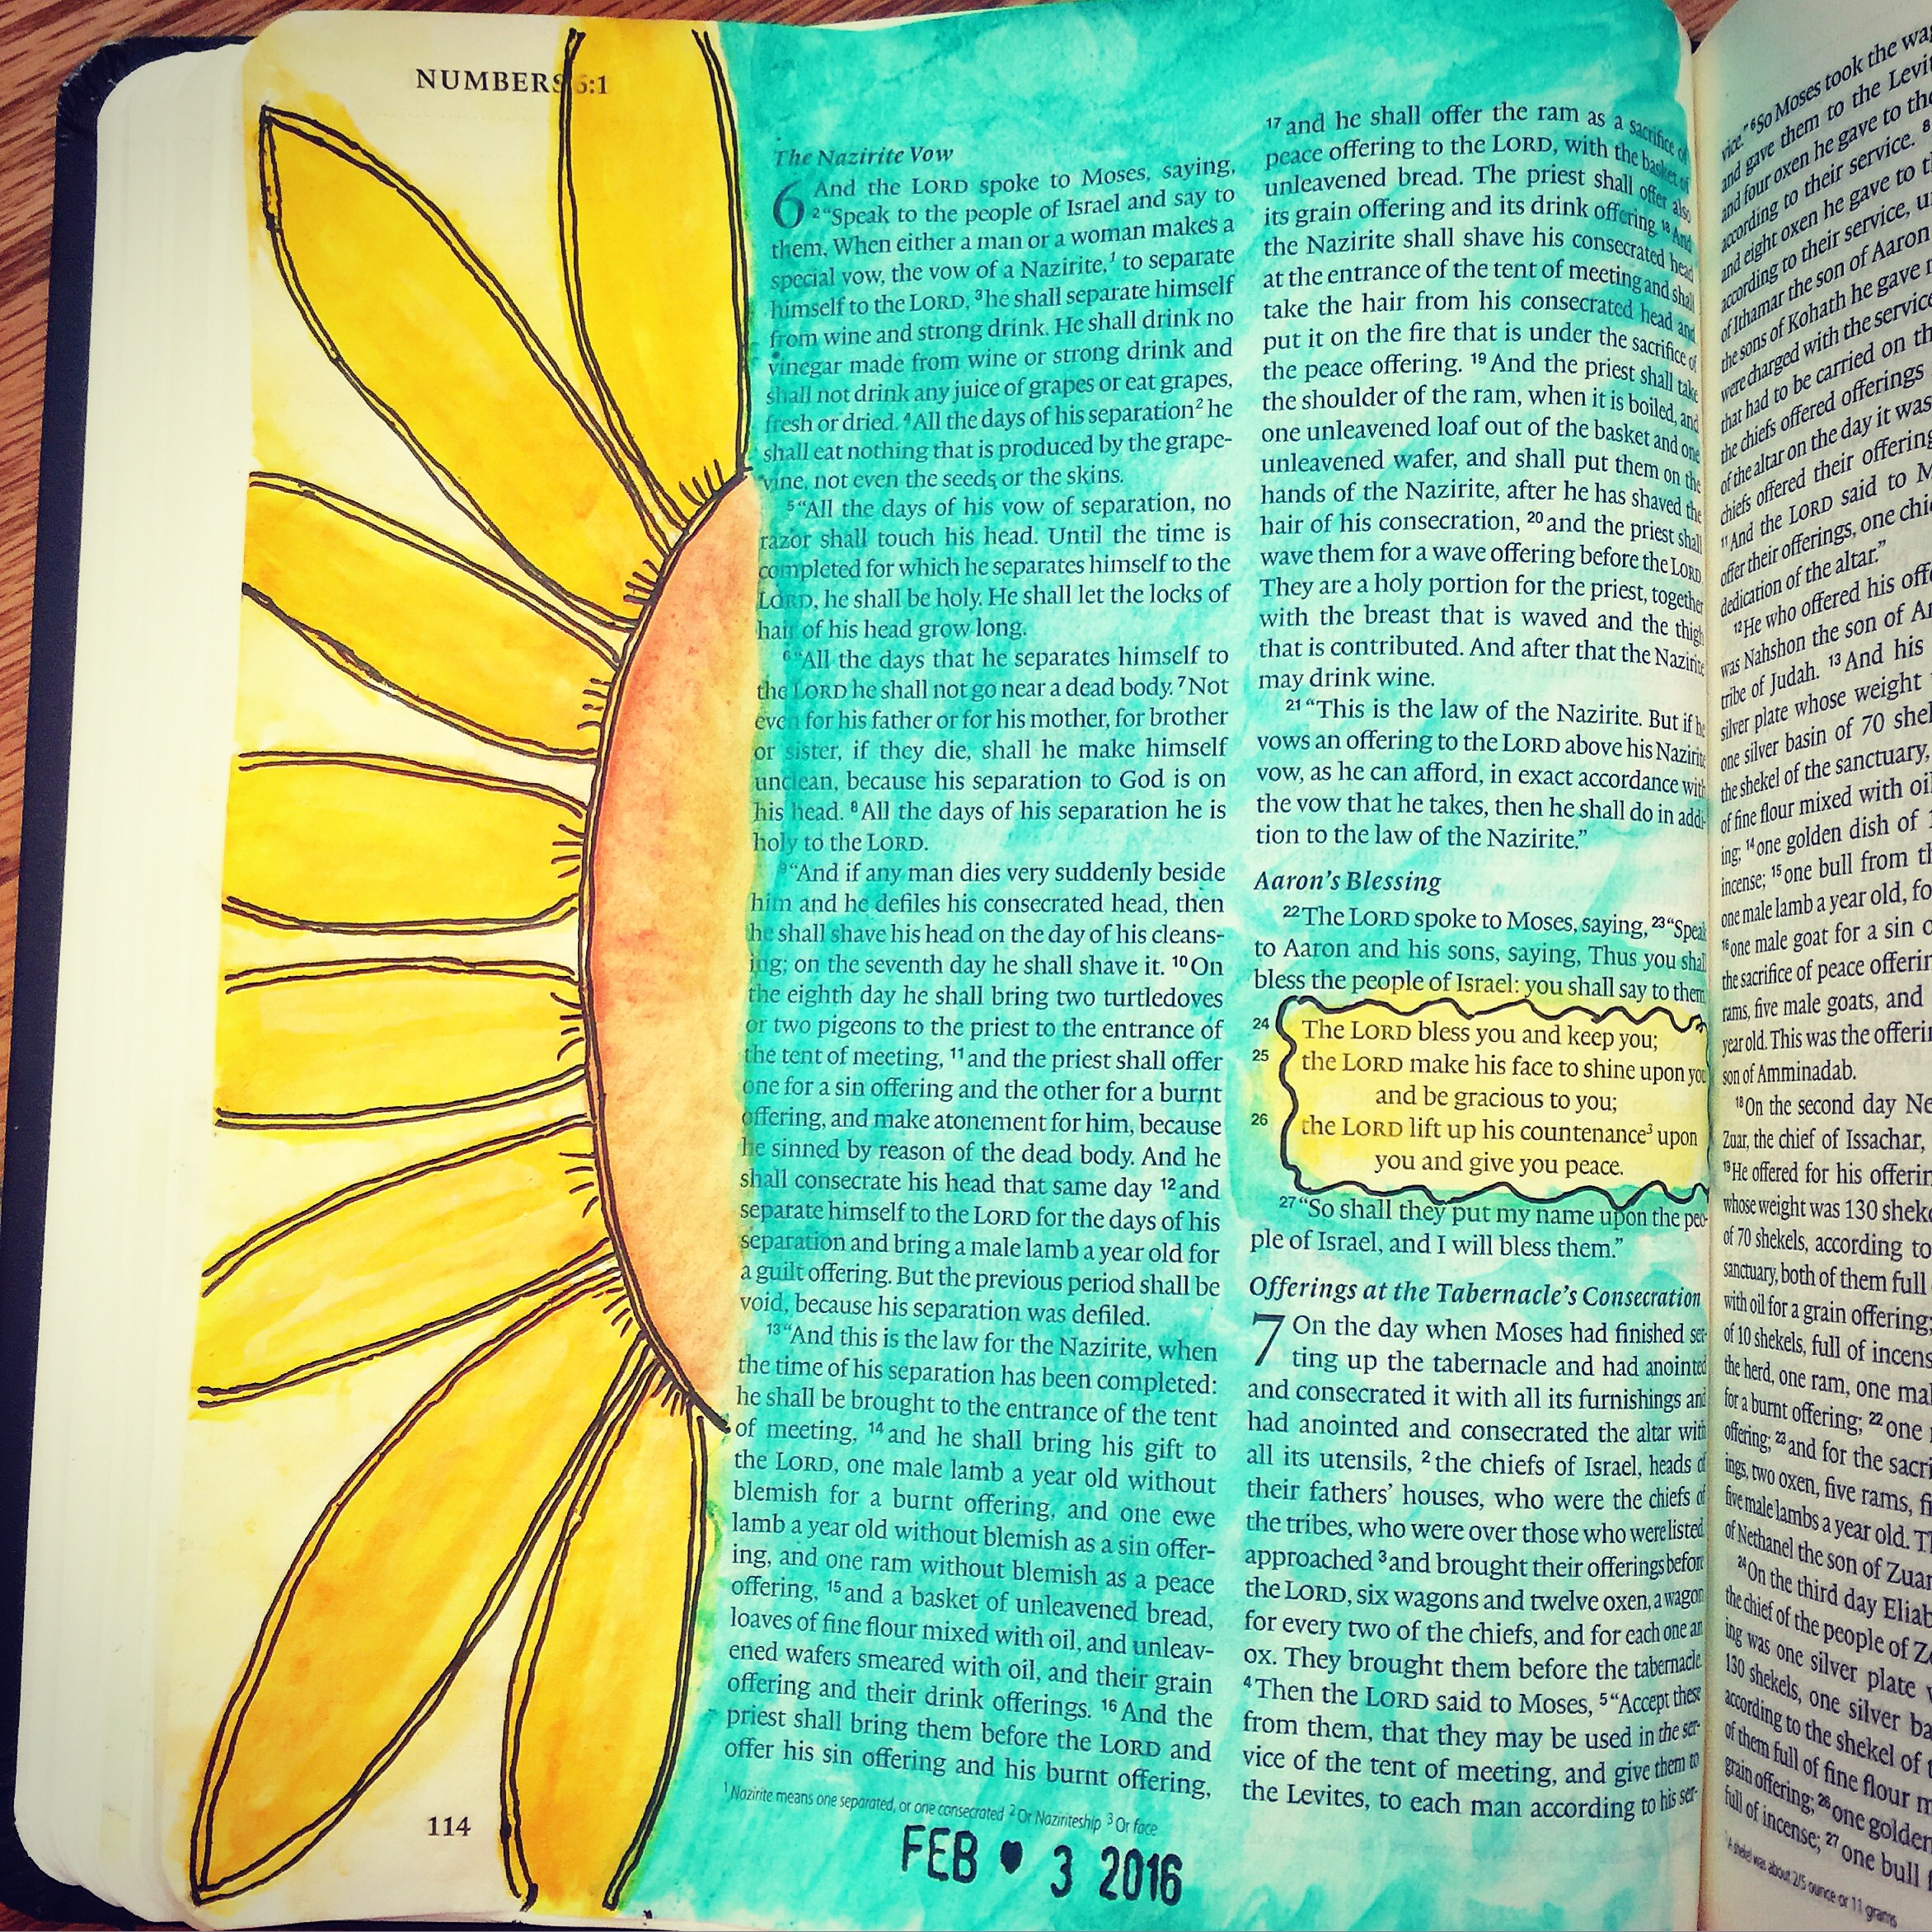 Numbers: When I realized that this popular blessing was in the book of Numbers, I knew I had to do a sunflower page; “The Lord bless you and keep you. The Lord make His face to shine upon you and be gracious to you. The Lord lift up His countenance upon you and give you peace.” I wanted to rewrite part of the verse into the margin, but I loved the simplicity of the sunflower so much that I decided to leave it alone. Again, keep it simple. I later wrote out the verse in my prayer journal.
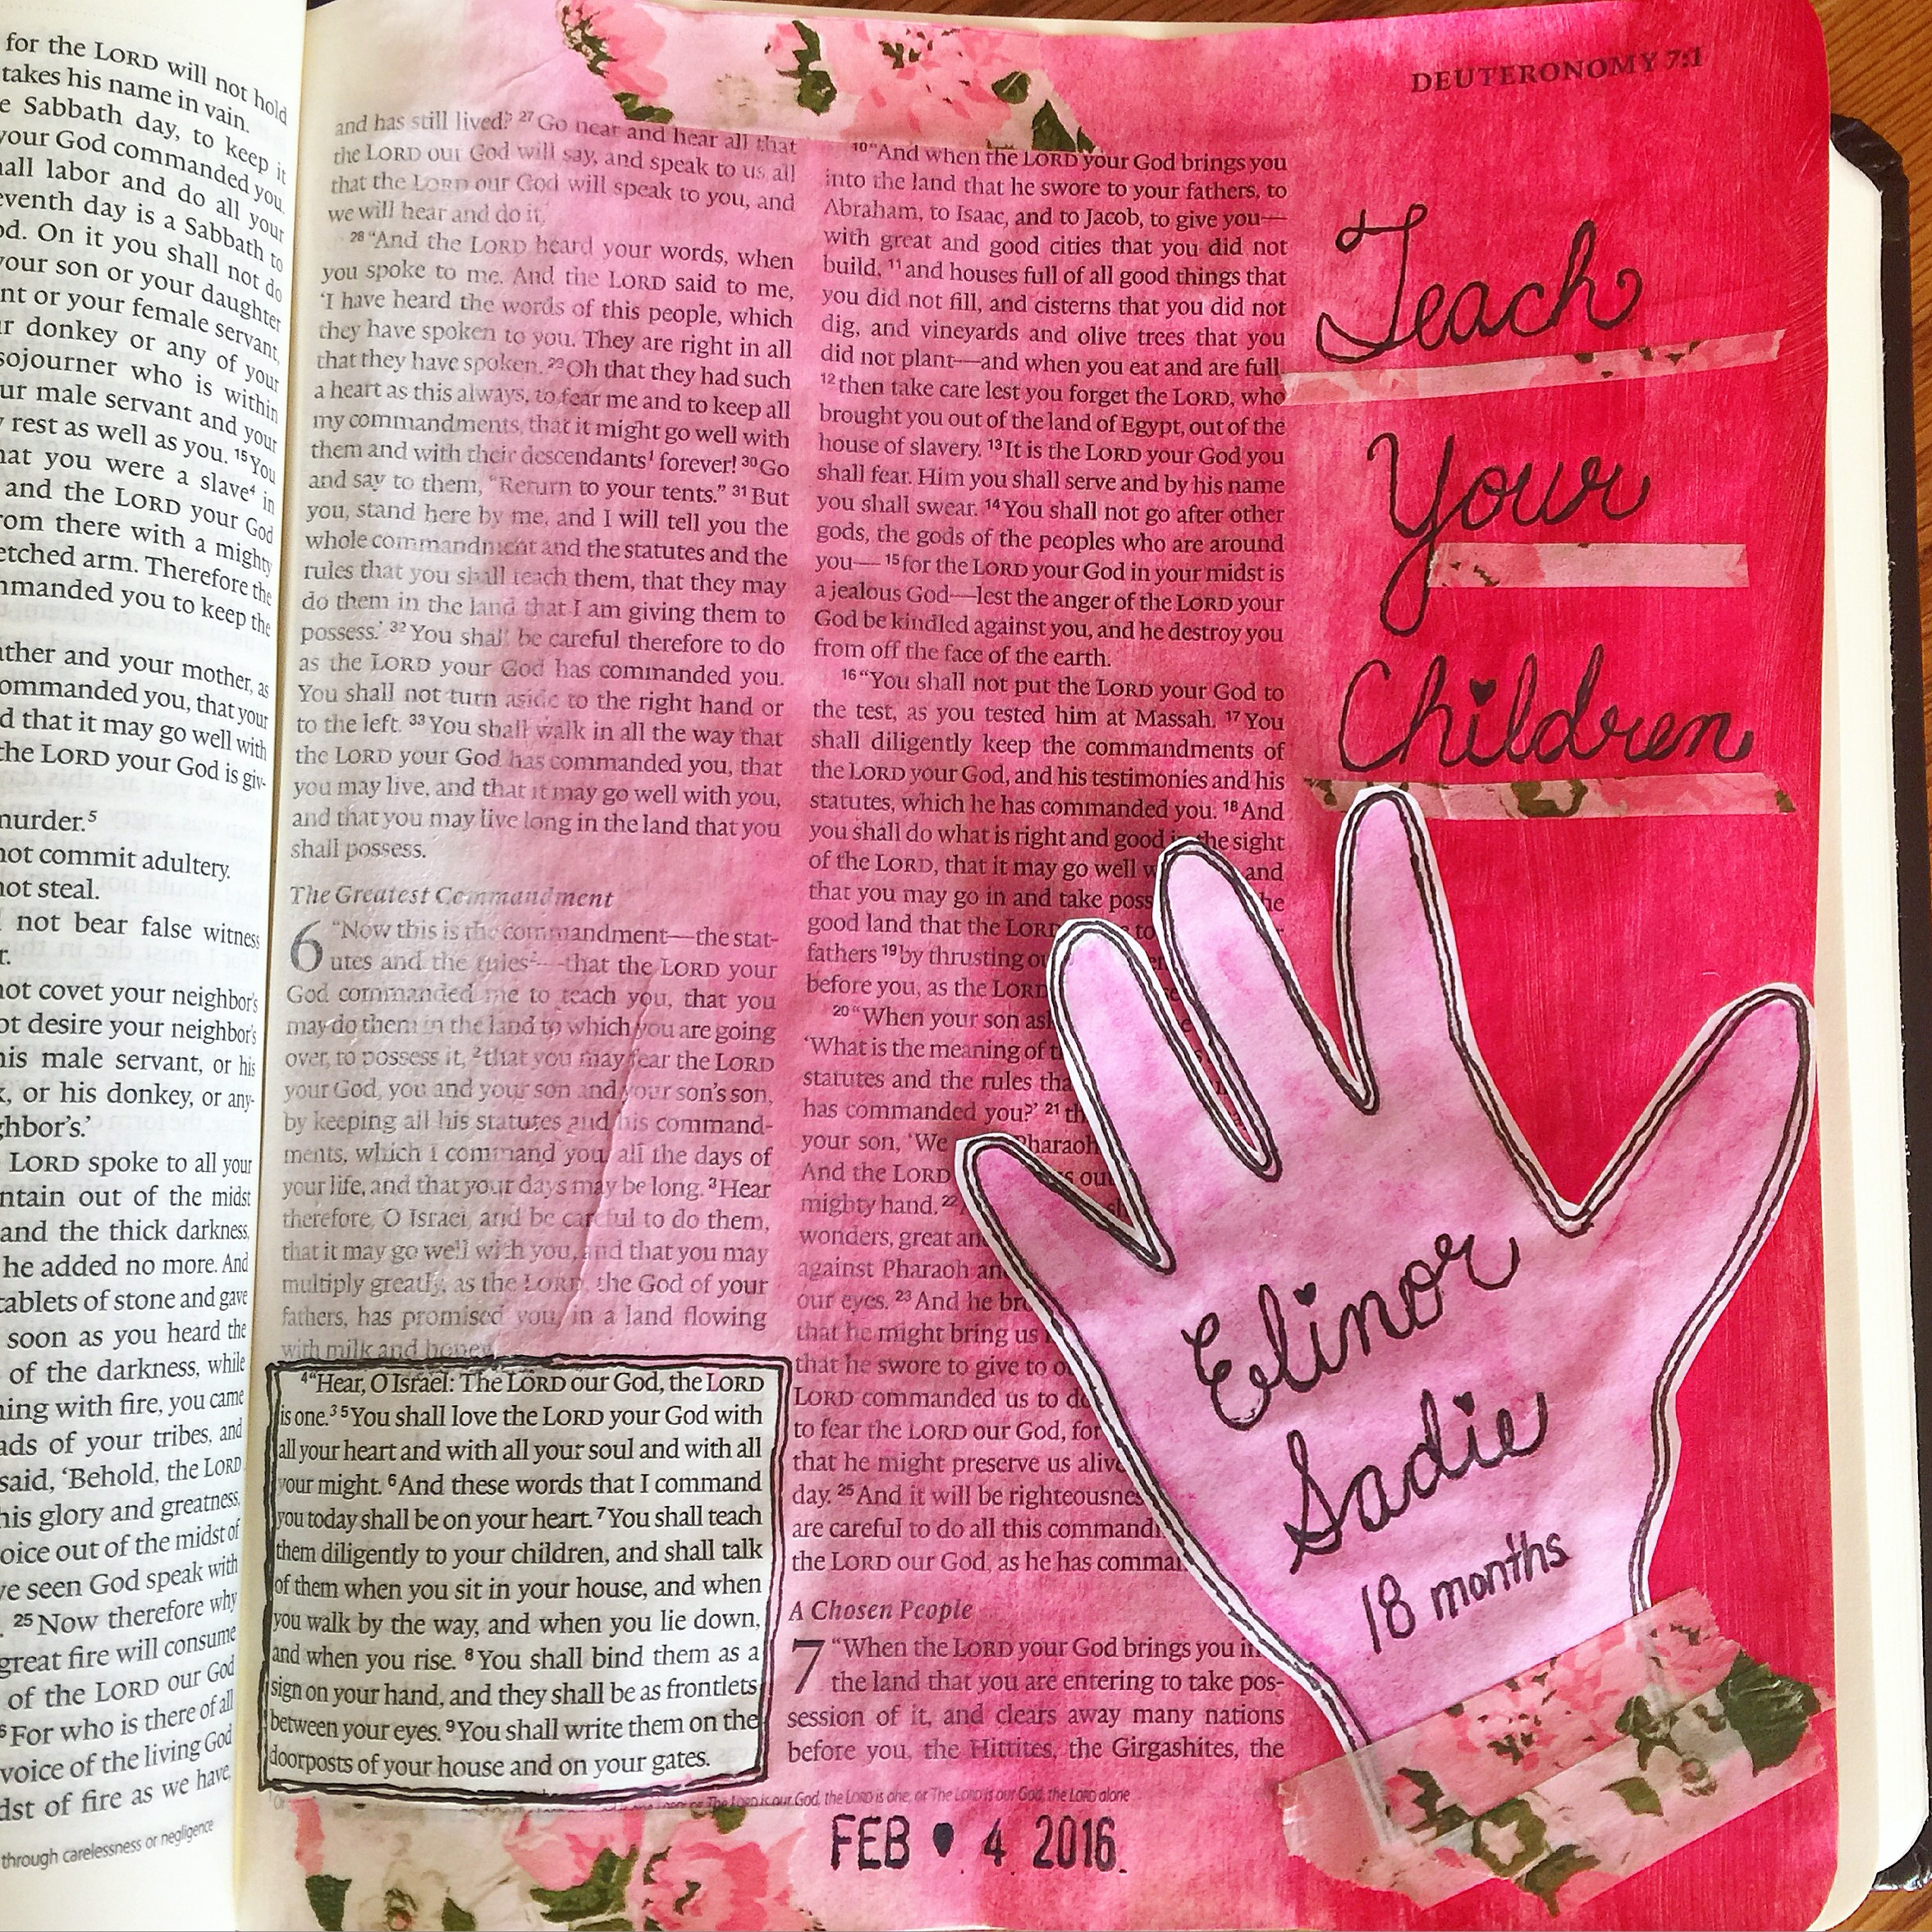 Deuteronomy: This page is really special because it contains my daughter’s tiny hand, and I will be able to flip back to this page as she grows and remember when she was this size. This passage in Deuteronomy talks about not forgetting what the Lord has taught you and passing it down to your children; my prayer is that my daughter will know and love Jesus one day, and I hope that as she sees me Bible journaling, she will be able to learn to love His word from me. For this page I used watered down pink and white acrylic paints to create an ombré effect. I traced and watercolored my daughter’s hand then added it in with washi tape so I would be able to lift it up and read the words underneath.
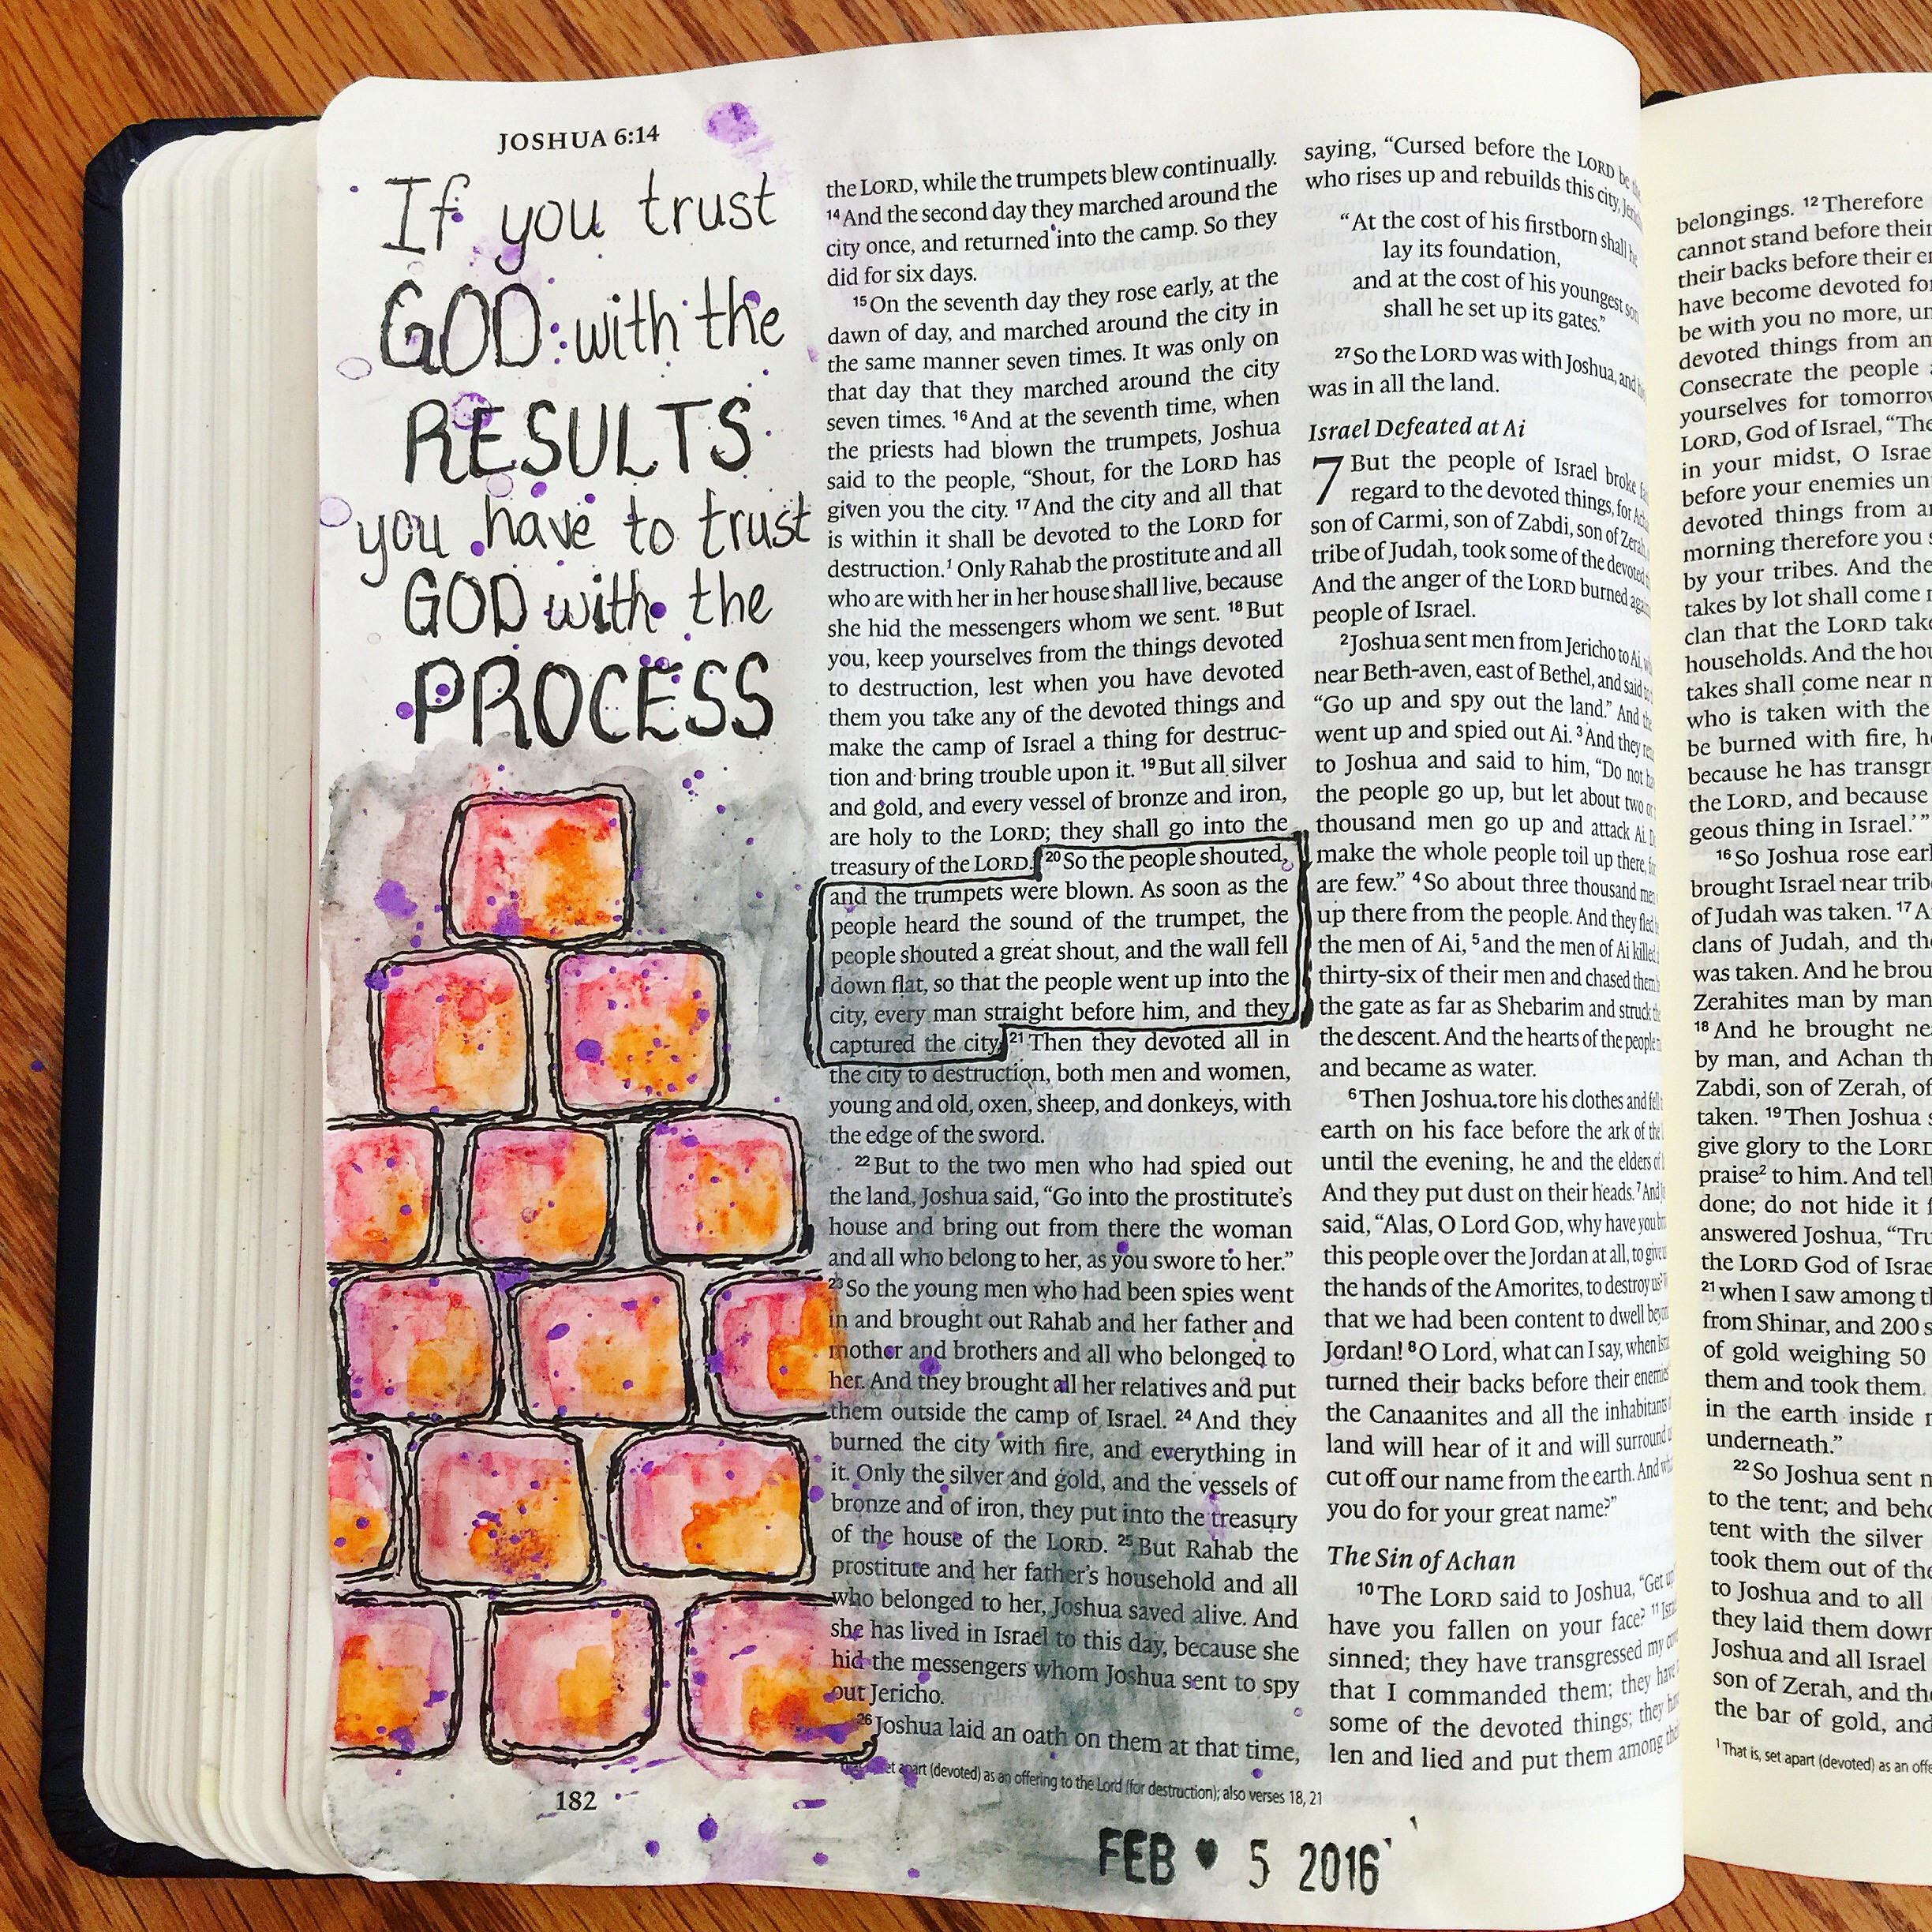 Joshua: This page and saying was inspired by several other Bible journalers. “If you trust God with the results, you have to trust God with the process.” The fall of Jericho seems “normal” to anyone who has grown up listening to the story, but if you stop to think about the process God used to help the Israelites defeat Jericho, it’s really quite strange. Sometimes God works in ways we don’t understand, and in the midst of the process, I often feel like God doesn’t know what He is doing. But God does know, and I have to trust Him in the process just as much as when I see the end result.
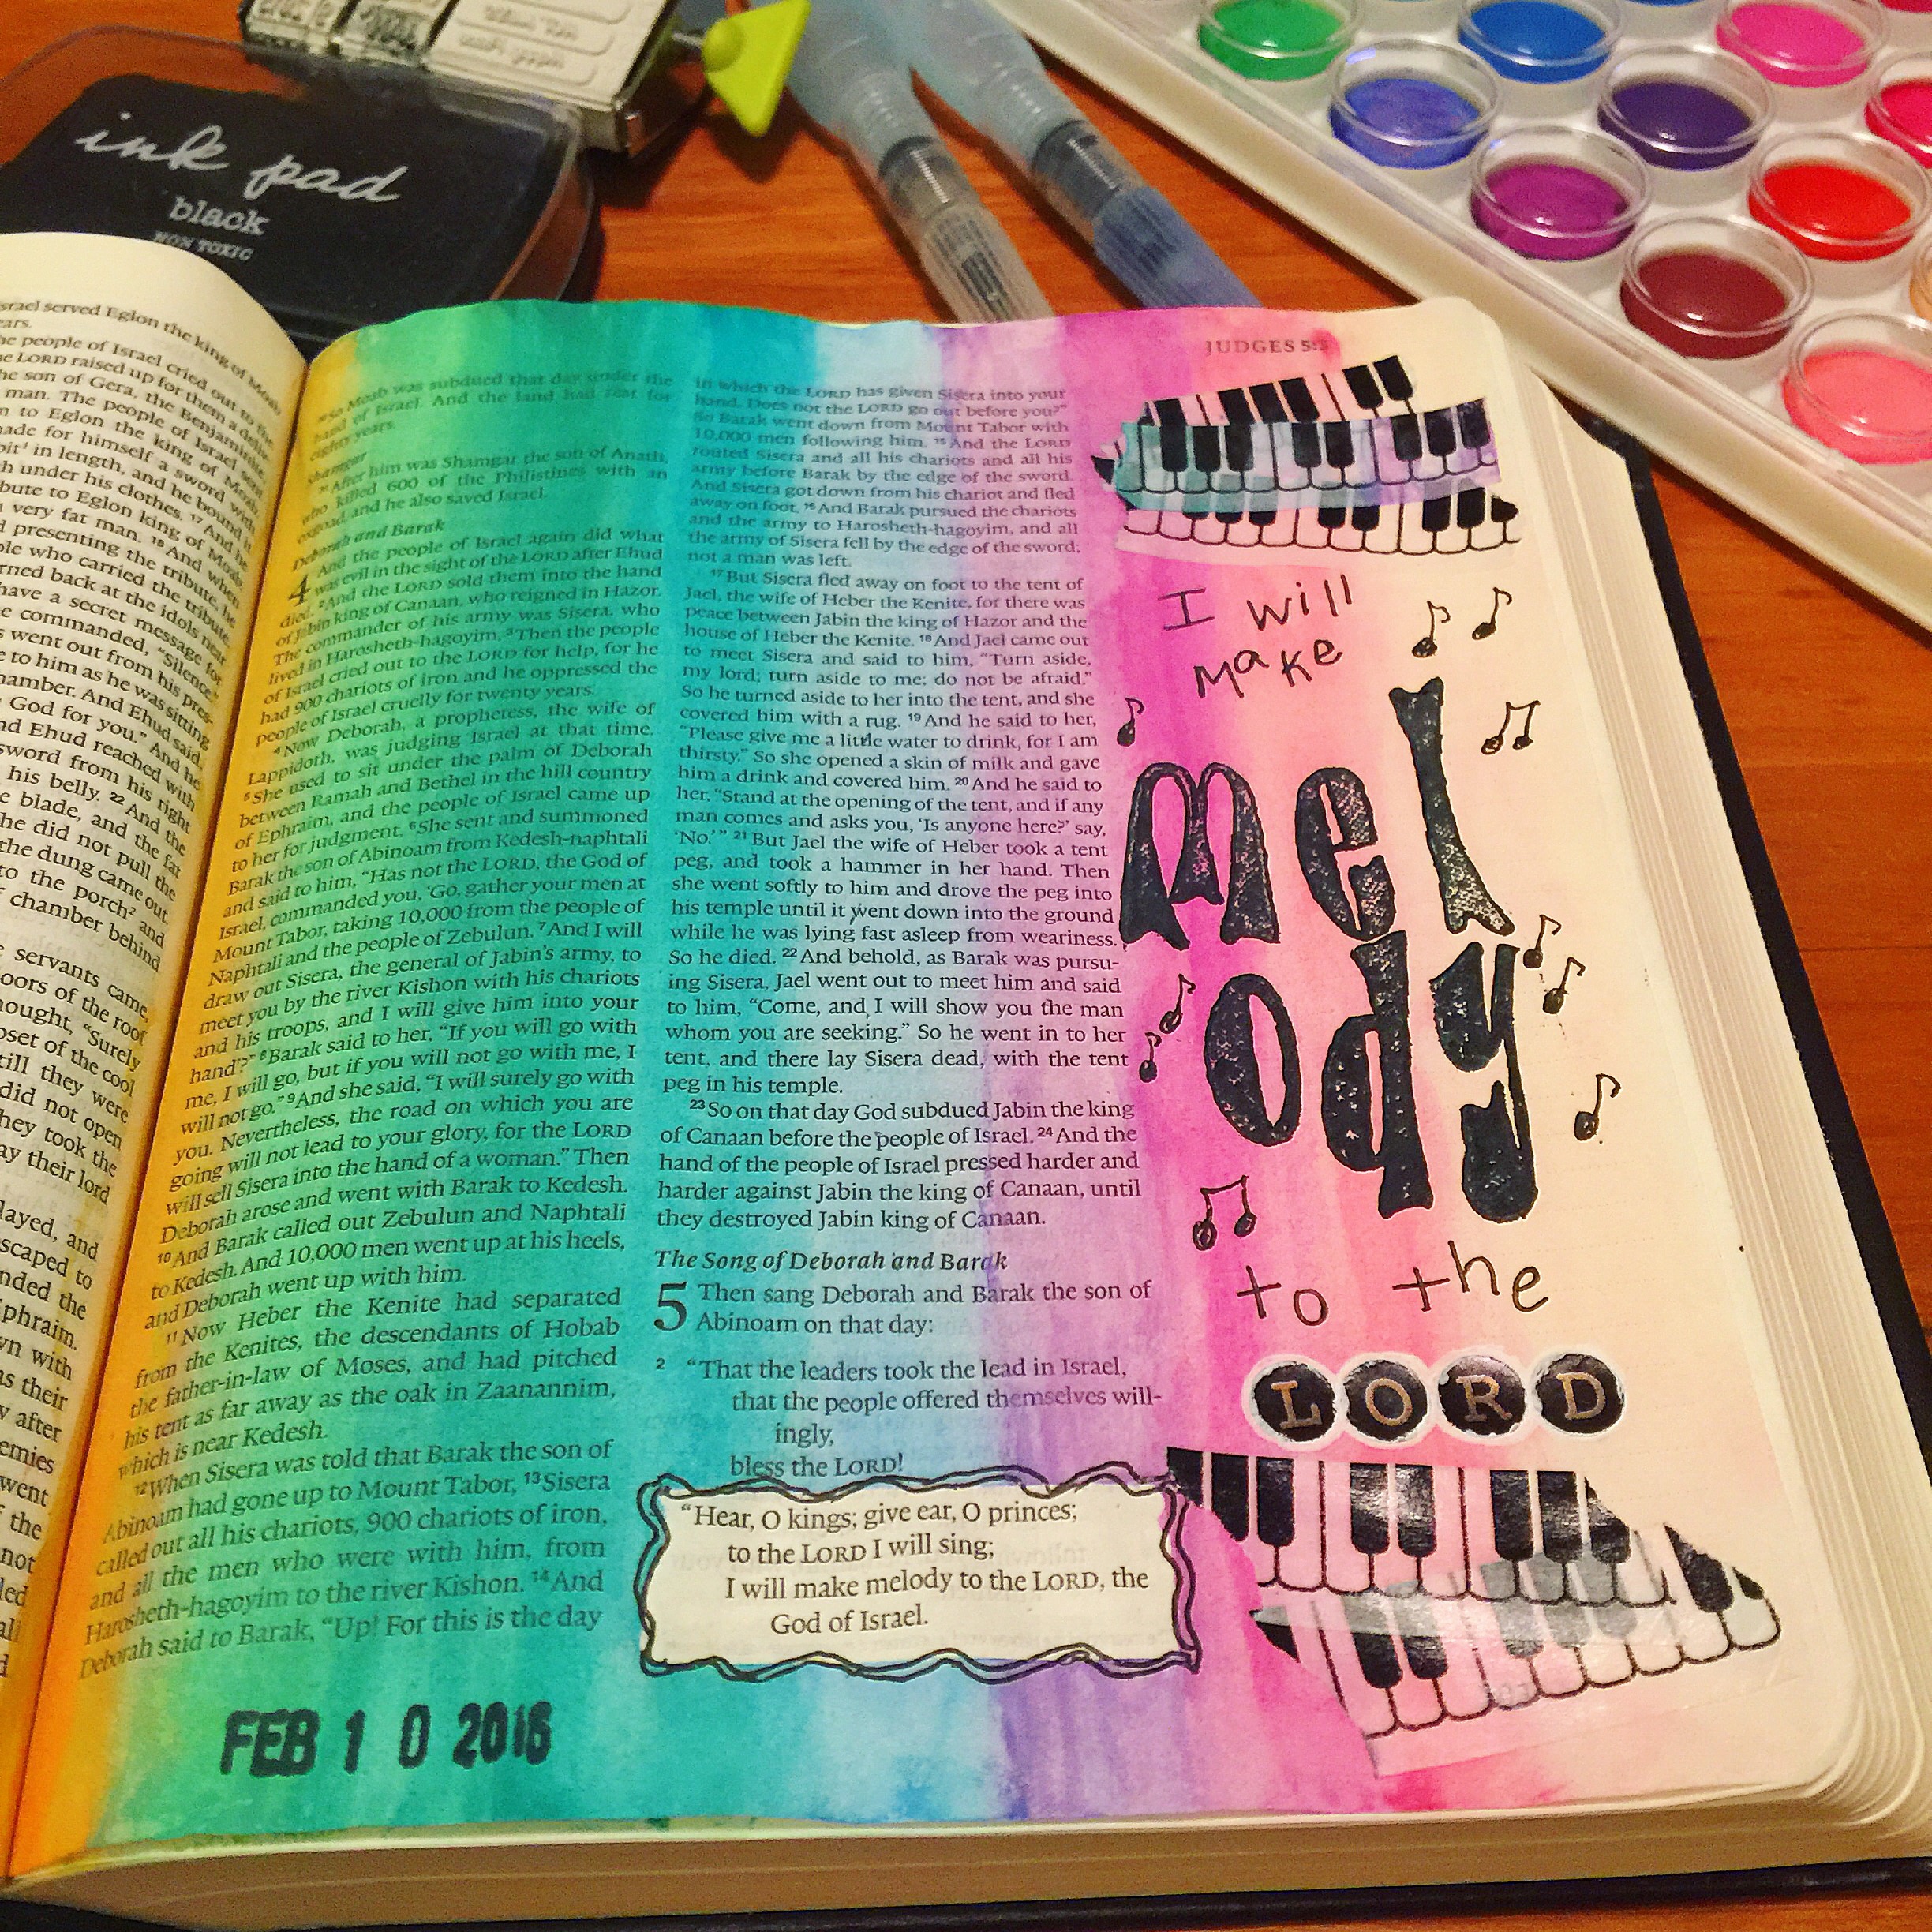 Judges: This was the first page I did with my new watercolors and I had so much fun trying out some new colors that I haven’t used before. I also used my new alpha stamps to stamp out the word “Melody.” I did some simple lettering, added a few alpha stickers at the bottom, piano washi tape, and finished with a few music notes.
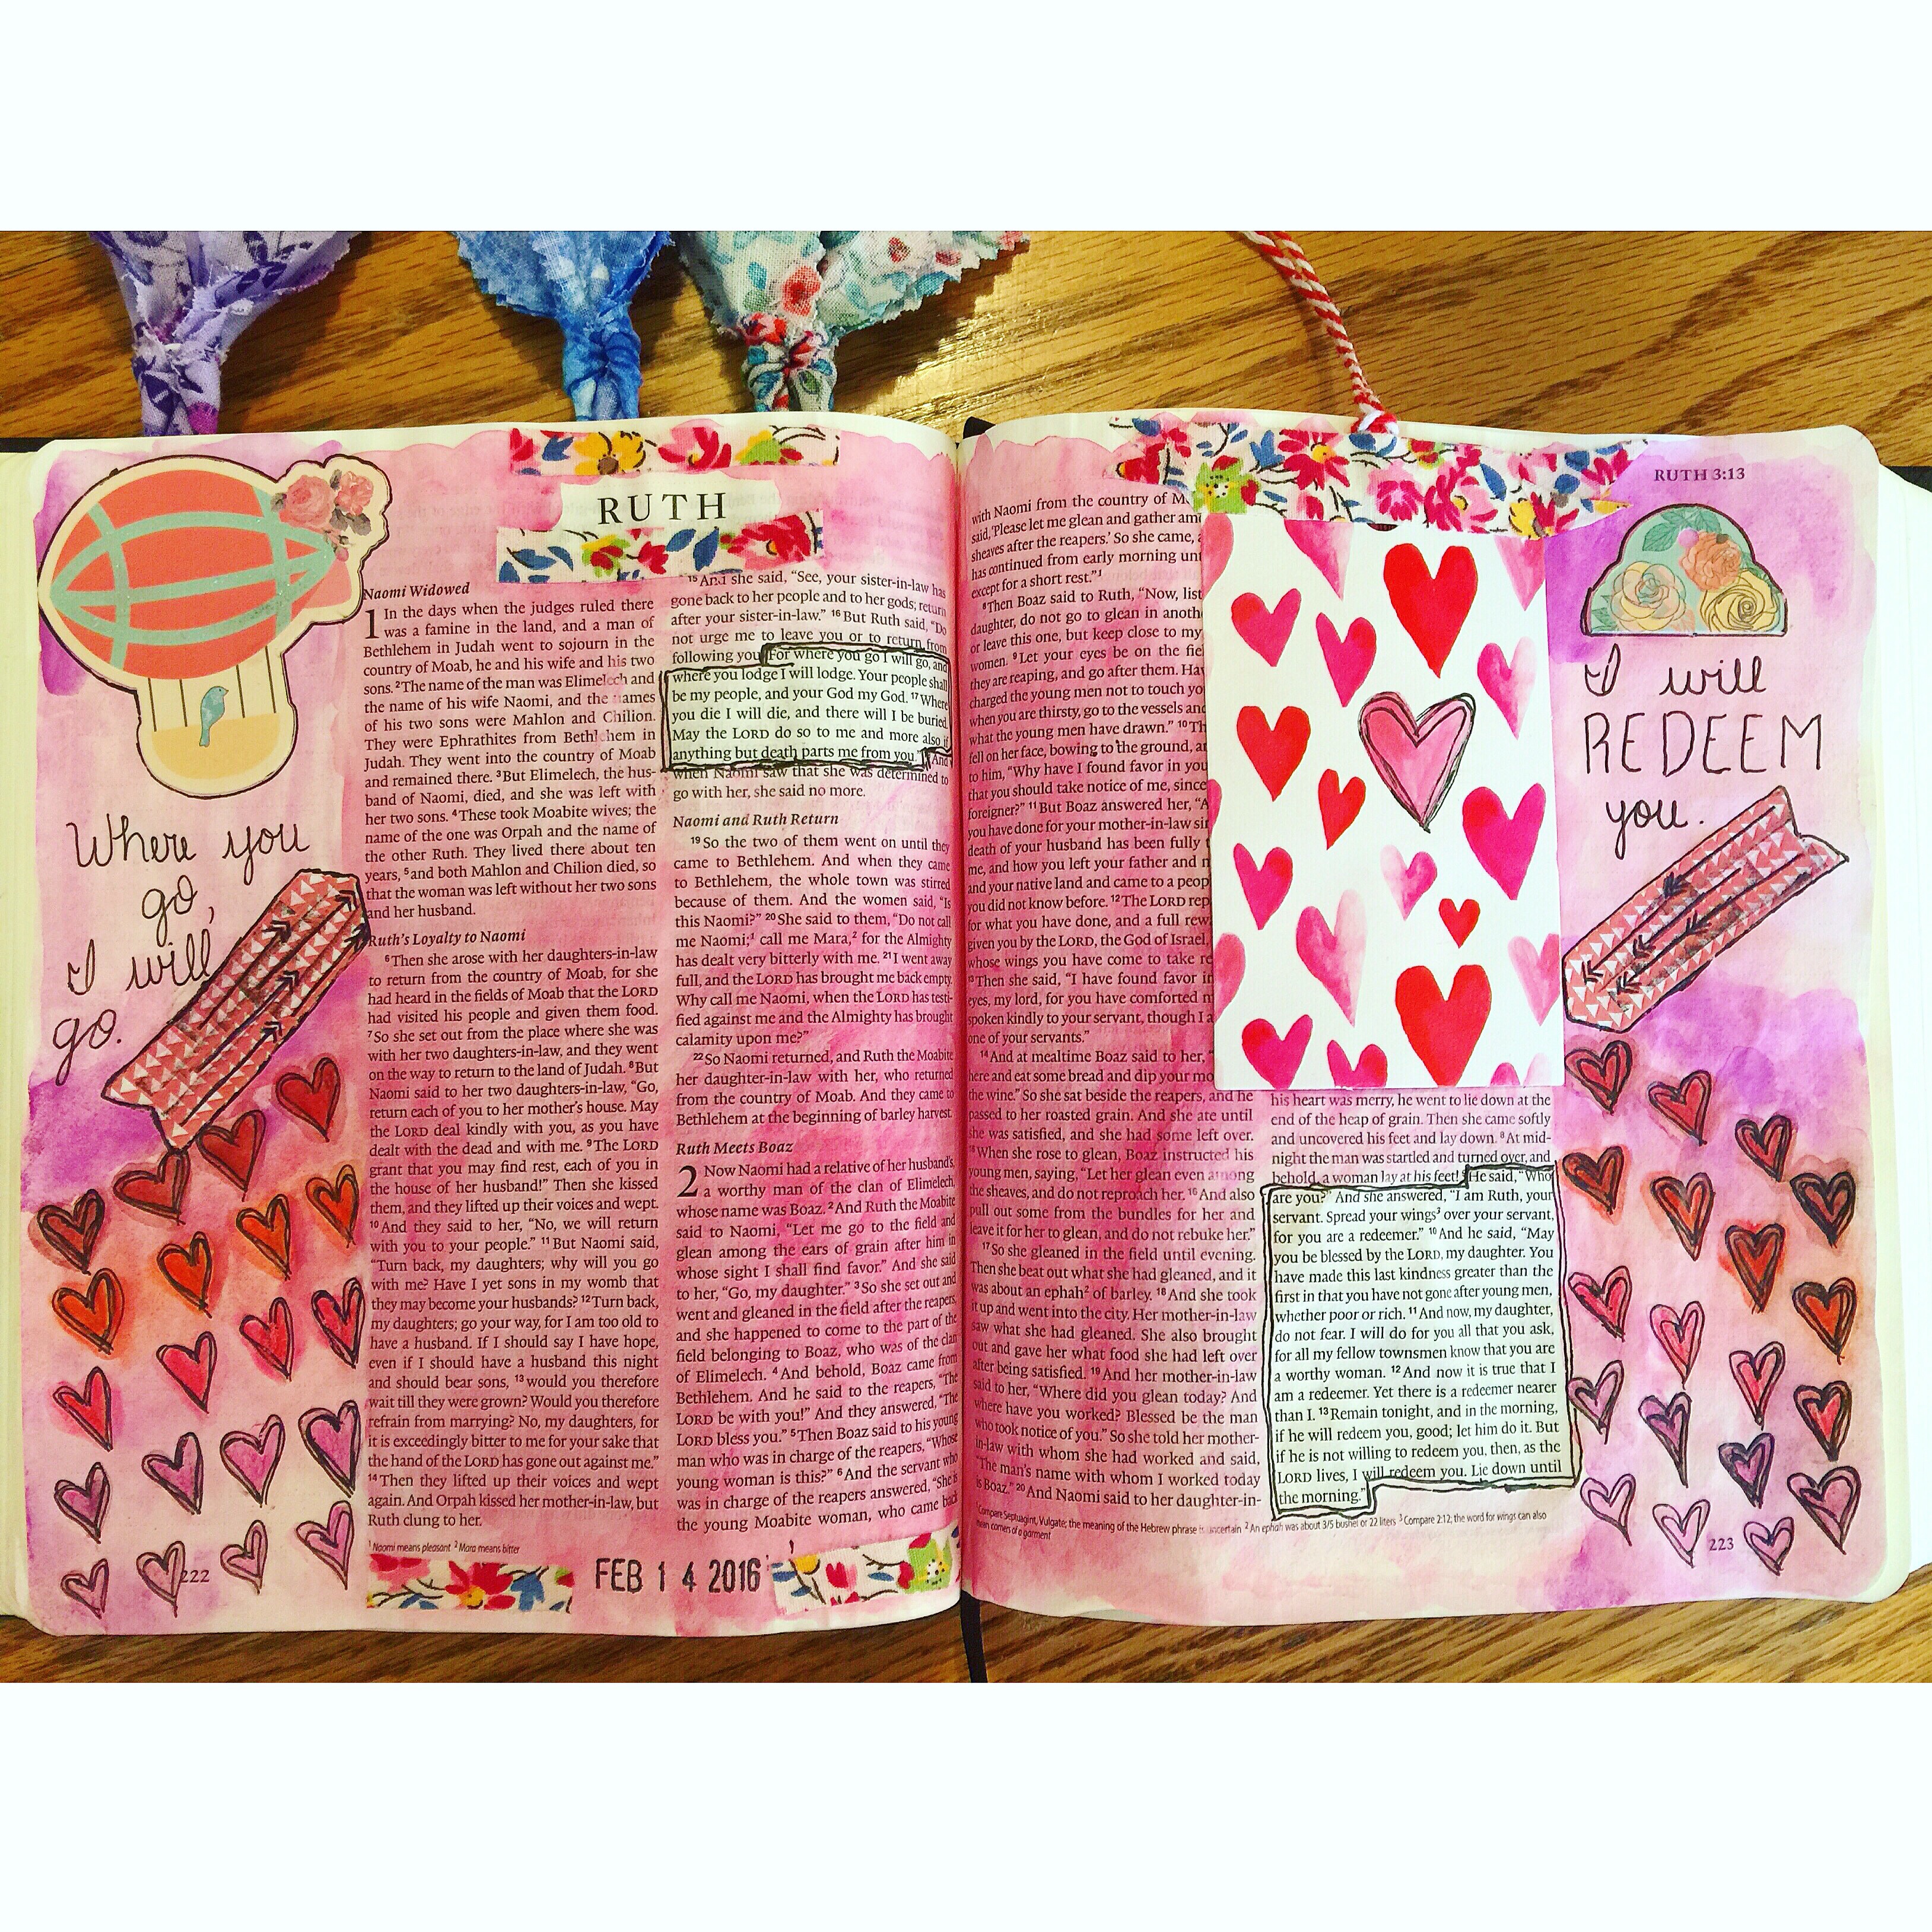 Ruth: When it came time to do my journaling for Valentine’s Day, I happened to be at the book of Ruth for my next page to illustrate. This was an appropriate passage to do for Valentine’s Day, since three and a half years ago I “pulled a Ruth” by sending a Facebook message to a “friend” after feeling prompted by God, which led to my happily ever after with my best friend and now husband! When I was single, I studied this passage a lot, as it tends to be the thing to do, but the main thing I learned from my various studies is that the point of this story is not about a woman finding a husband under what seems to be impossible circumstances; it’s about our Great Redeemer saving us in an impossible way so that we can be joined to Him forever! What better way to celebrate a day about love than to reflect on the great love that God lavishes on us by redeeming us in our sin and saving us for a life of purpose for Him.
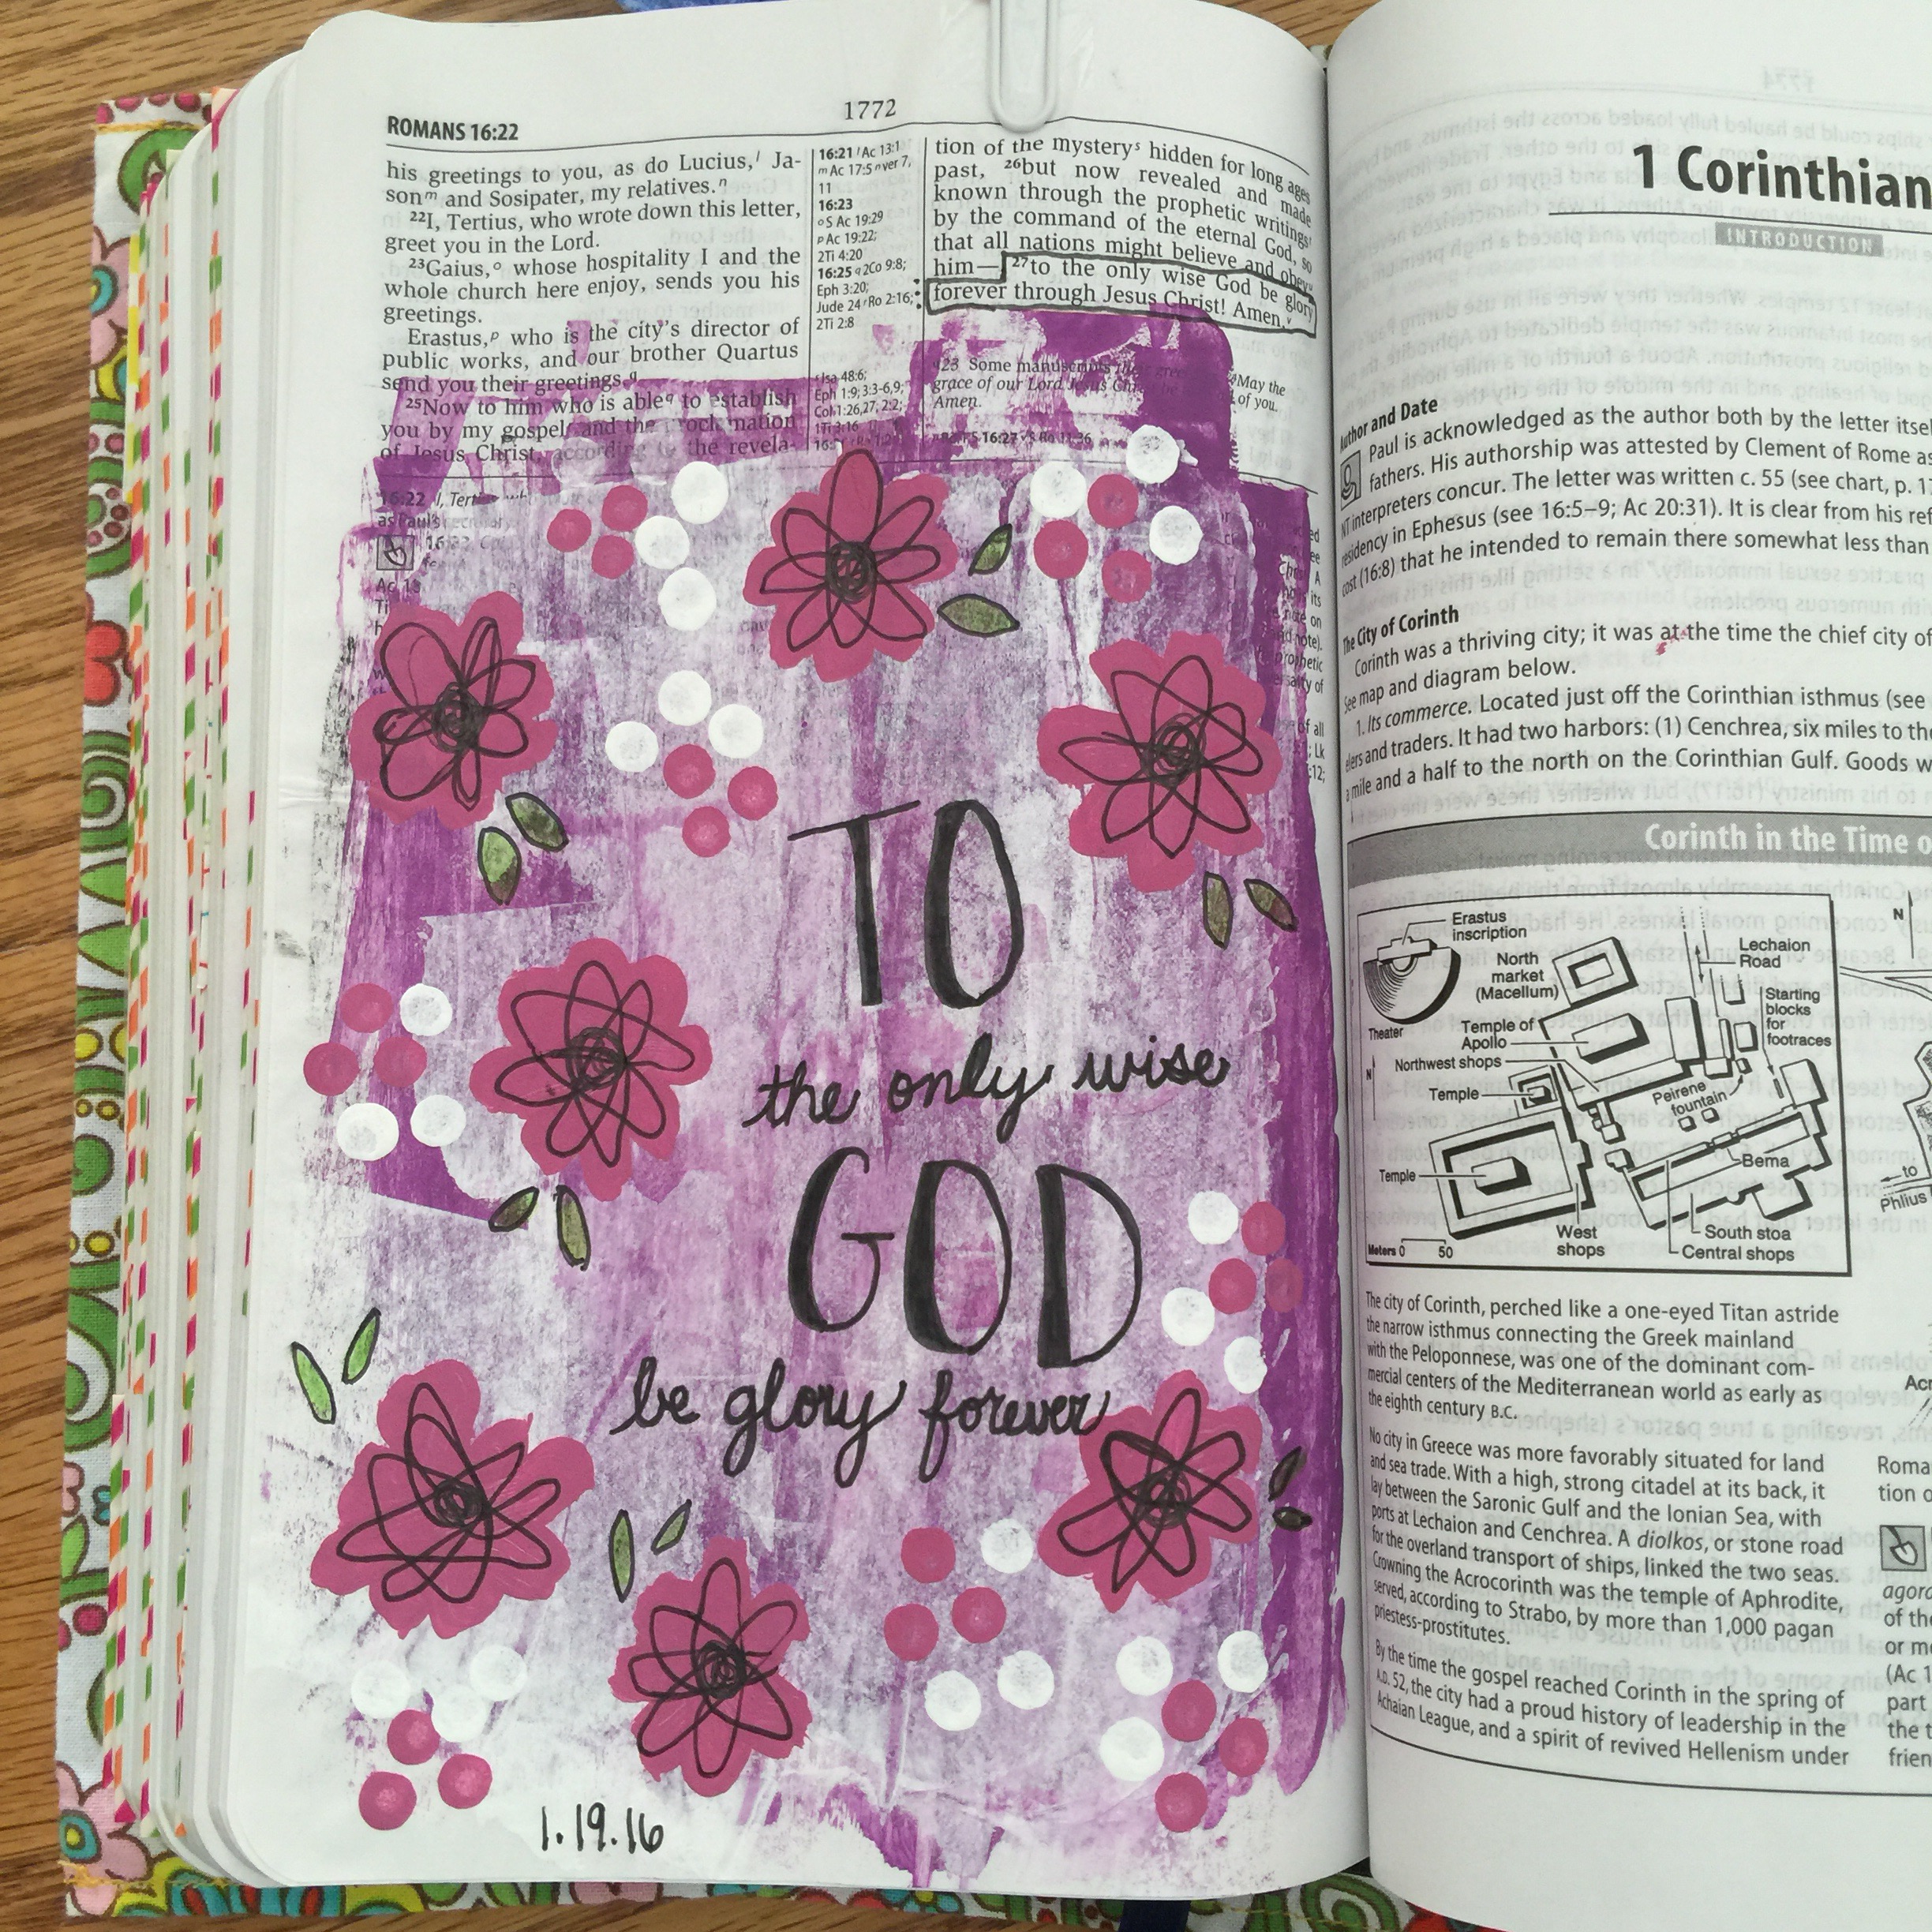
 As I journal through this Bible, I have made the decision to try to keep the text as visible as possible. I know some people use their journaling Bible differently and don’t mind covering up the words, and that is perfectly okay too. It’s a personal decision because Bible journaling is about YOUR personal journey. I want to be able to take my Bible everywhere with me and still be functional as far as reading the text from it, and that is why I have chosen to keep it visible. Maybe someday I will have another journaling Bible that I just use for art journaling and don’t worry about covering the words so much. But whether I cover the text or not, the most important aspect of this form of art worship is that I am writing God’s word on my heart. God wants me to know Him and to know His word, and I am getting to know Him more intimately when I illustrate my faith.
To purchase the ESV double column journaling Bible on Amazon, click here.
Please note that this post contains Amazon affiliate links. This means that when you purchase through my link I receive a small commission at no additional cost to you. All commissions earned go towards supporting my family and funding my Bible journaling ministry.
 Now that I have had my new Inspire Bible for a week, I figured it was time to do another post with photos of the pages I have journaled and illustrated so far. I am really enjoying this Bible the more time I spend in it, and even more so, I feel my relationship with God deepening as I meditate on His word through creative worship.
 One benefit of this Bible that I have already been able to experience is the ability to pick a scripture on my heart to color and meditate while coloring, and not have to worry about what I’m going to draw or paint. A few nights ago I was having a lot of anxiety and wanted to just spend some time meditating on Philippians 4:6-7. When I turned to the passage and found that it had a large illustration ready to be colored, I was elated! I spent an hour slowly coloring while repeating over and over to myself “don’t worry about anything, pray about everything. And God’s peace will guard my heart.” Ever since I spent time praying and coloring this verse, I have been feeling less worried and anxious. What a blessing to have this Bible in order to creatively worship and spend time in the Word!
 Another thing I have really enjoyed is using watercolors with the illustrations. This is my first single column Bible, and I love having extra margin space to add to the illustrations when I want to fill in the page more and personalize the pre-printed illustrations.
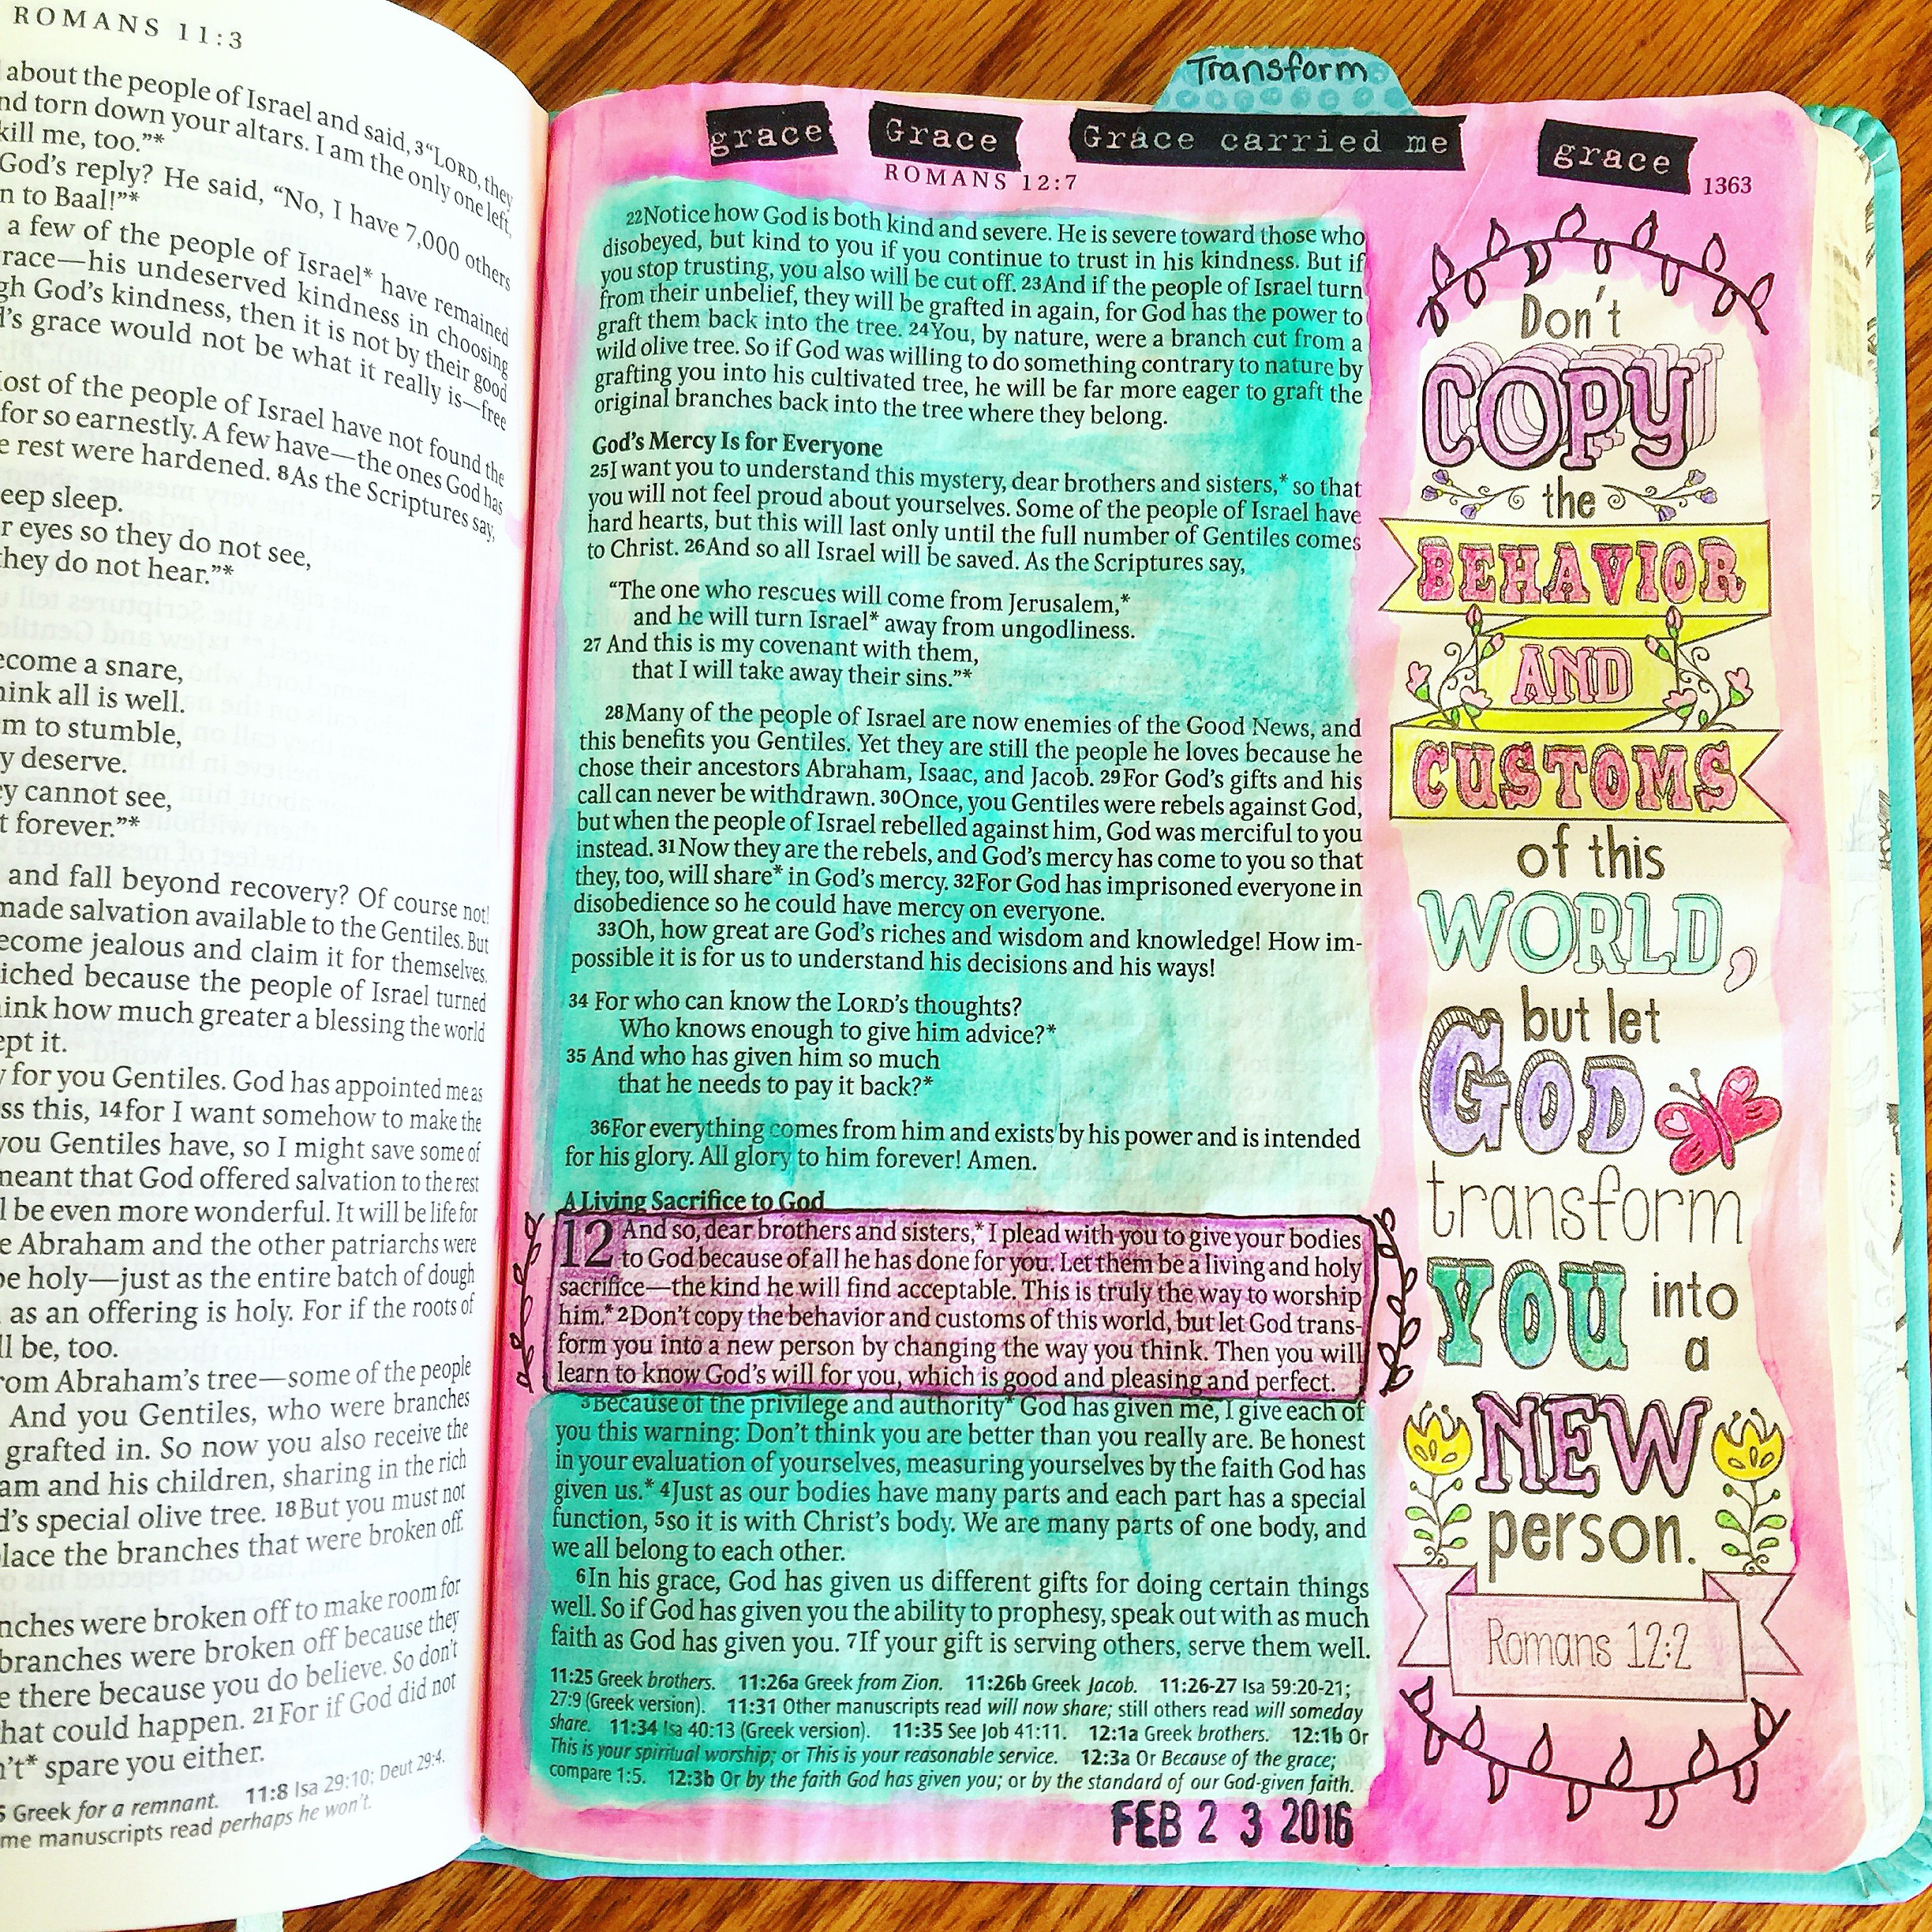
 One of my favorite pages that I have done was my JOY page. This page makes me happy every time I look at it, because I know that it came out of the joy that God has placed in my heart for His word. It’s been a long time since I have felt joy and passion for God’s word, and I rejoice that God has been working in my life through this journey of Bible journaling.
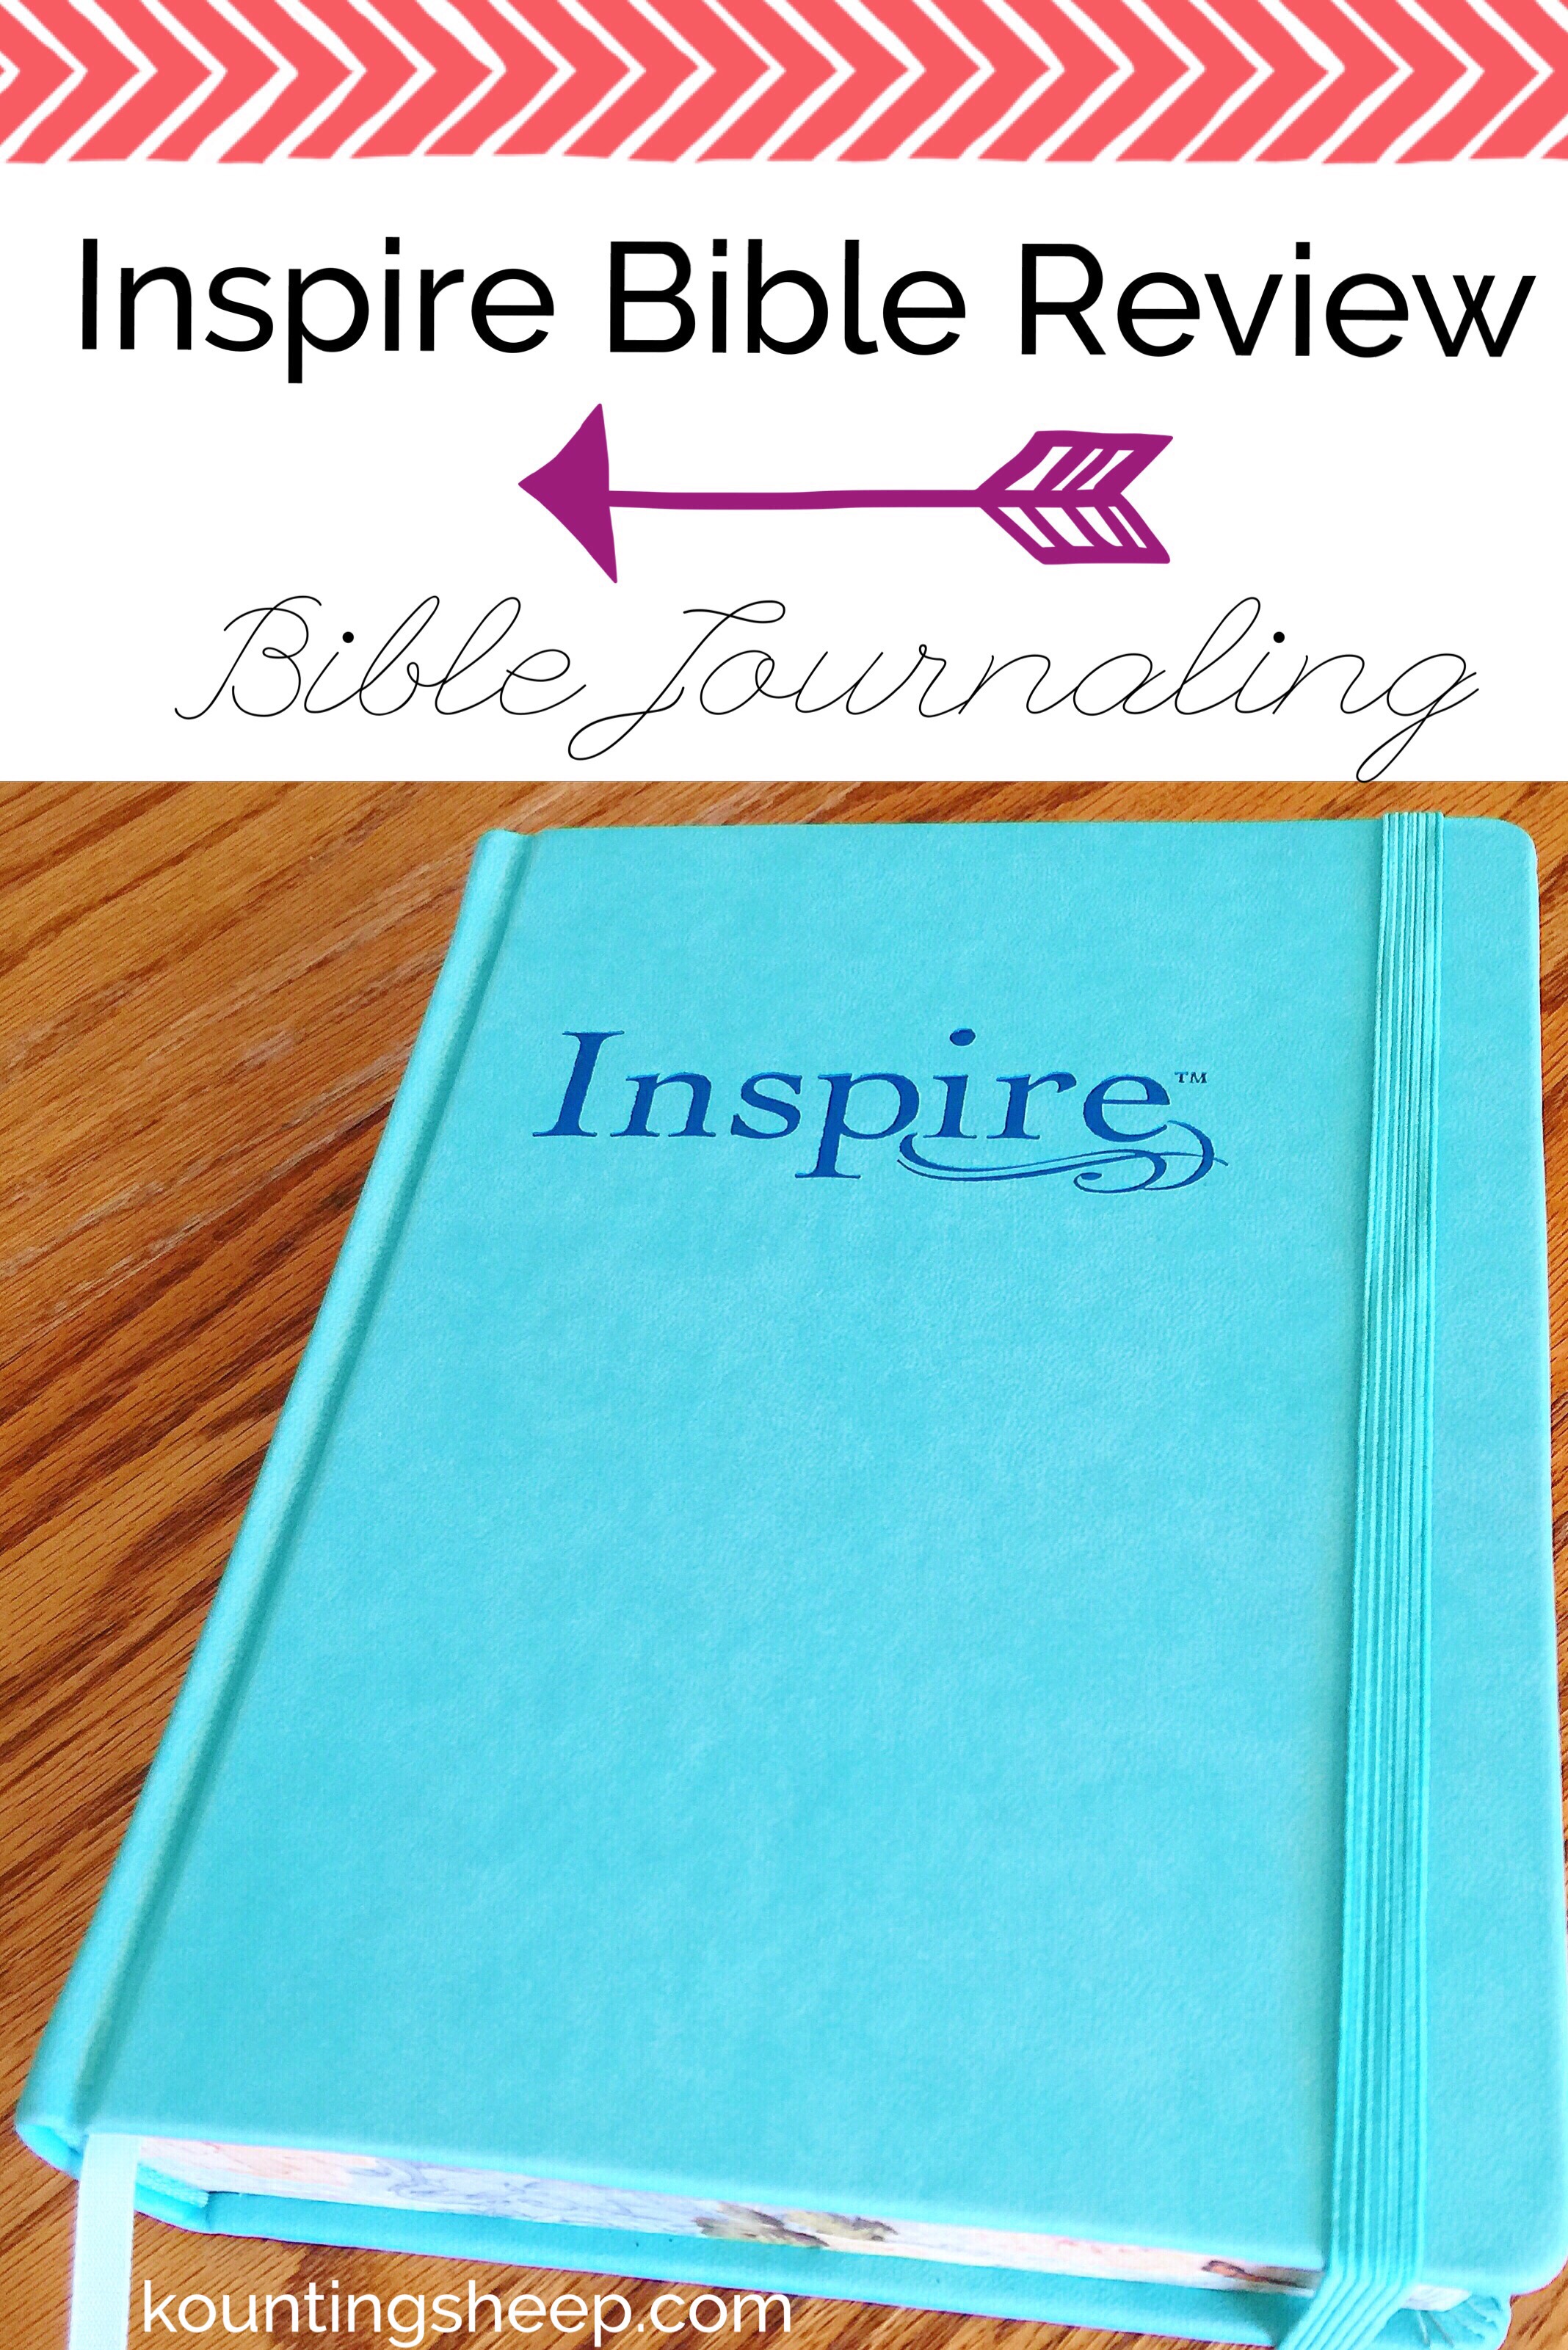 Yesterday I received my free advance copy of the new
 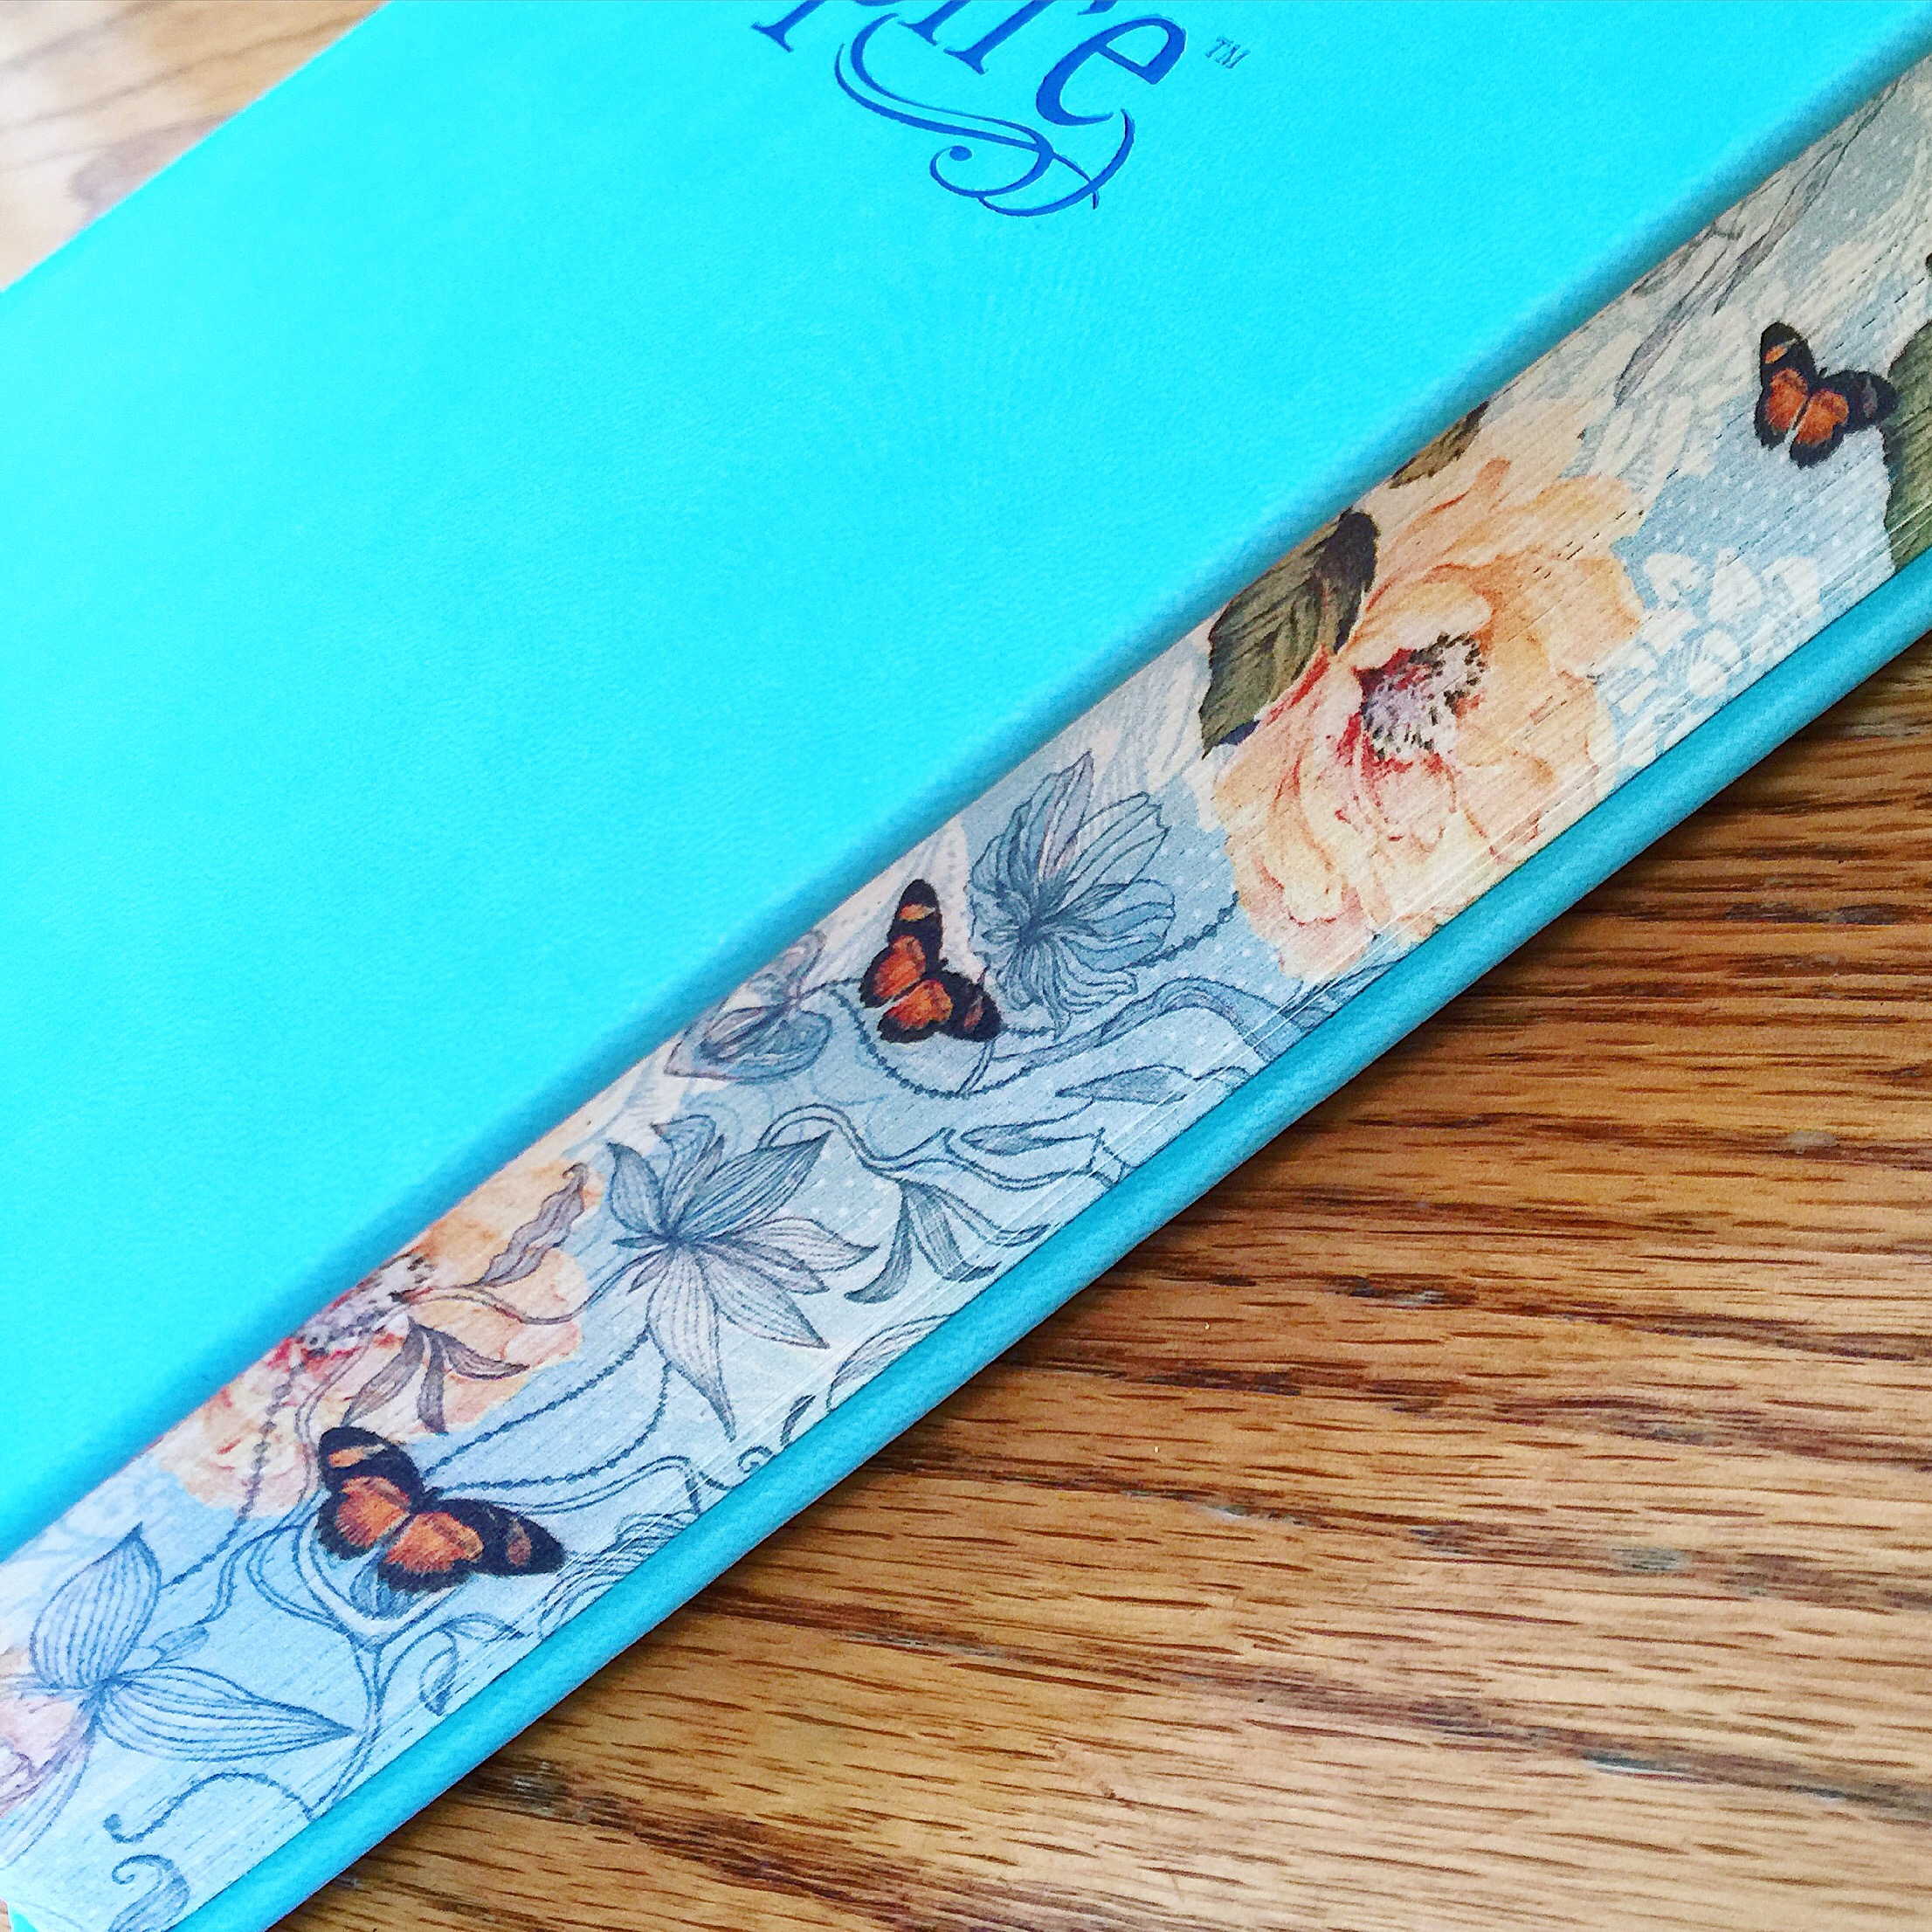 The hardcover has the butterfly pattern on the endpapers, which initially drew me to this Bible when I first saw it a couple of weeks ago, since butterflies are one of my favorites. There is an imitation leather version with a fully-illustrated cover and simpler design on the endpapers as another option.
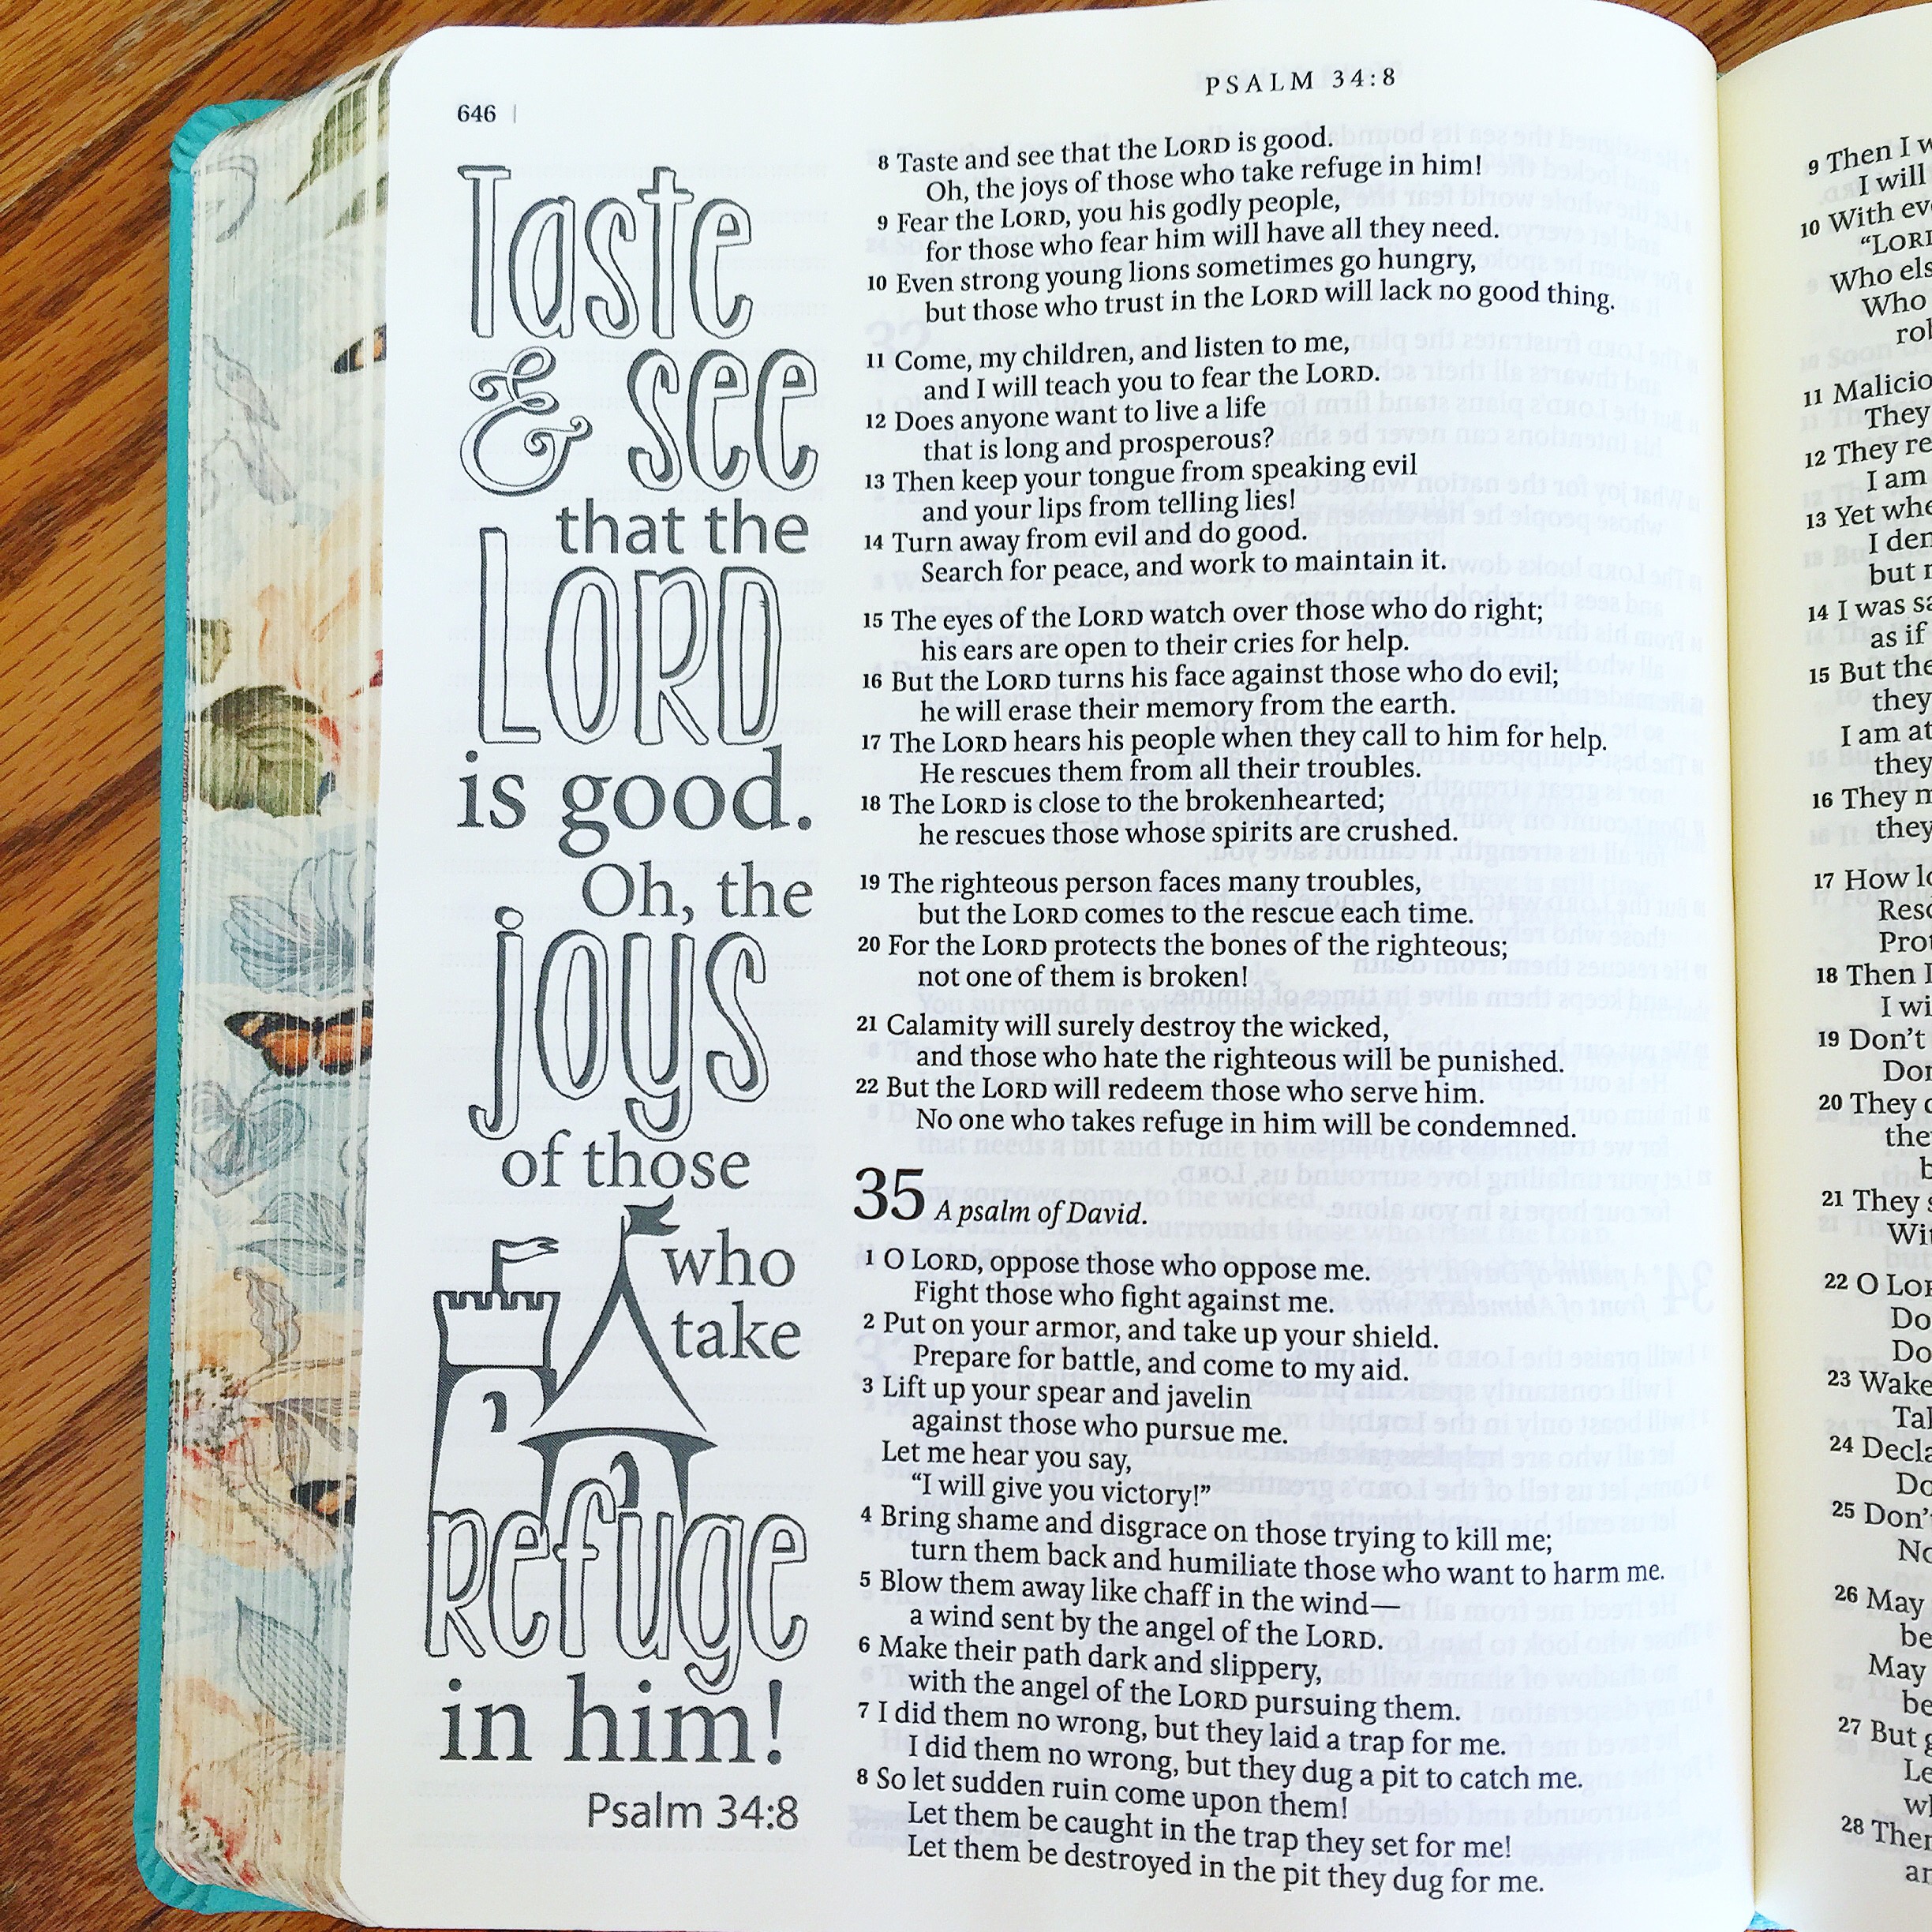 The actual pages of the Bible are still thin compared to normal coloring books, but slightly thicker than my ESV double column journaling Bible. You can see some shadowing of the pre-printed illustrations, but I didn’t find this too bothersome. On the blank pages, the margins are lined, and on pages with illustration, the margins are unlined. The Inspire Bible is also about an inch taller, since it is single column and the font size is larger at 8.65 point font. Since this is my first single column journaling Bible, I don’t know how it would compare to other single column versions.
 Another thing that I was happily surprised about was the Index of illustrations in the back. This is very useful for finding each page with an illustration in both the Old and New Testaments.
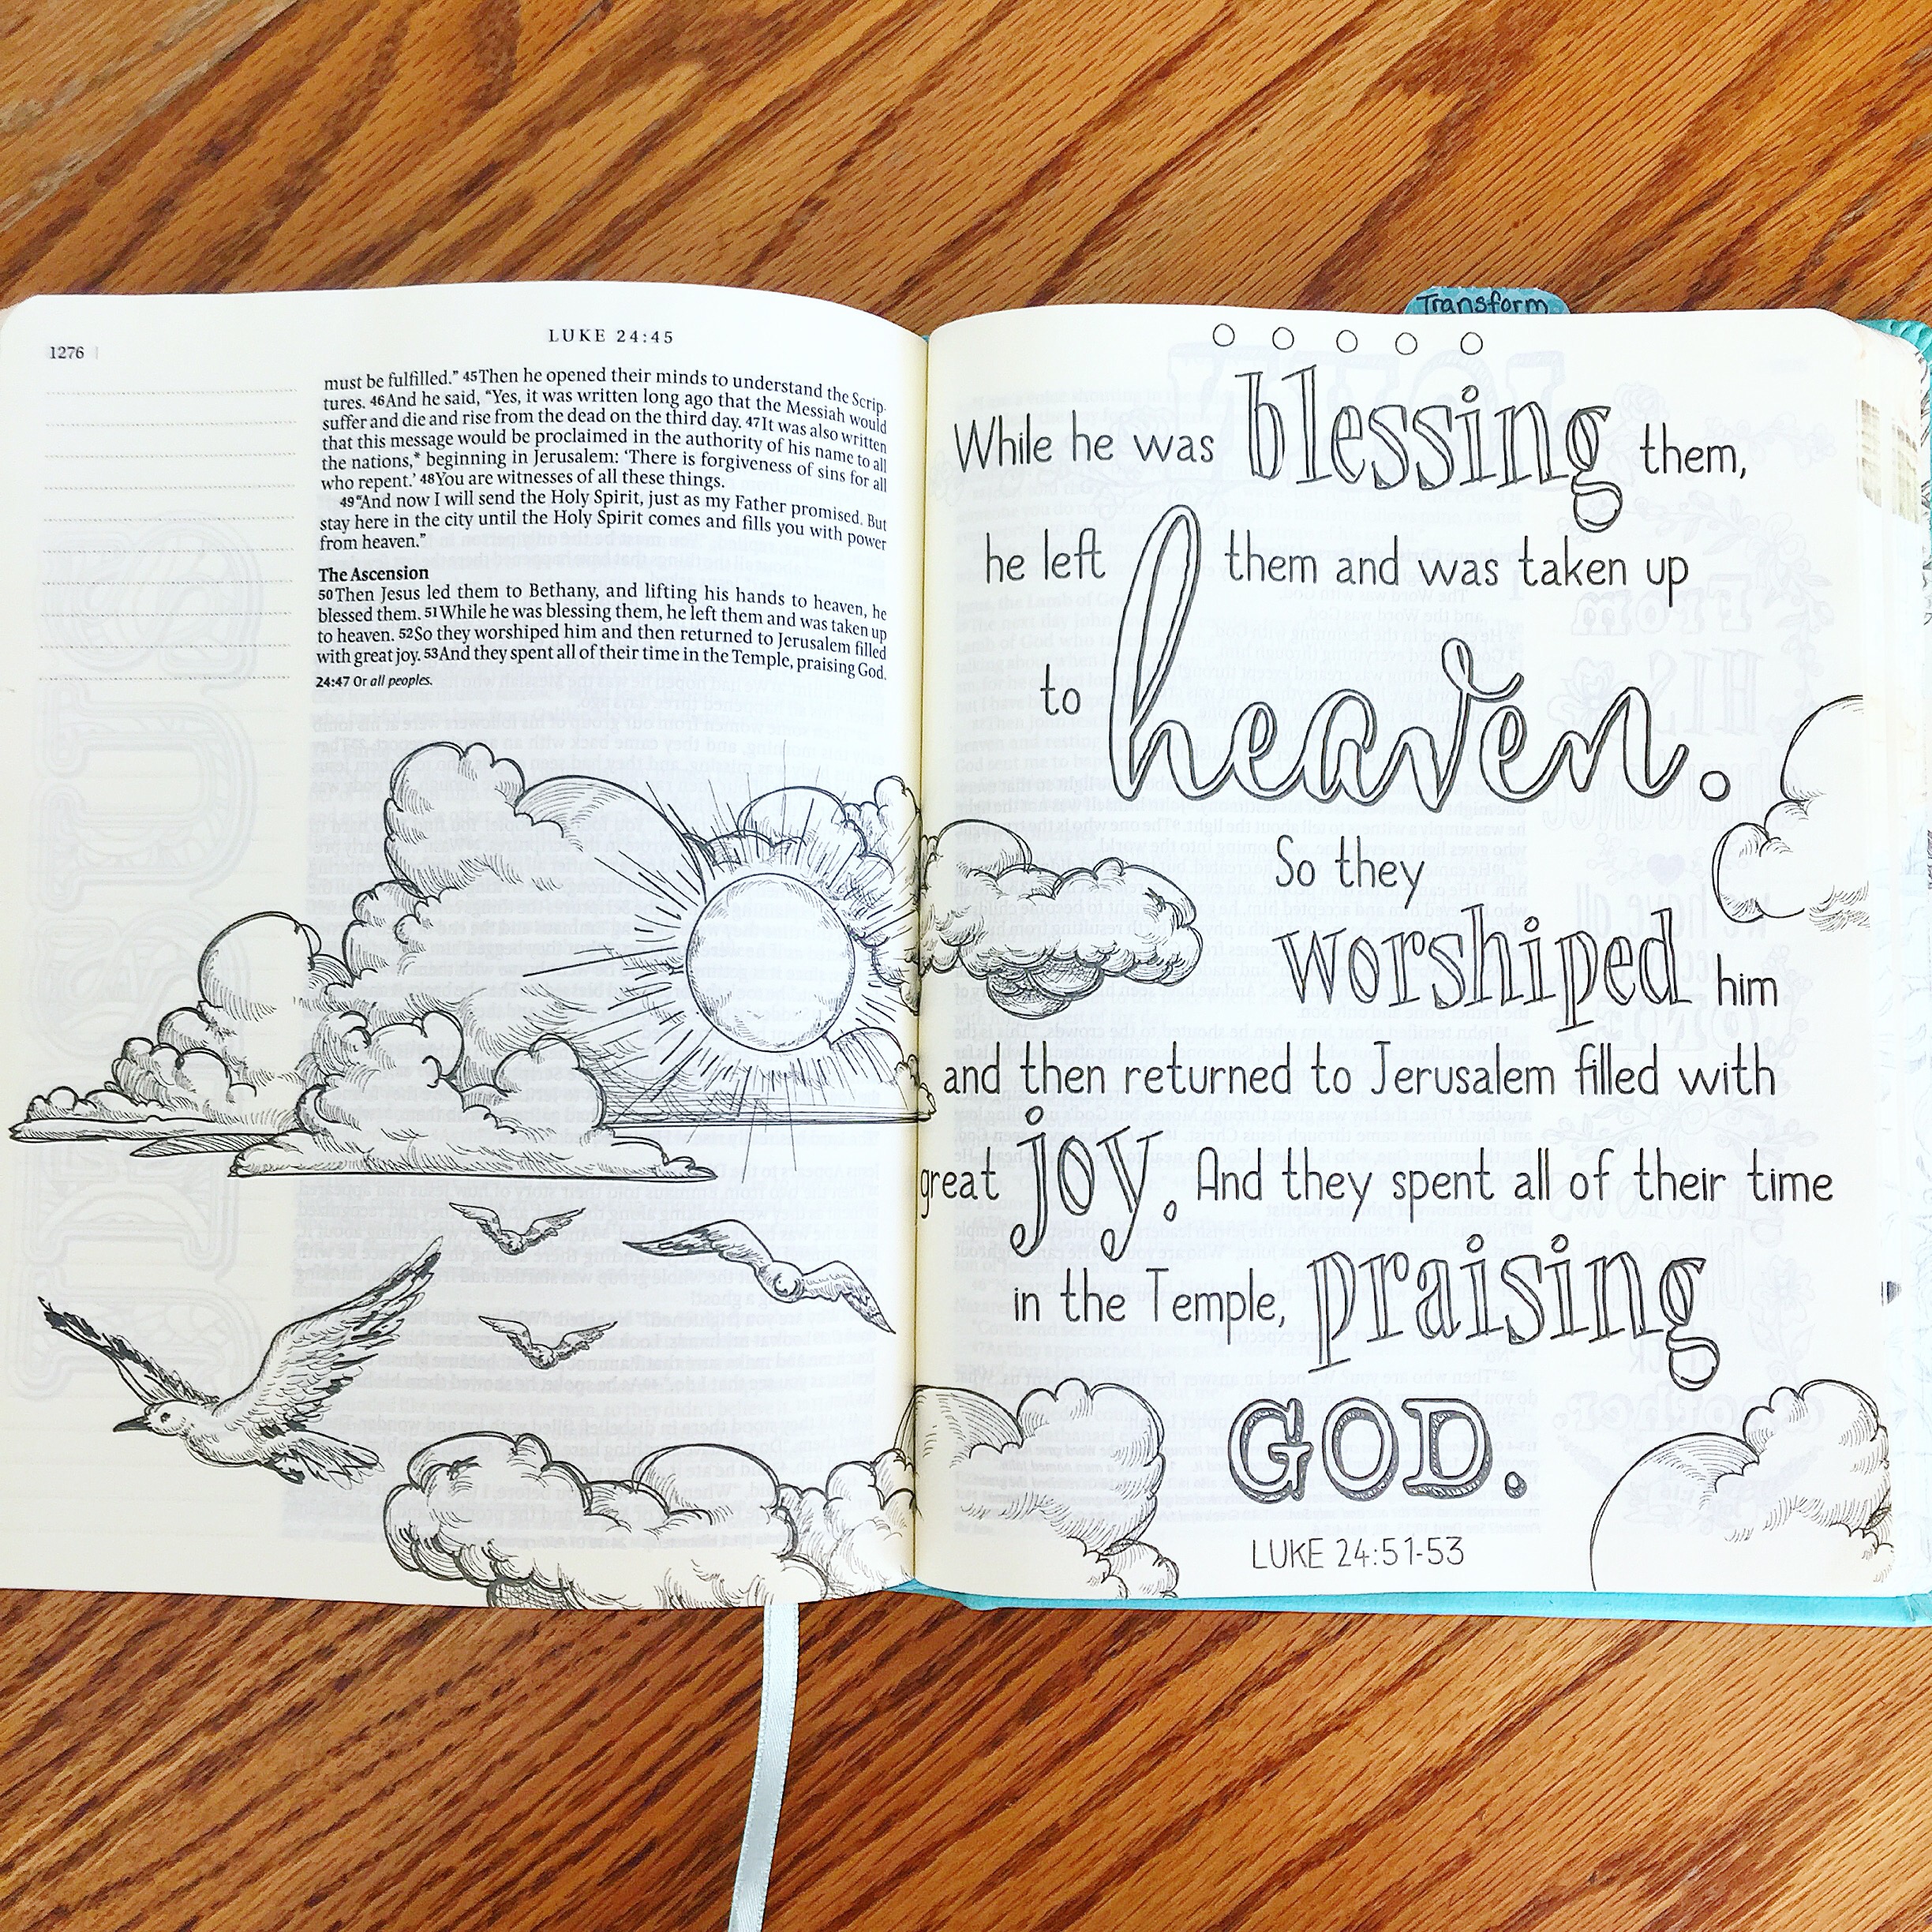 The New Testament had more full page illustrations in it than the Old Testament, including the only two-page one-illustration spread (there are other places in which illustrations are on a two-page spread, but they are two separate illustrations).
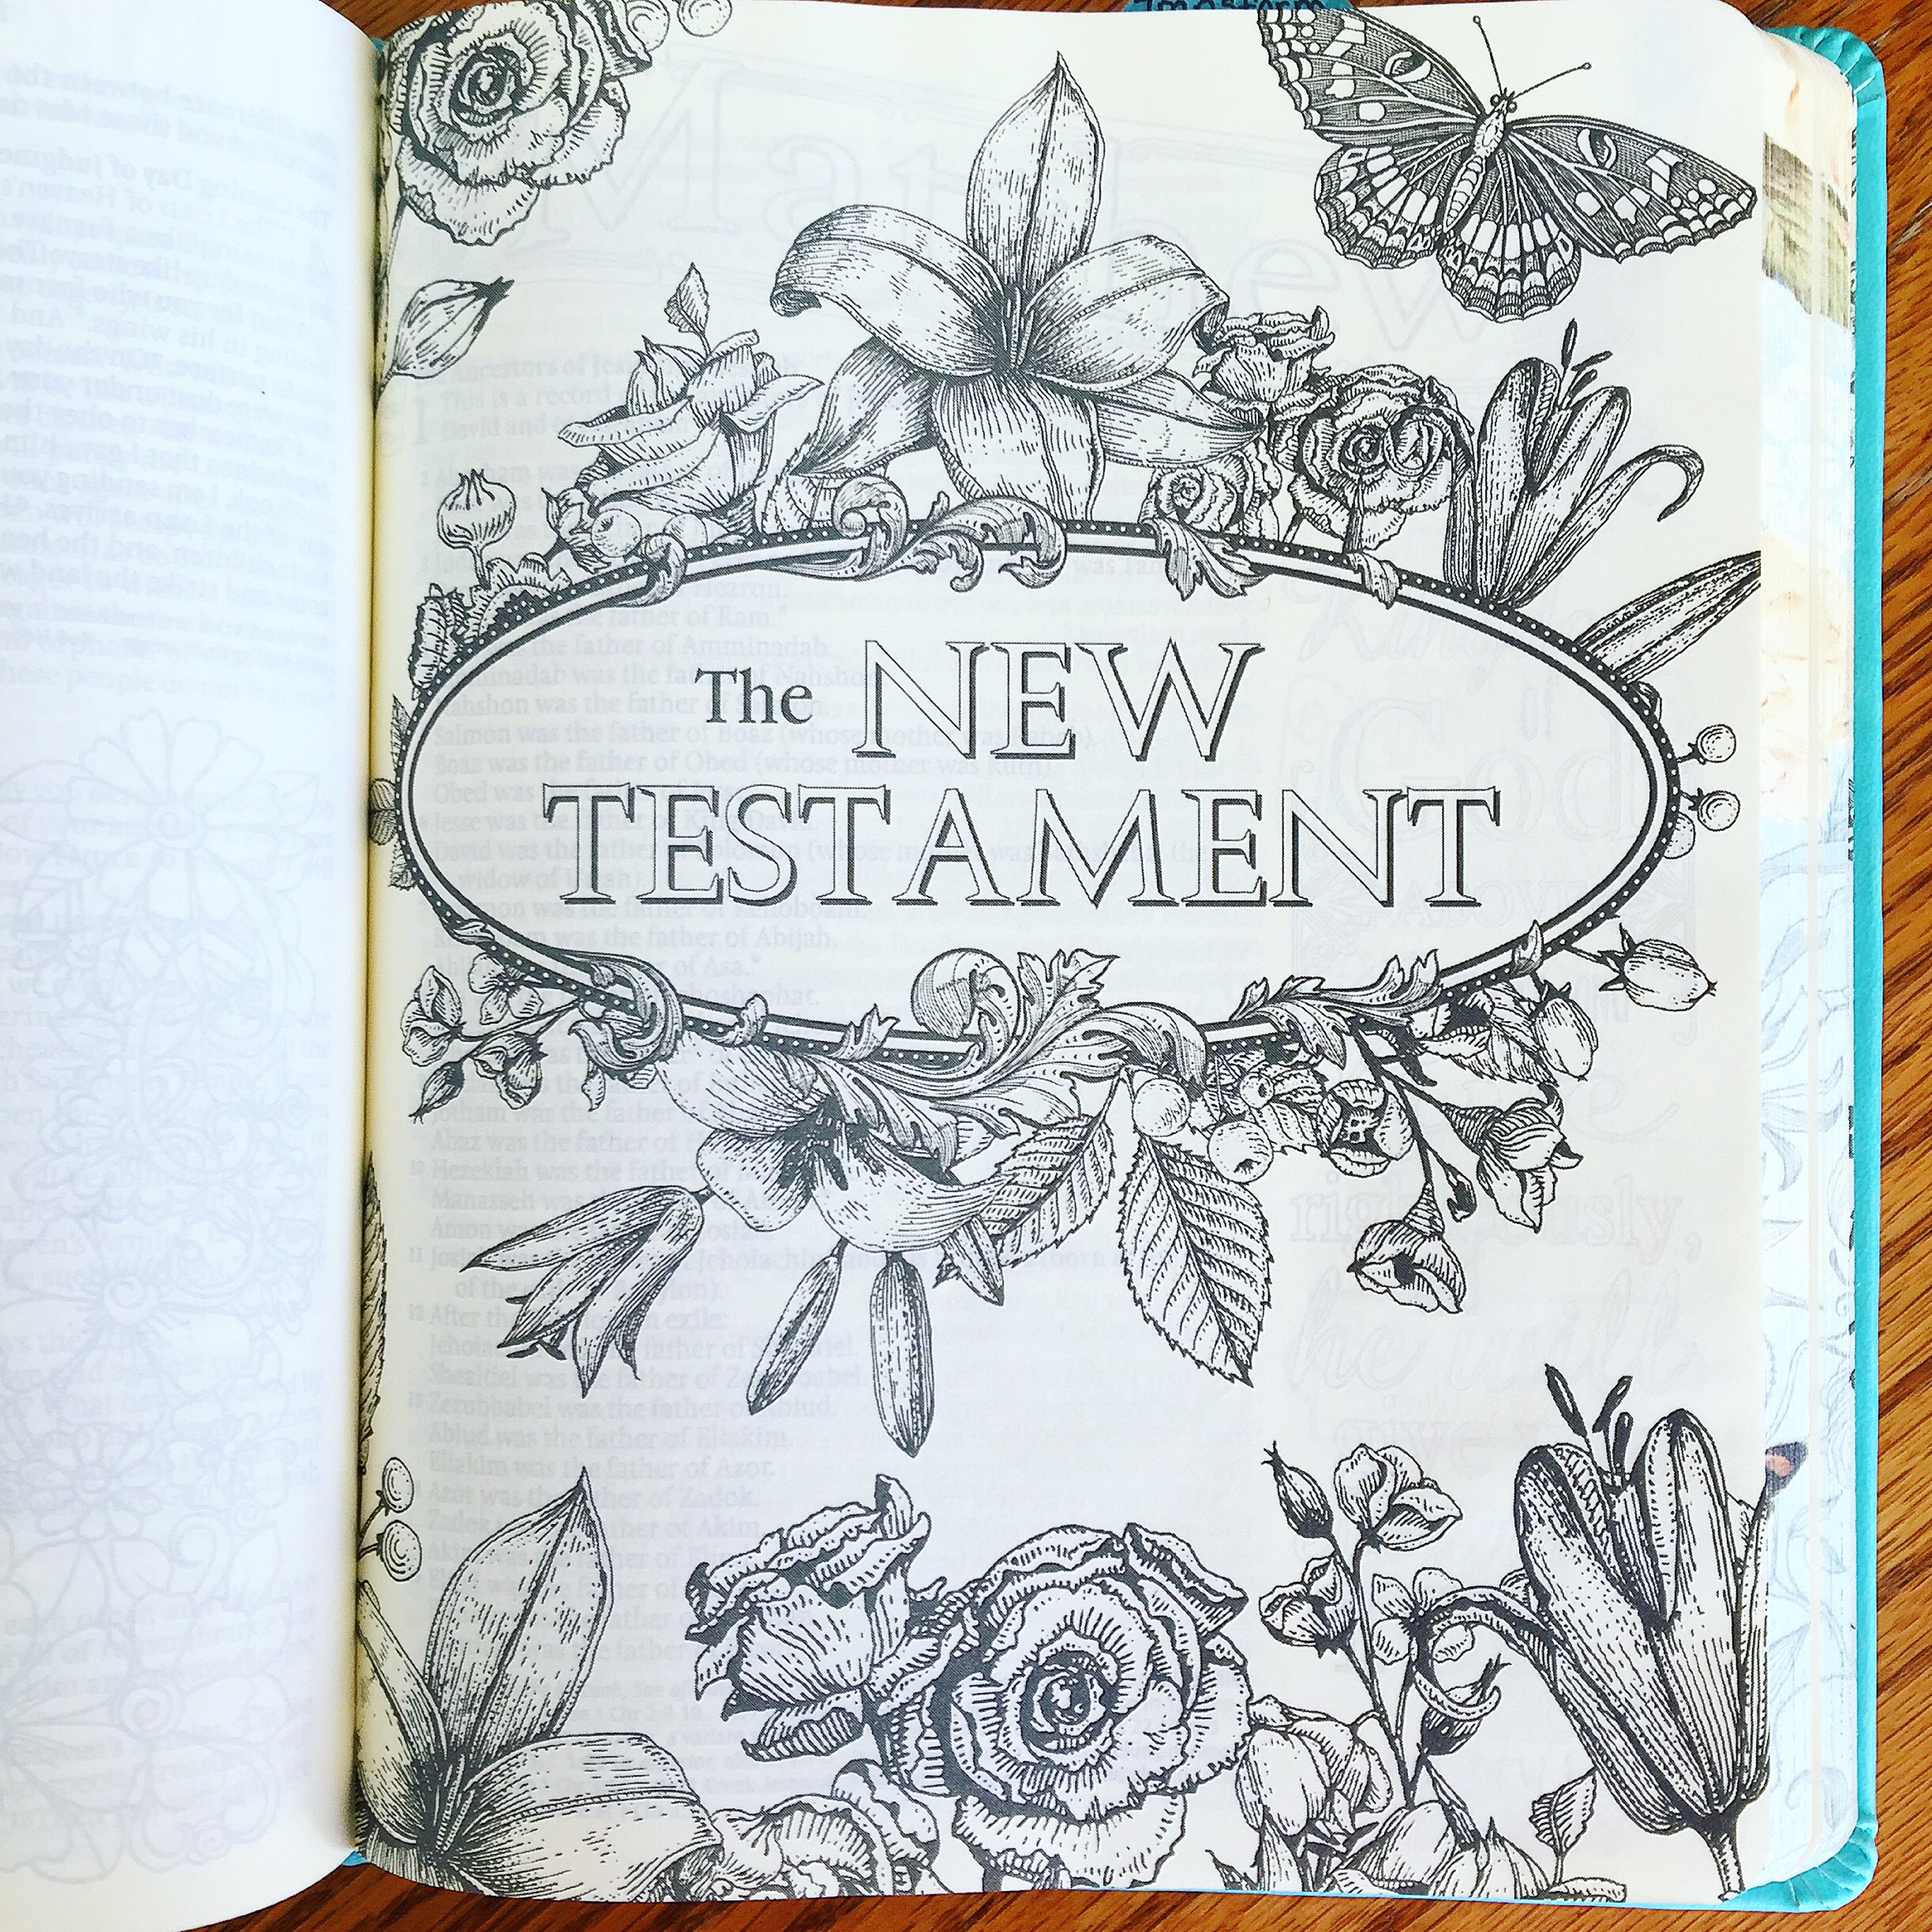 Another thing I liked about the illustrations themselves is that they vary in style throughout the Bible. Florals, birds, lettering, scrolls, hand-drawn scenes, mini castles, crowns, sheep, and even a deer are just some of the things to be found. But there is also plenty of space to add my own illustrations, lettering, embellishments, and journaling. There are over 400 illustrations according to the publisher, which is only about one-third of this Bible. For the most part there was a good balance between blank and illustrated pages, but some parts in the Old Testament I noticed were a bit sparse on the illustrations, while the New Testament is on the heavier side for the illustrations to blank pages ratio.
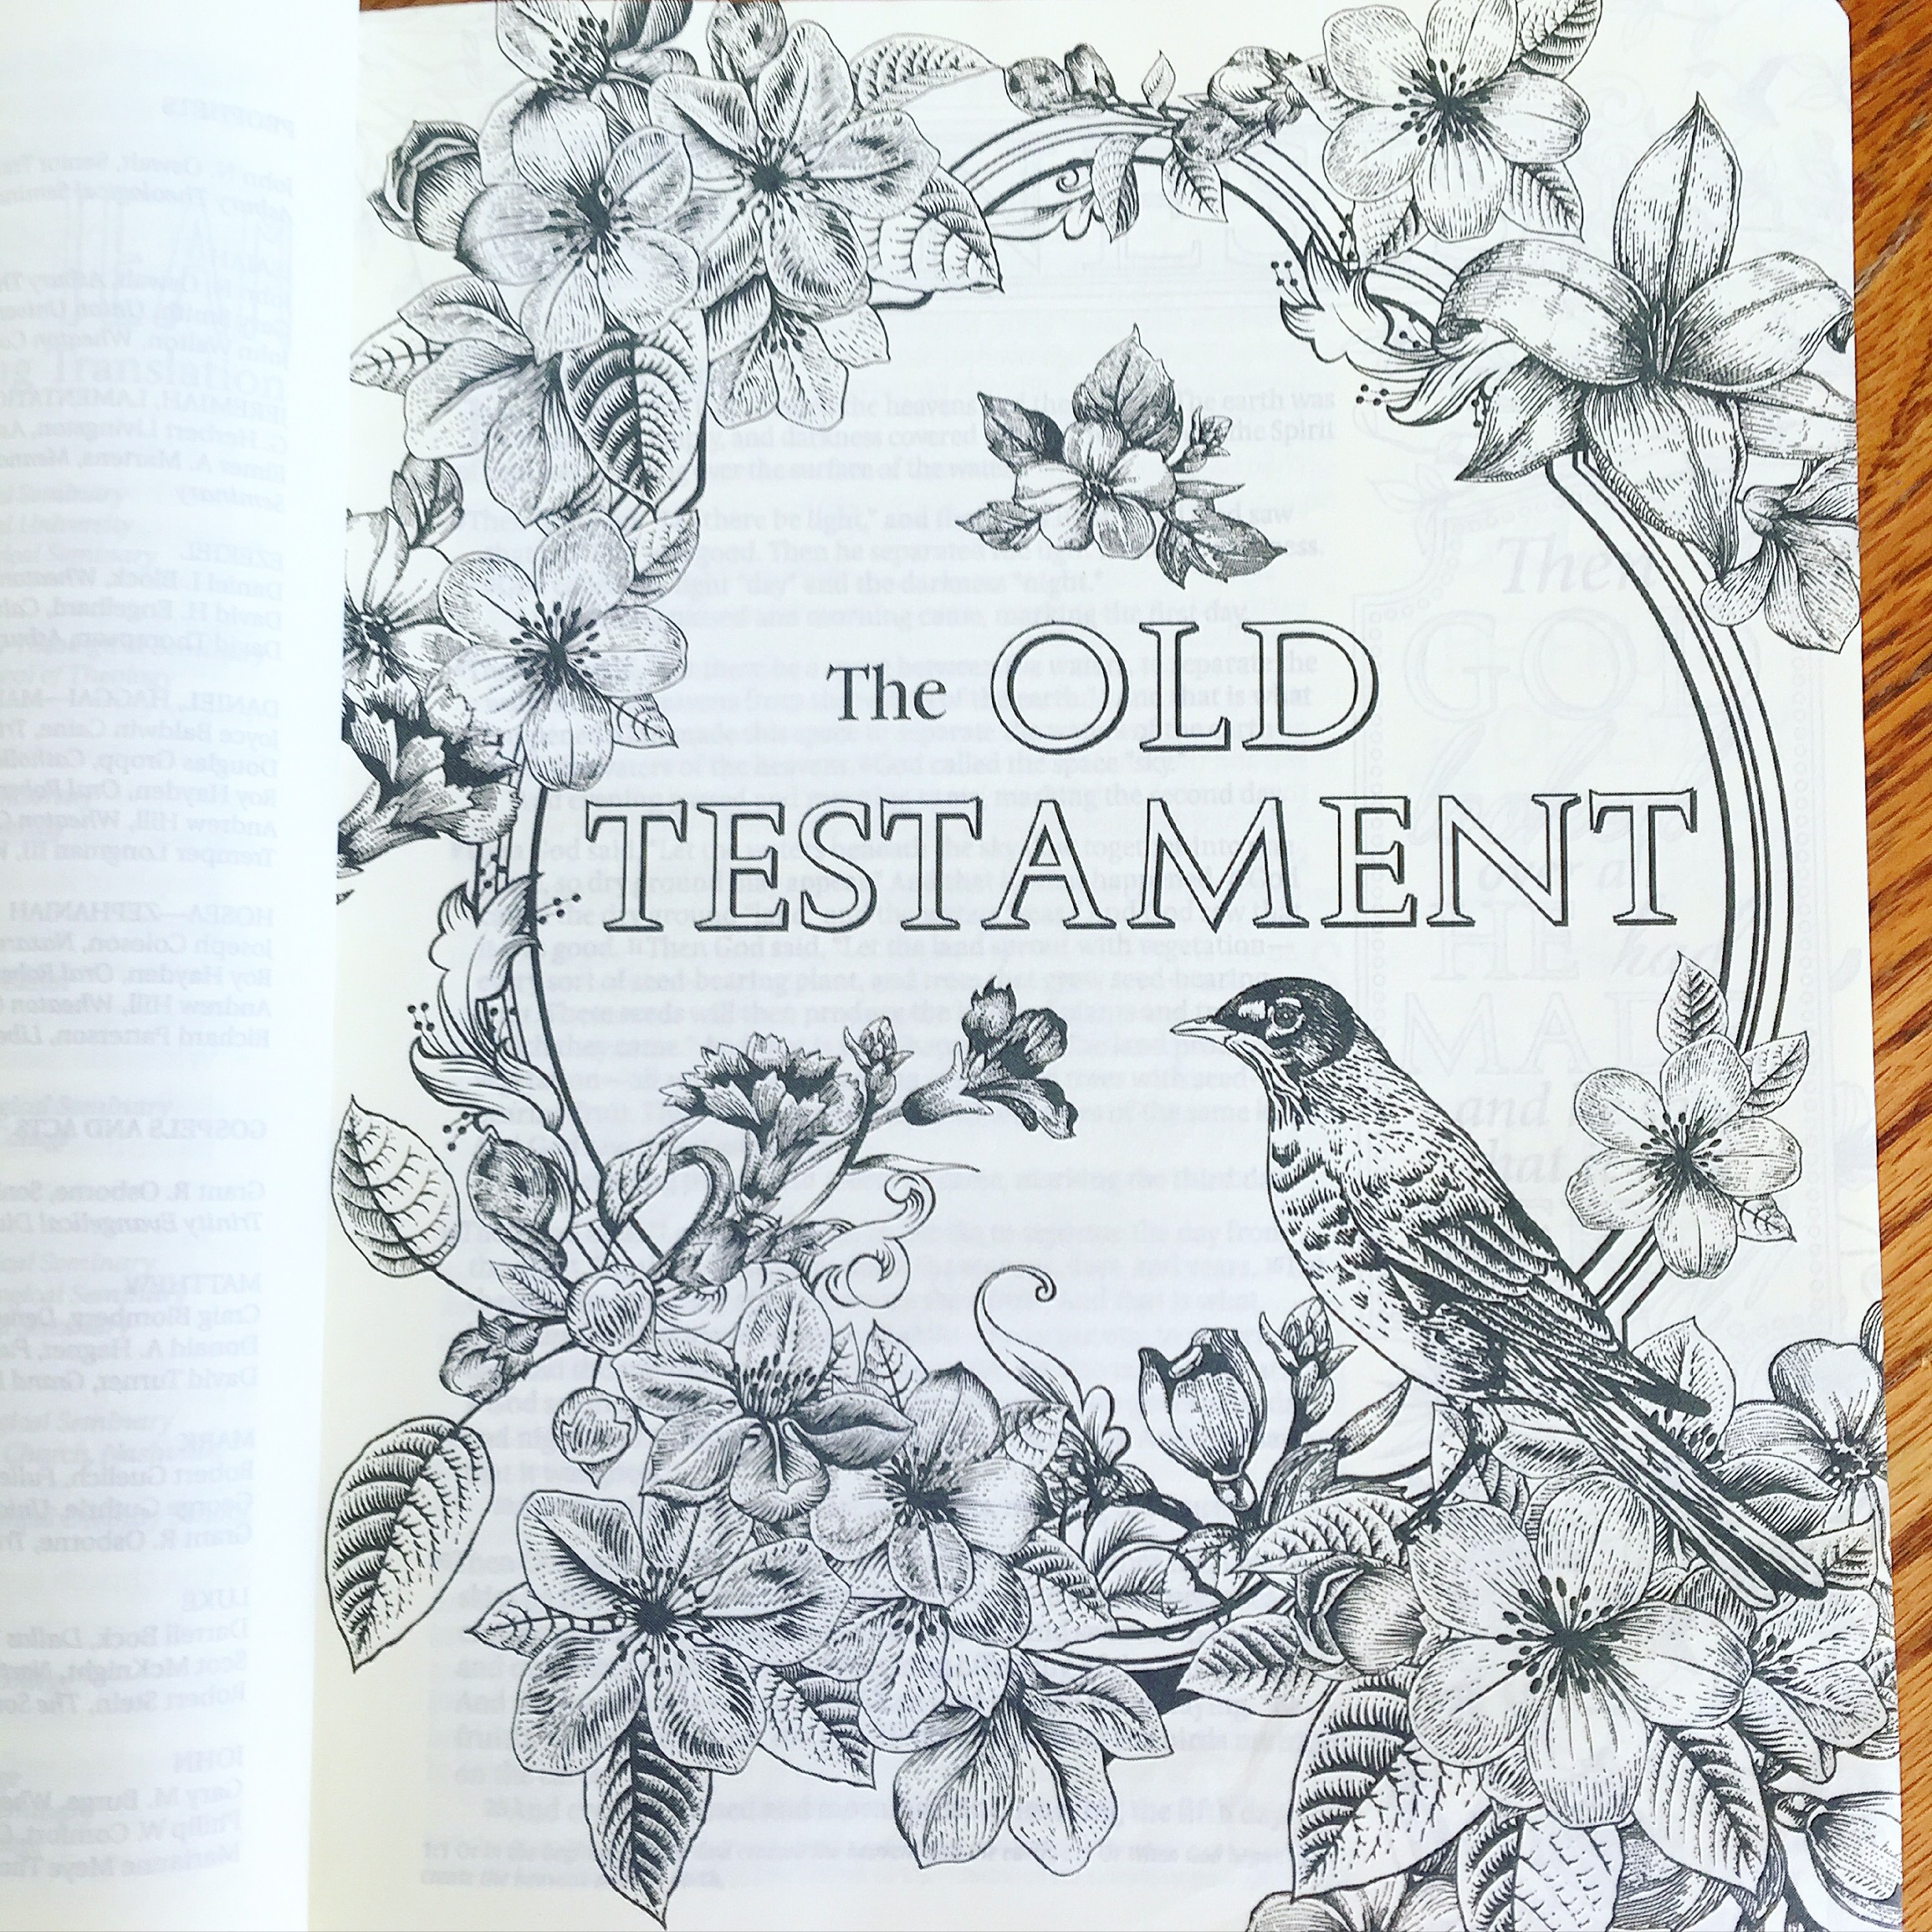
 Overall, I highly recommend the Inspire Bible, and had I not received it for free by winning their contest, I would have eventually purchased it myself. To order your own Inspire Bible from Amazon, click
 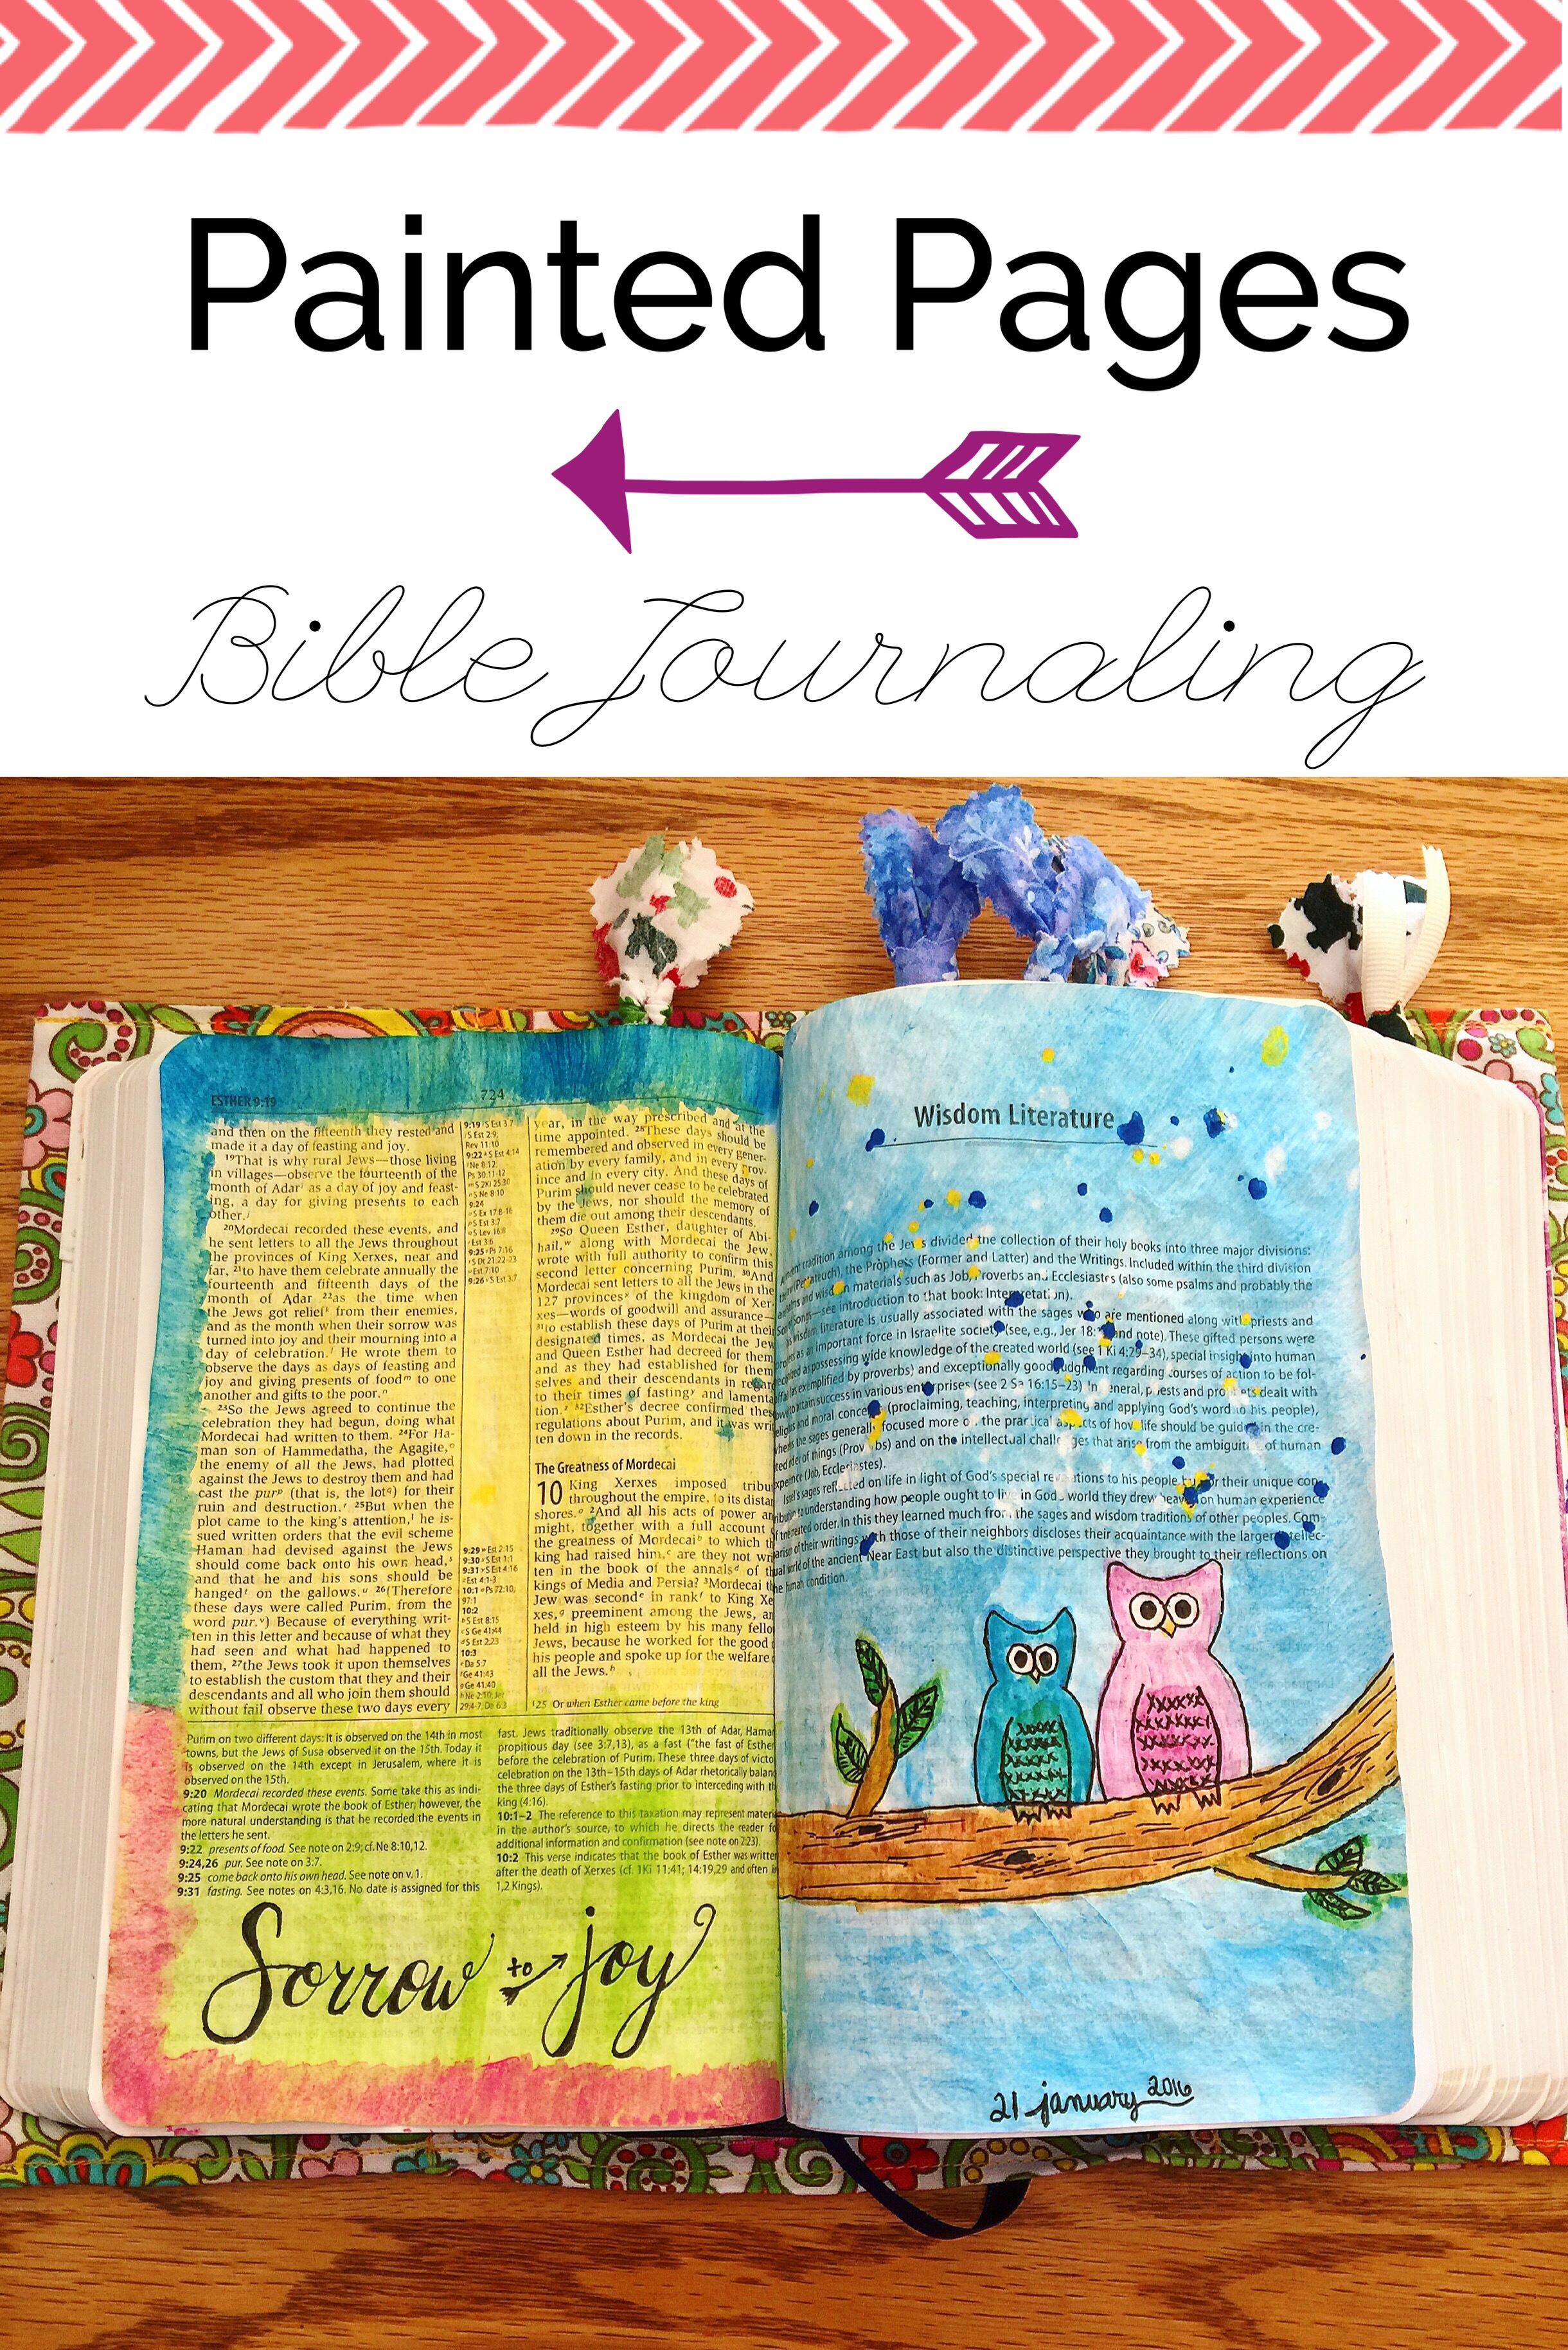 I just got some watercolors and acrylic paint recently so that I could start painting in my Bible. I felt like I couldn’t quite get the look and colors I wanted with the colored pencils by themselves, especially since often times I’m coloring over words in my study Bible (non-journaling Bible), so I wanted to try painting to see if I liked that better. And the answer is definitely yes!
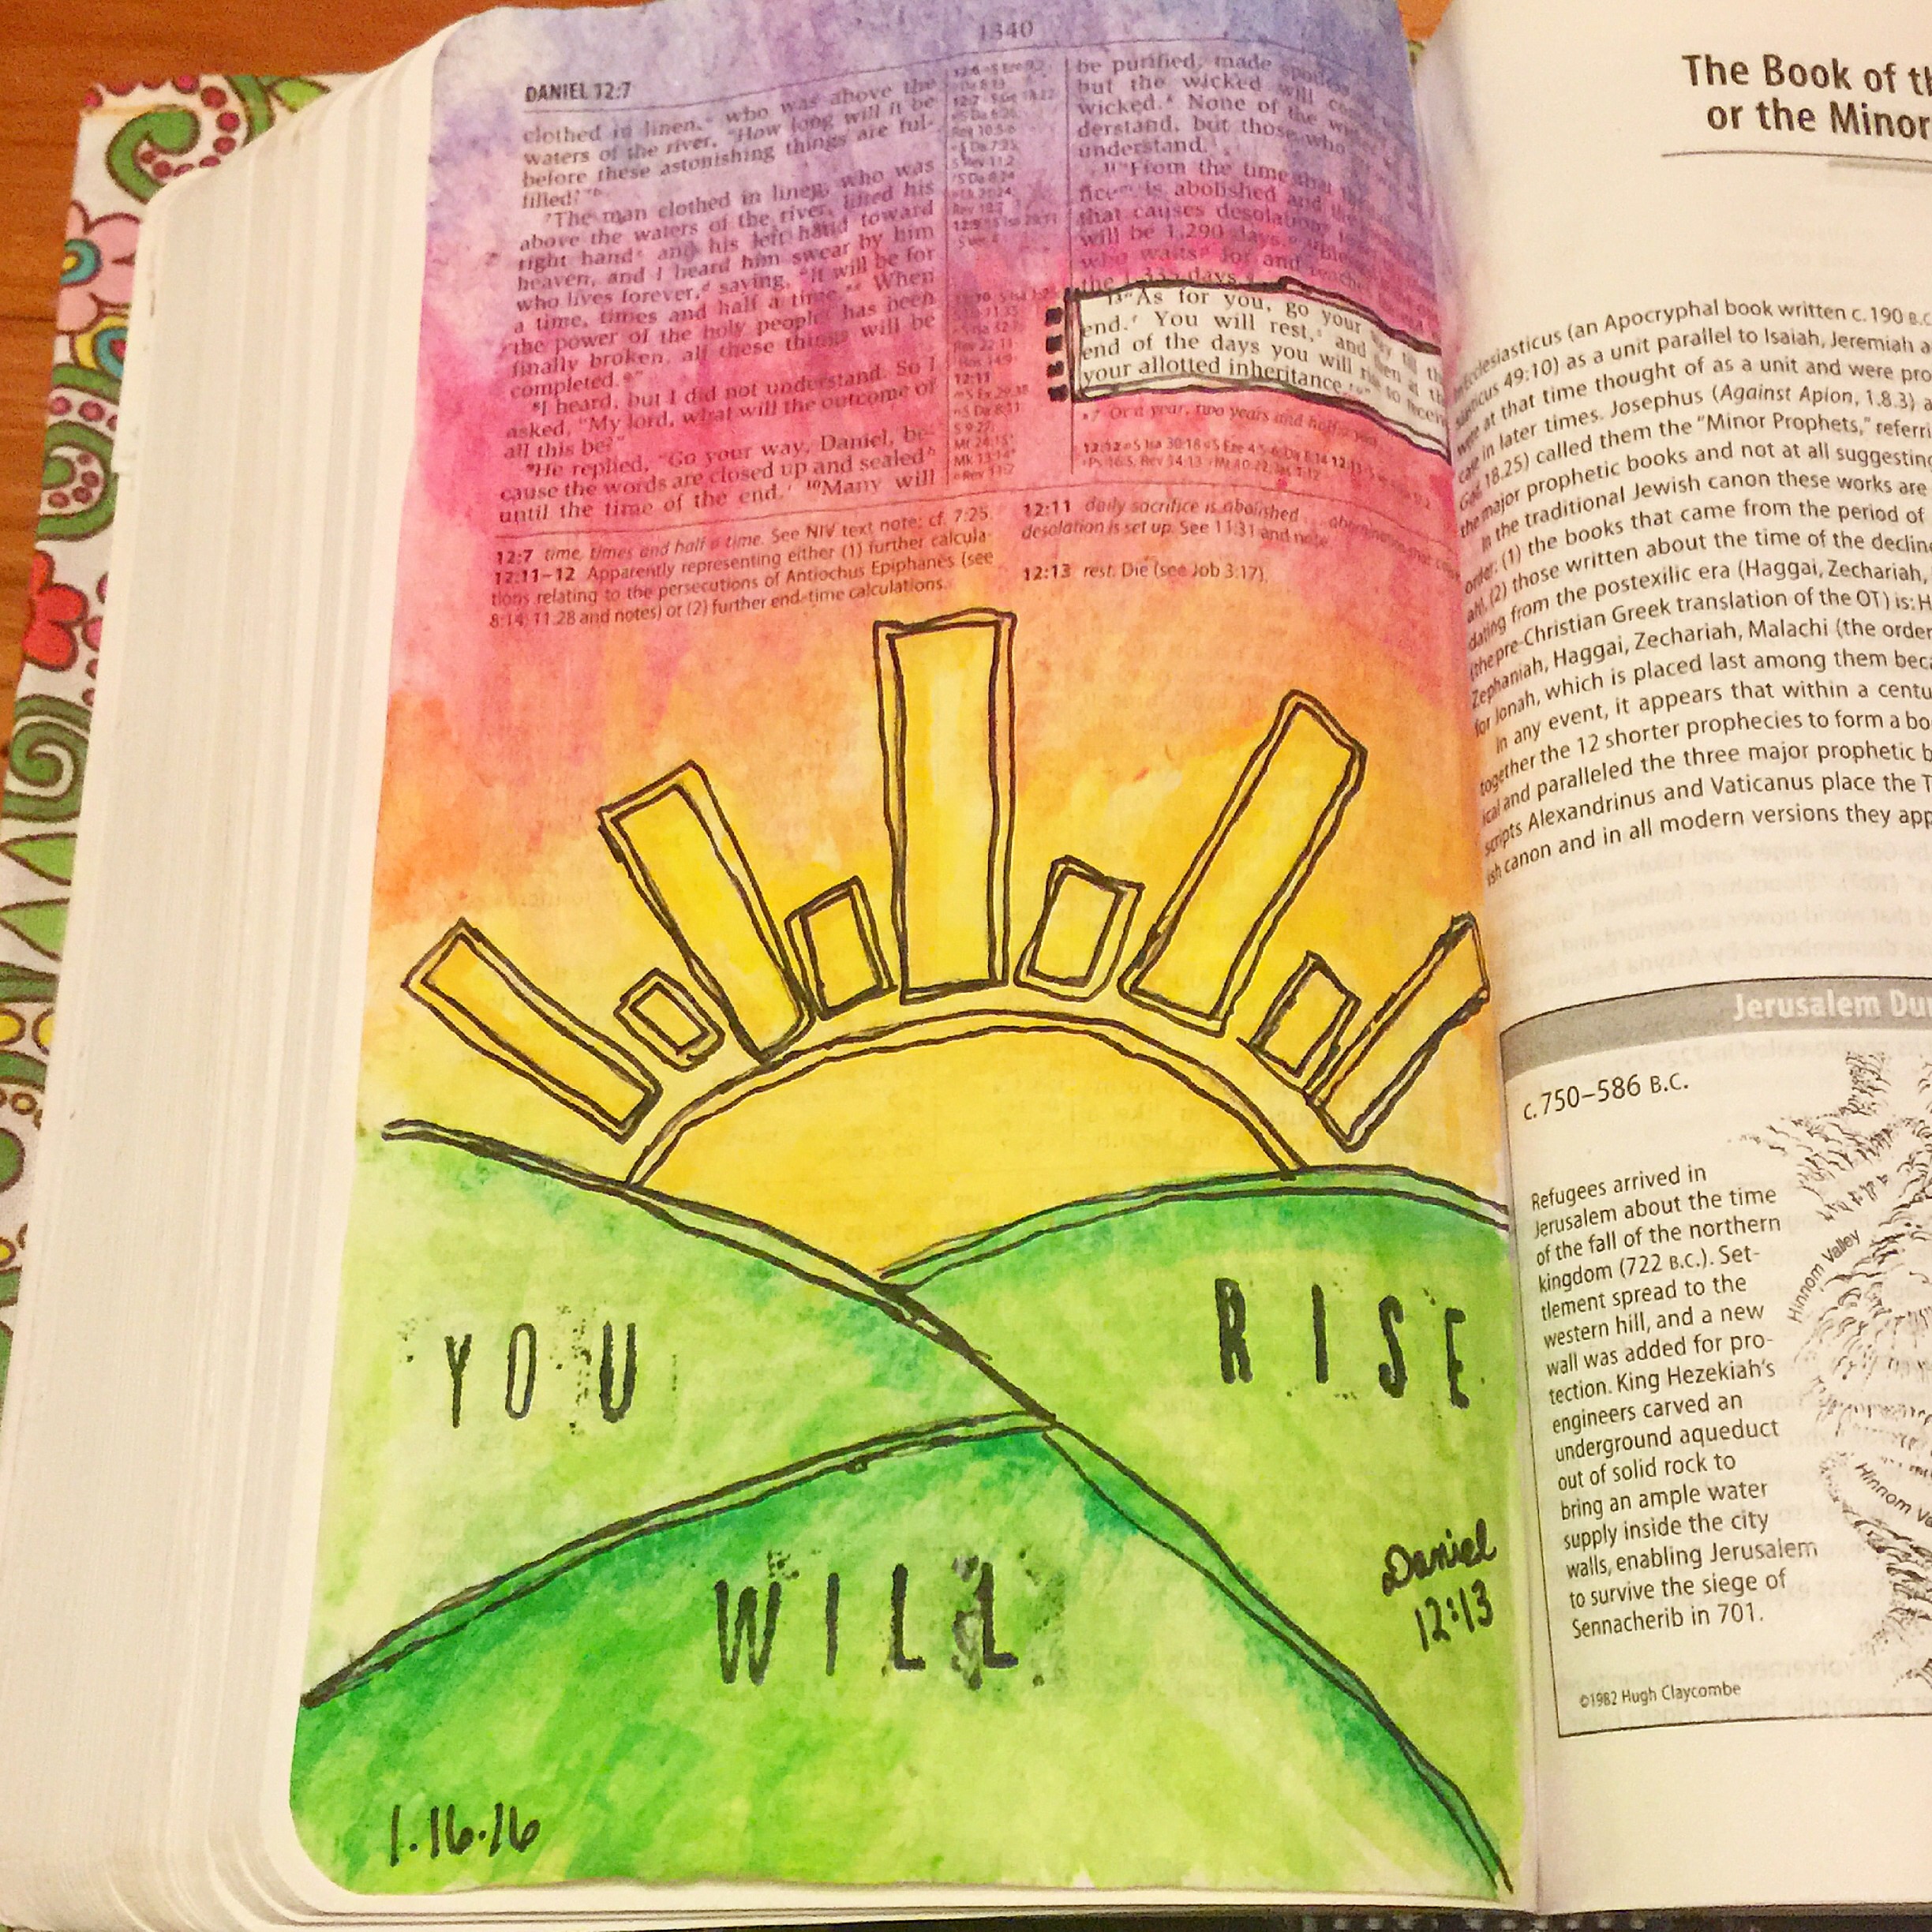 The first page I did with my new, $5 set of watercolors was paint this sunrise at the end of the book of Daniel. The last verse is a foreshadowing of how one day we will rise in Christ as believers, so painting a sunrise fit perfectly with this verse. I drew the image on first in pen, then did the watercolor. After it dried, I went back over the lines in pen then stamped the words “You will rise.” This is the first watercolor I have done in over 10 years at least, so watching a brief tutorial beforehand really helped.
 I have also been painting a little bit with acrylic paint (Apple Barrel for $0.50 each at Walmart). I don’t like acrylic as much as watercolors, but it’s fun to get a more solid paint look on the page.
 So far I haven’t had any issues of bleed through with either acrylic or watercolor paints, and I am using an NIV study Bible with traditionally thin Bible pages. Watercolor seems to be my favorite so far, which means I definitely see more watercolor pages in my future as I still discover my style. As my first month of Bible journaling almost comes to a close, I have found verses that I didn’t know were there, I’ve seen old favorites in a new light, and I have felt such freedom to express myself through this form of creative worship. I look forward to my Bible reading time, and I feel as though God is renewing me through this process, which has come at a time when I really needed it.
  I just recently posted about
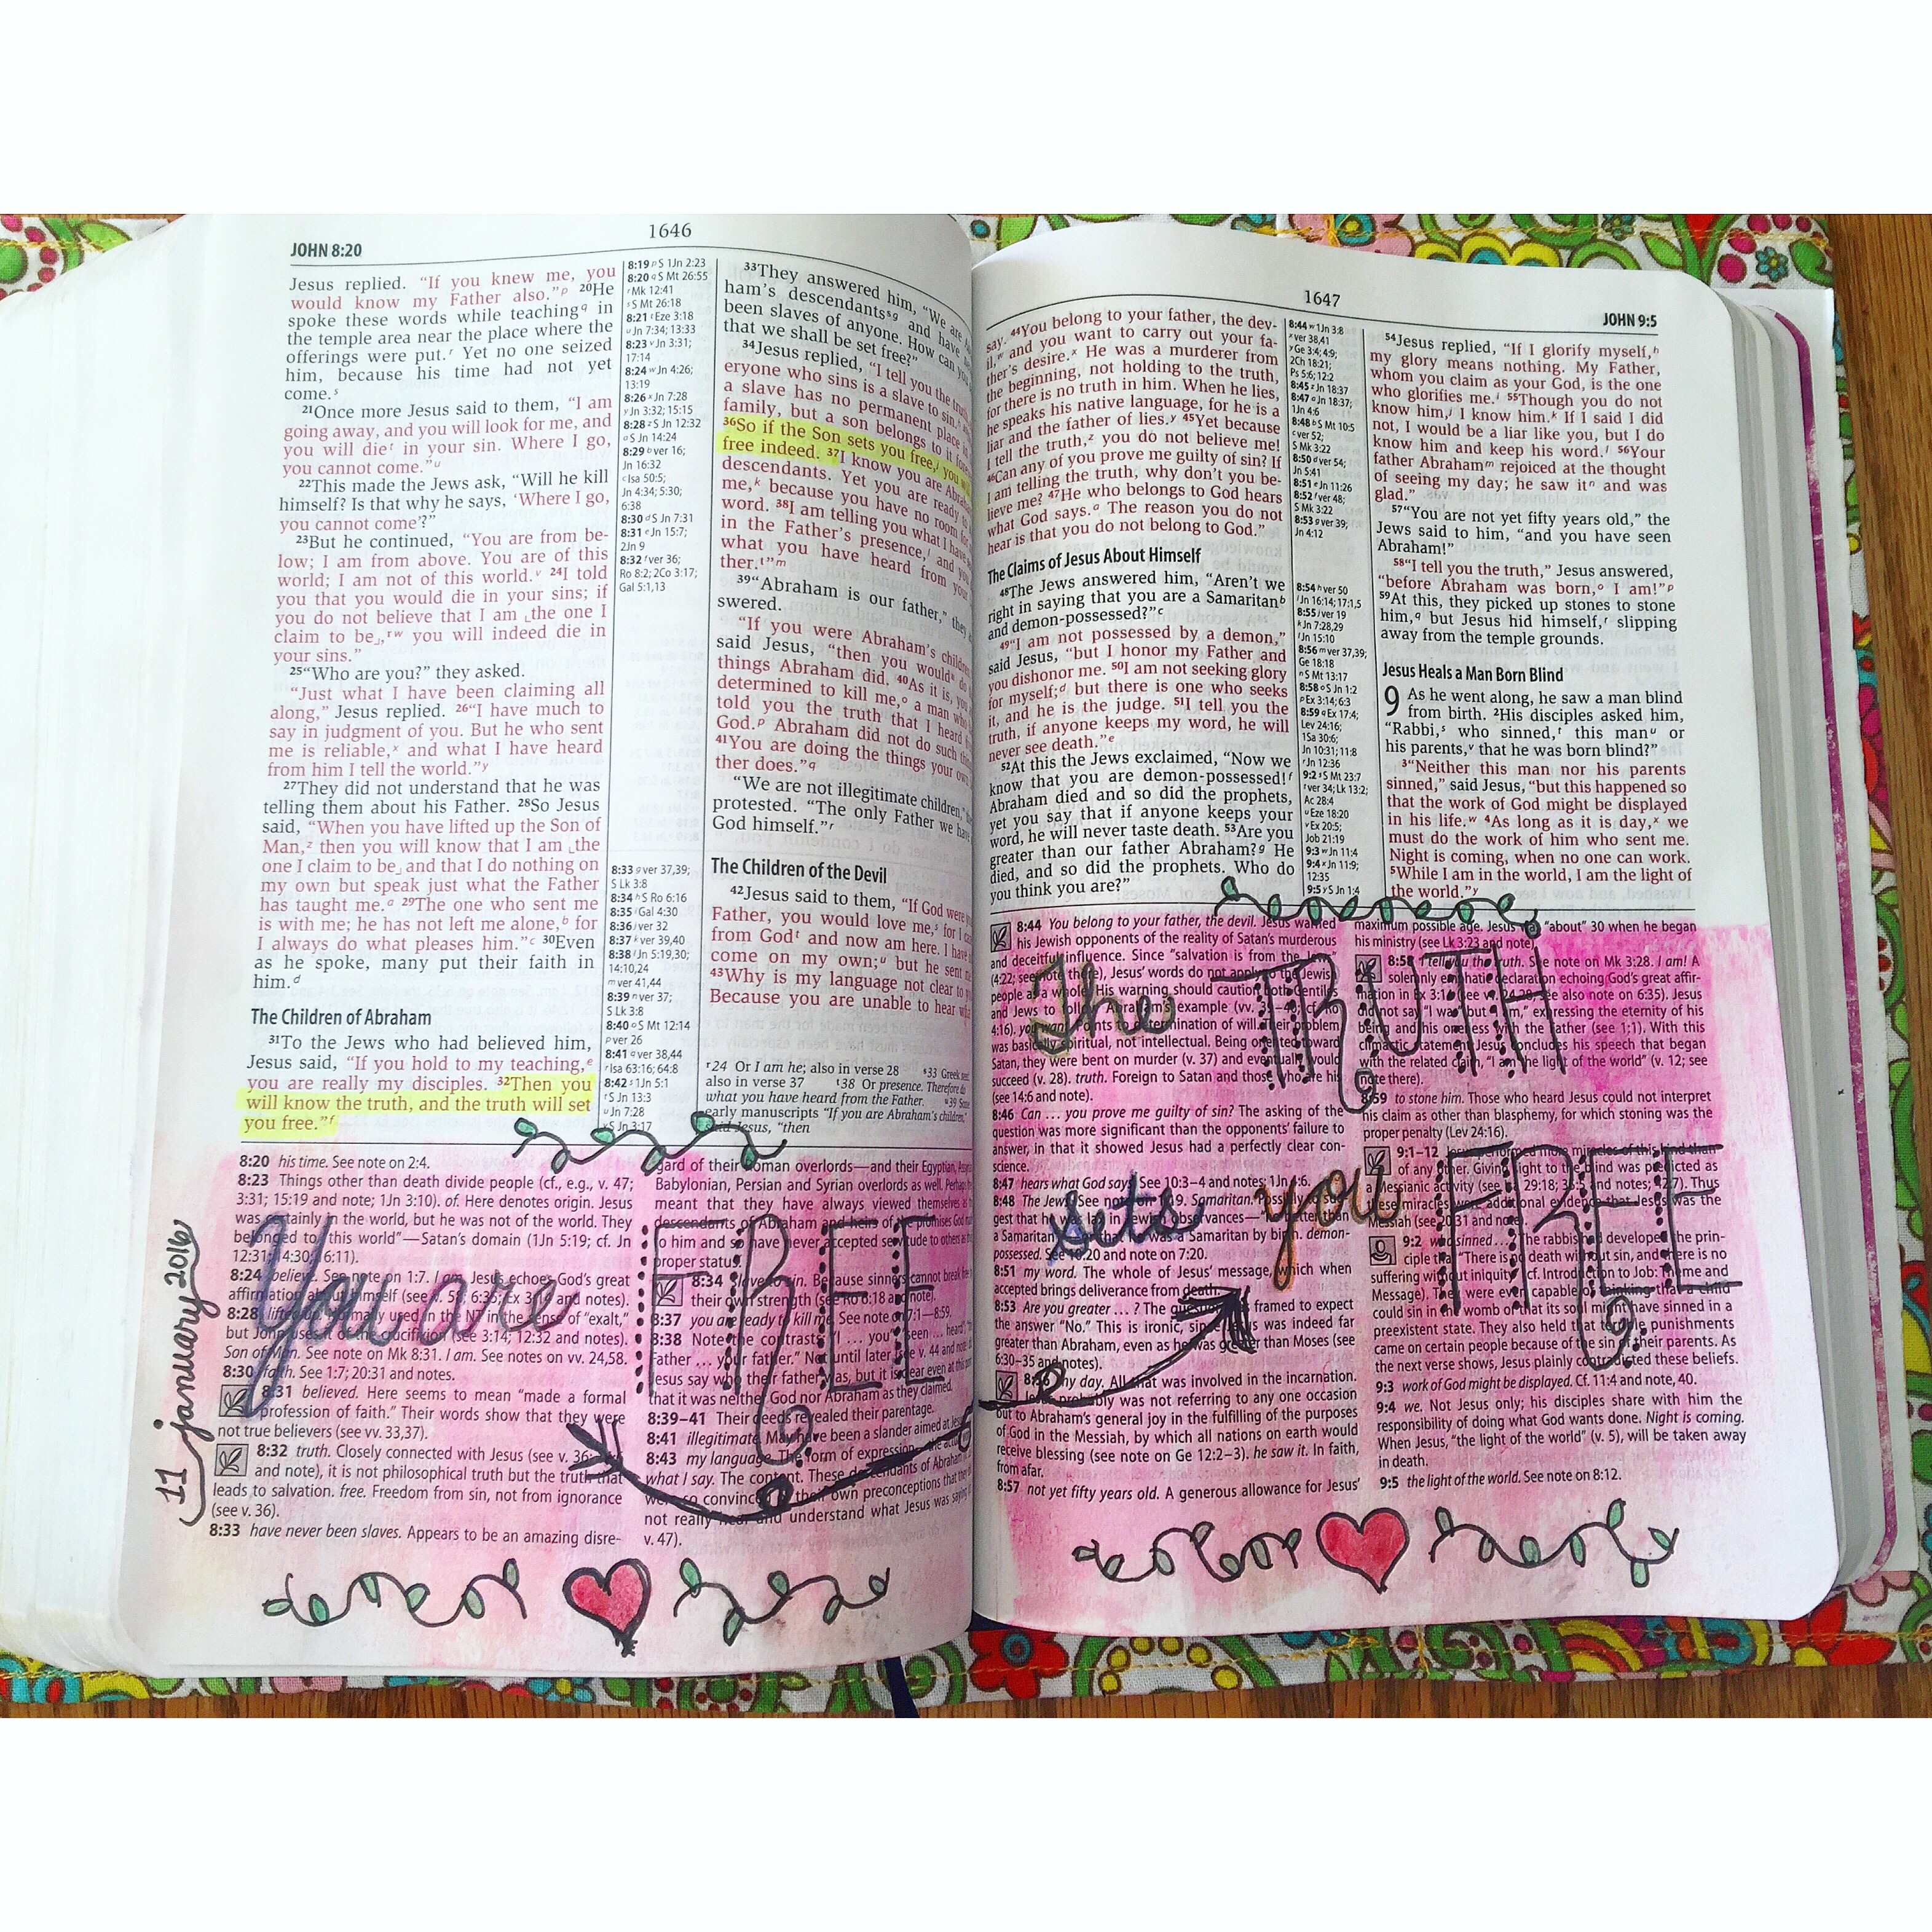
 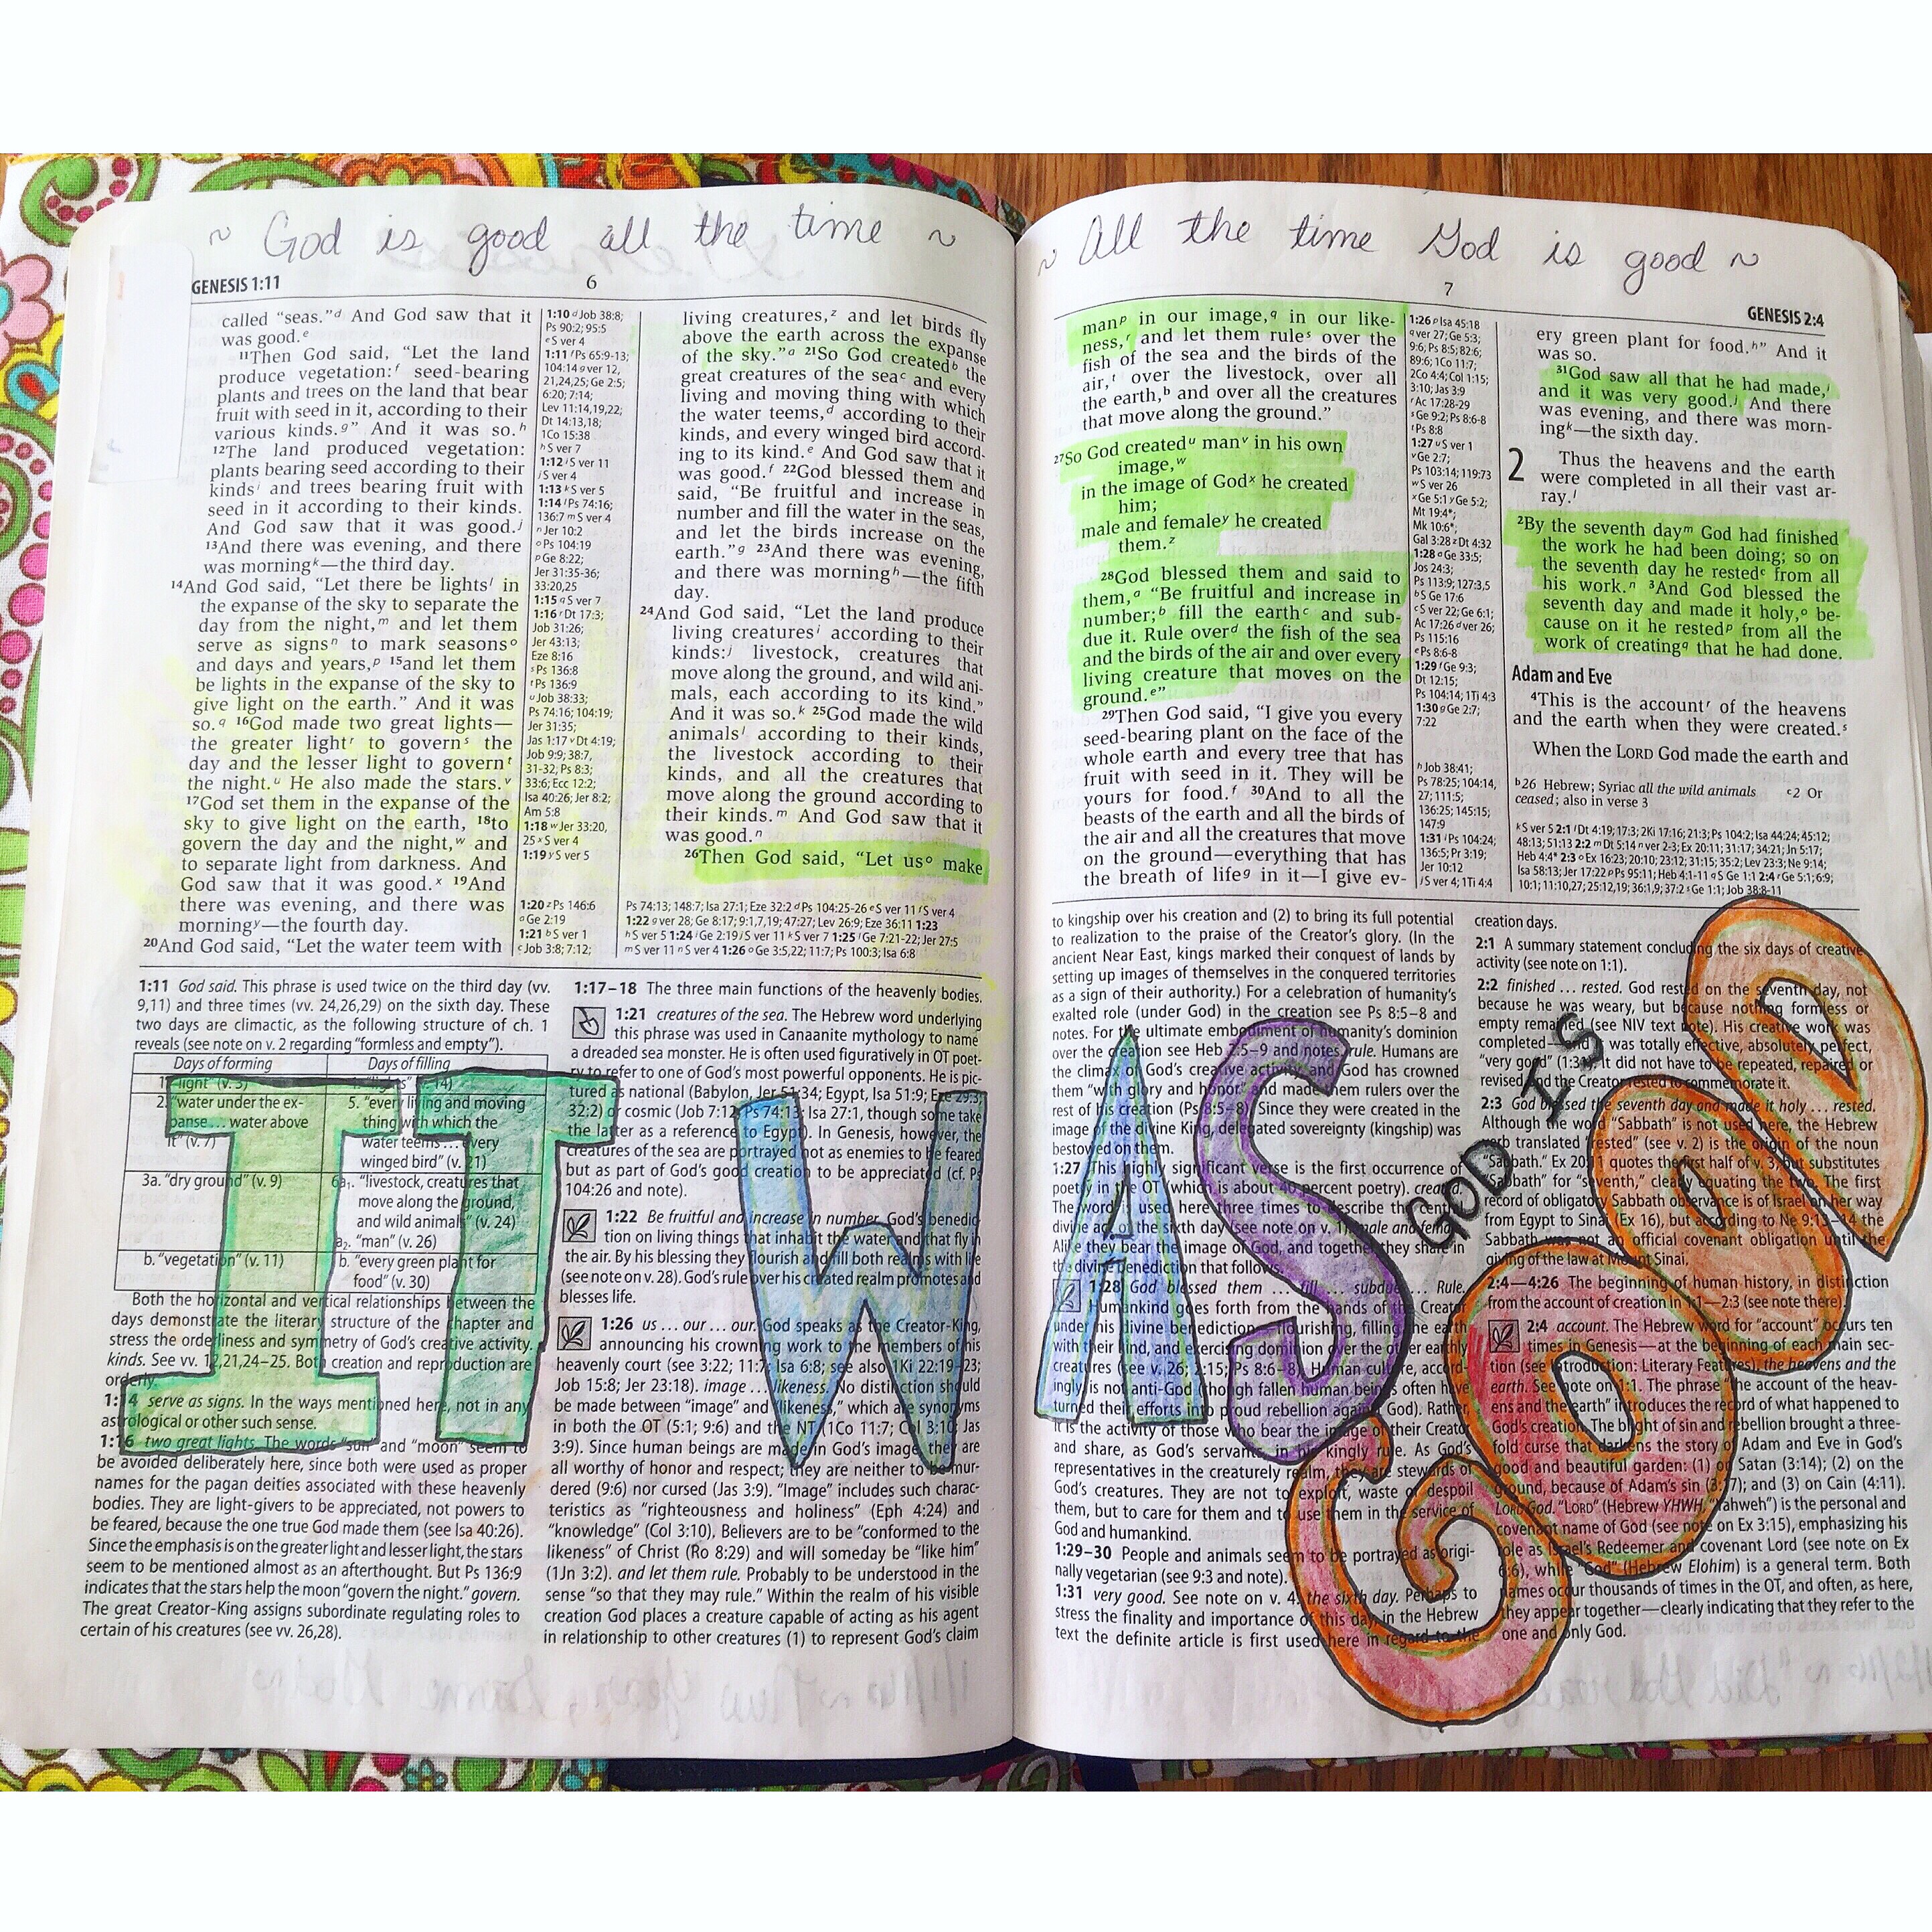 I am currently reading through Genesis, as well as occasionally reading in Psalms and John, so that is where most of my pages are from. I already showed my first page in the previous post, so check it out to see it.
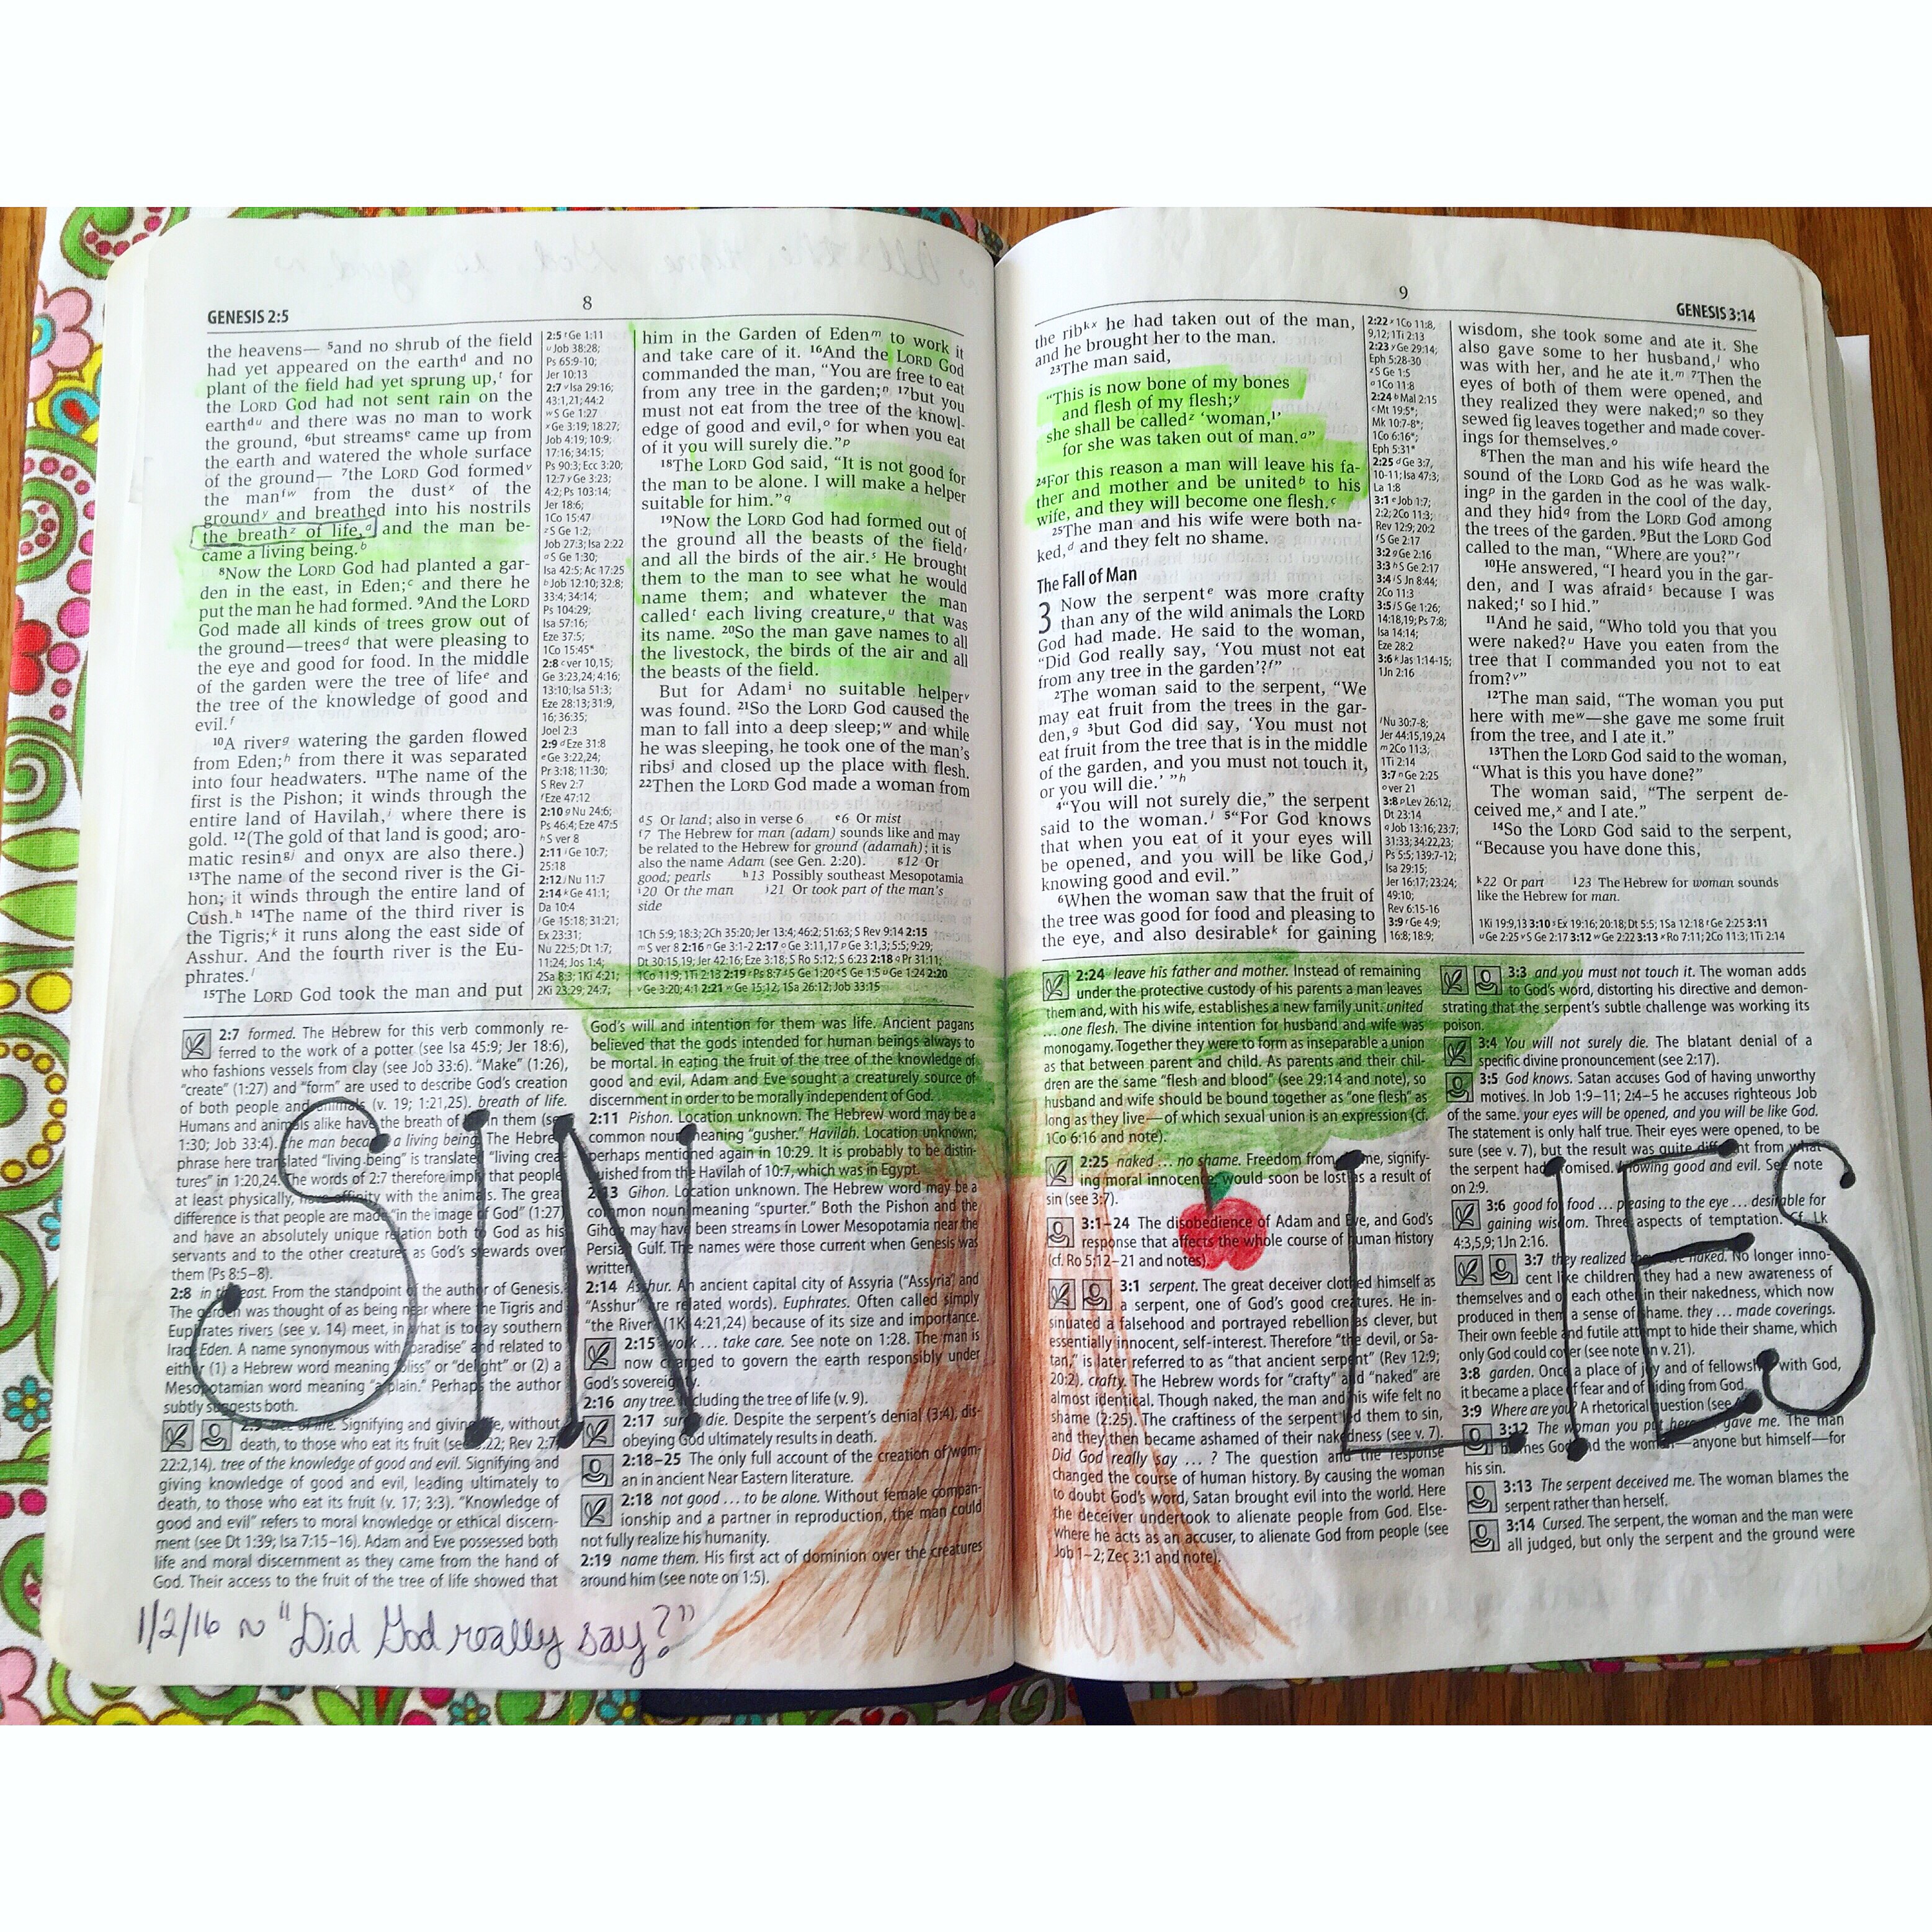
 Most of my pages are just colored pencil and pen, but I’ve been slowly adding some stamp ink in, as well as some alphabet stamps.
 The next thing I would like to try is watercolor, so that I can add even more color to my pages.
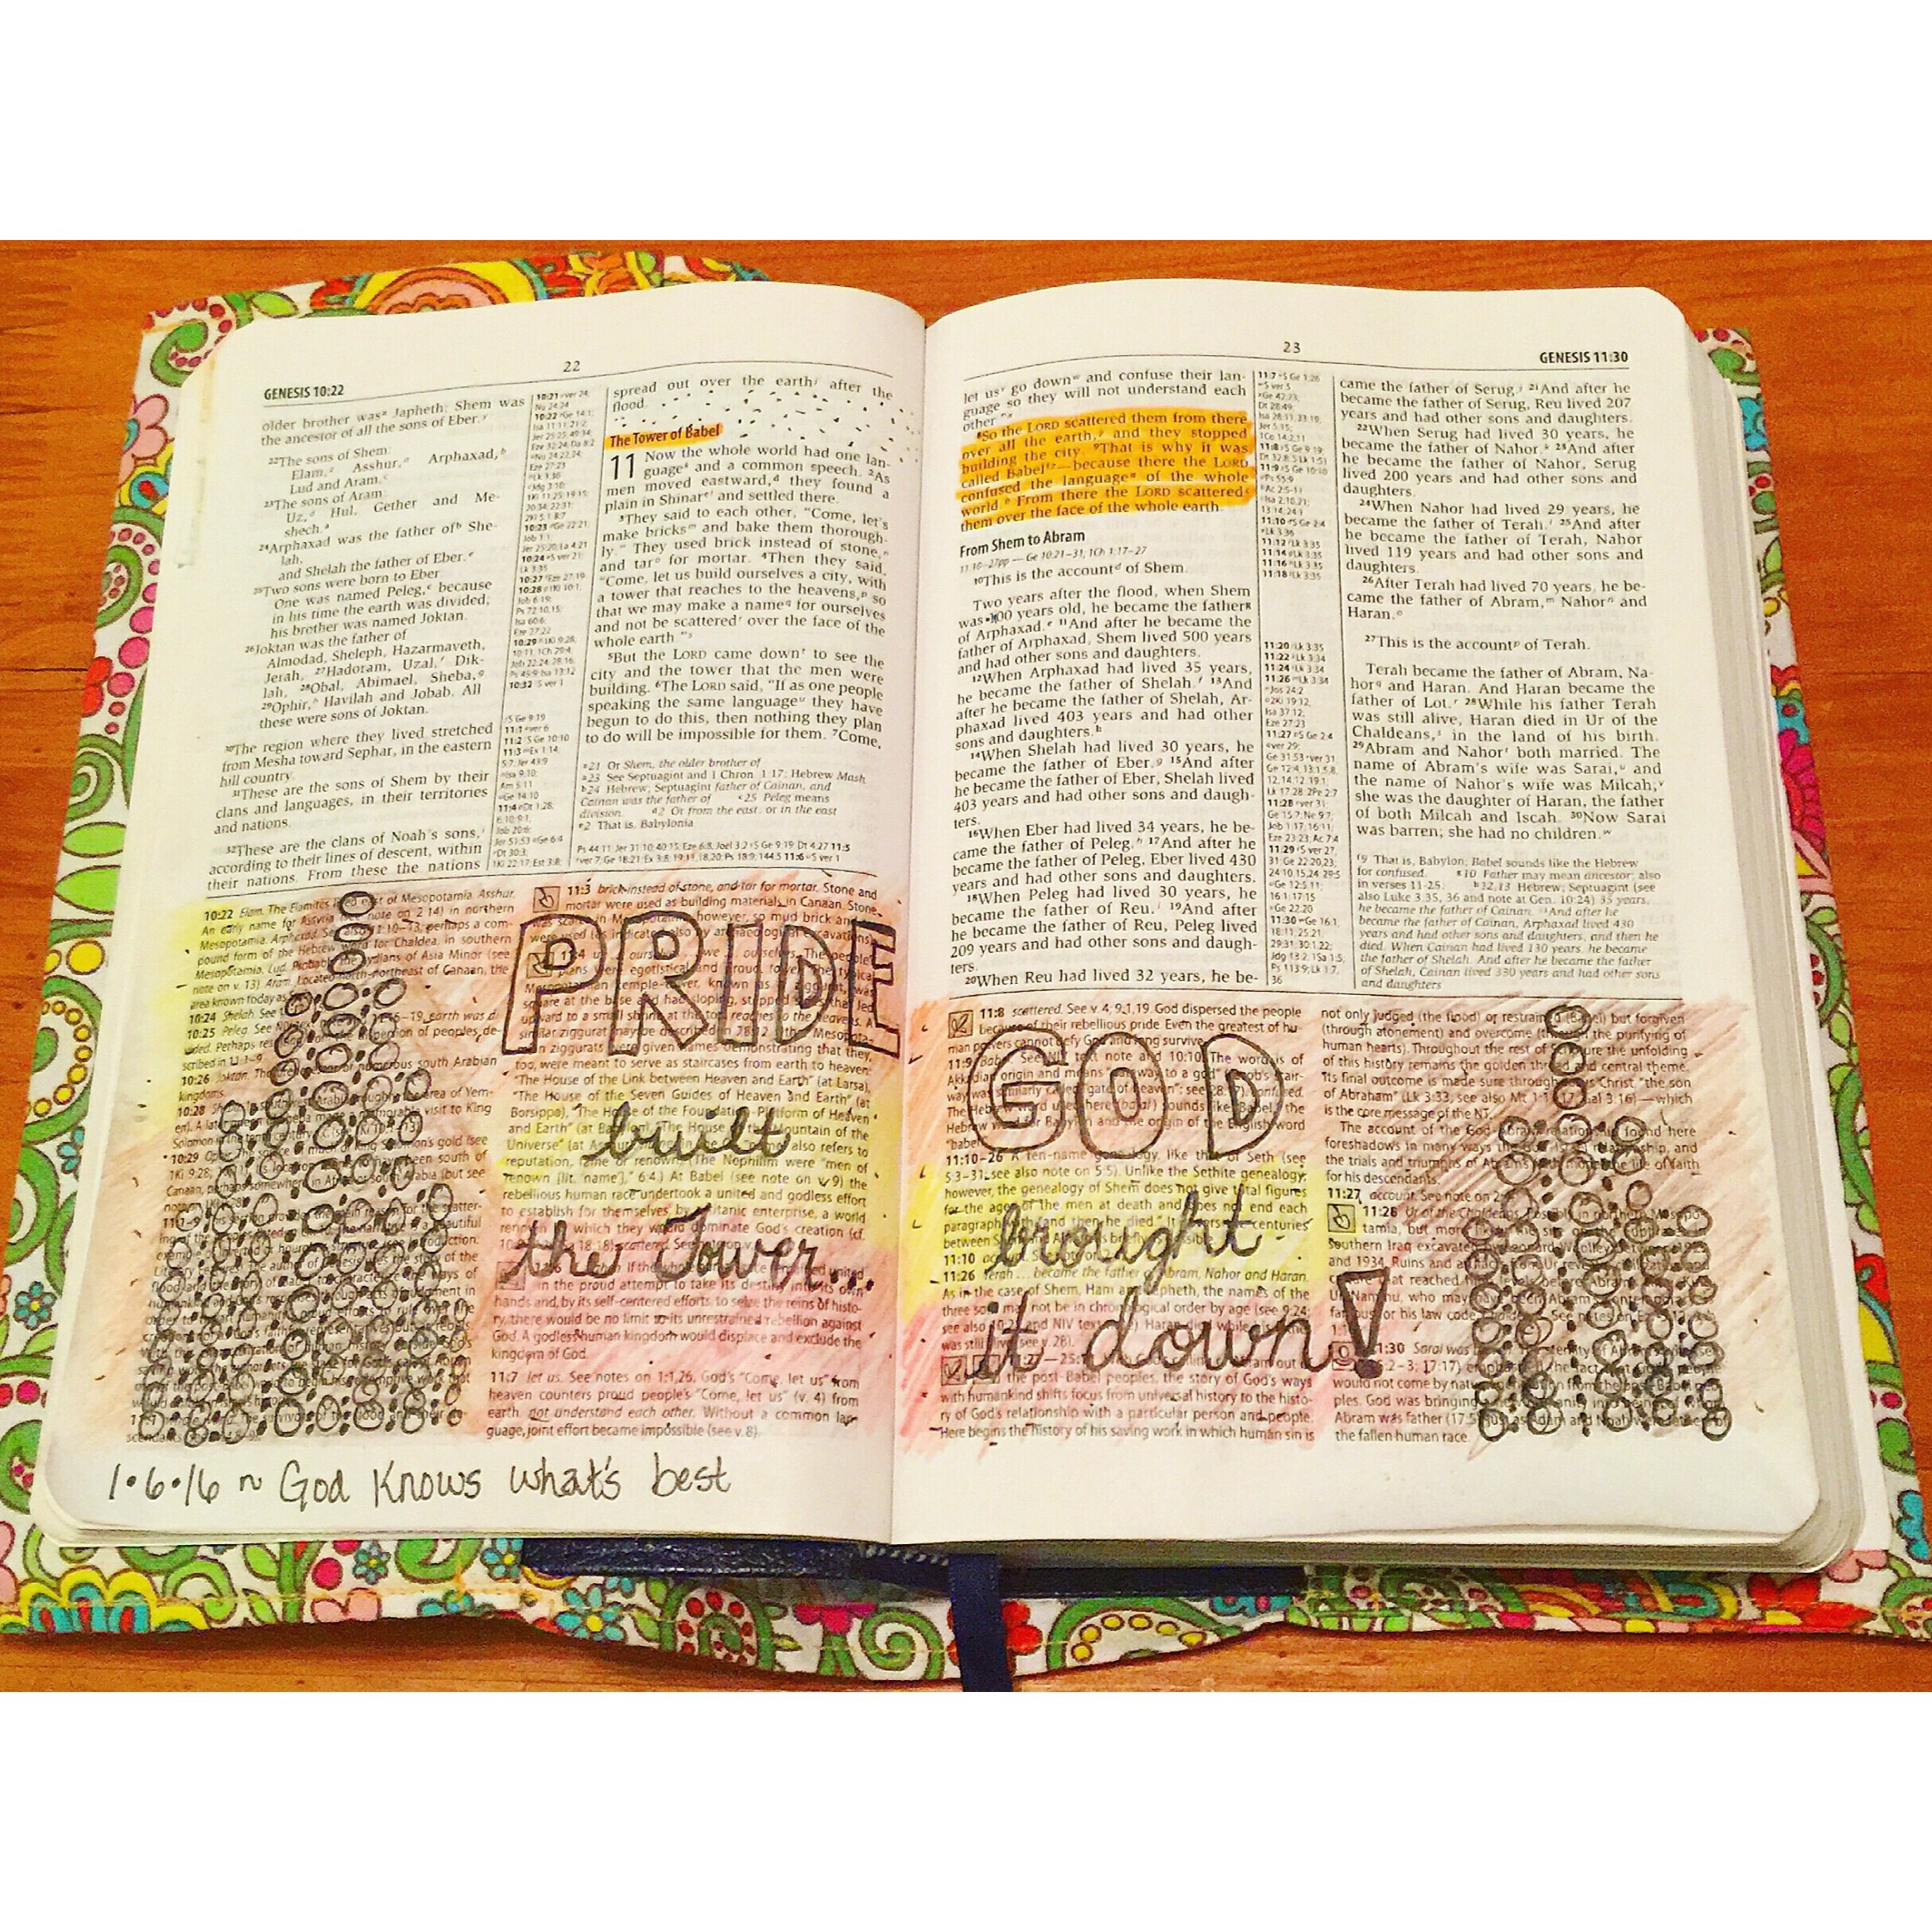
 Some of my inspiration comes from social media, and the rest is just my own doodling.
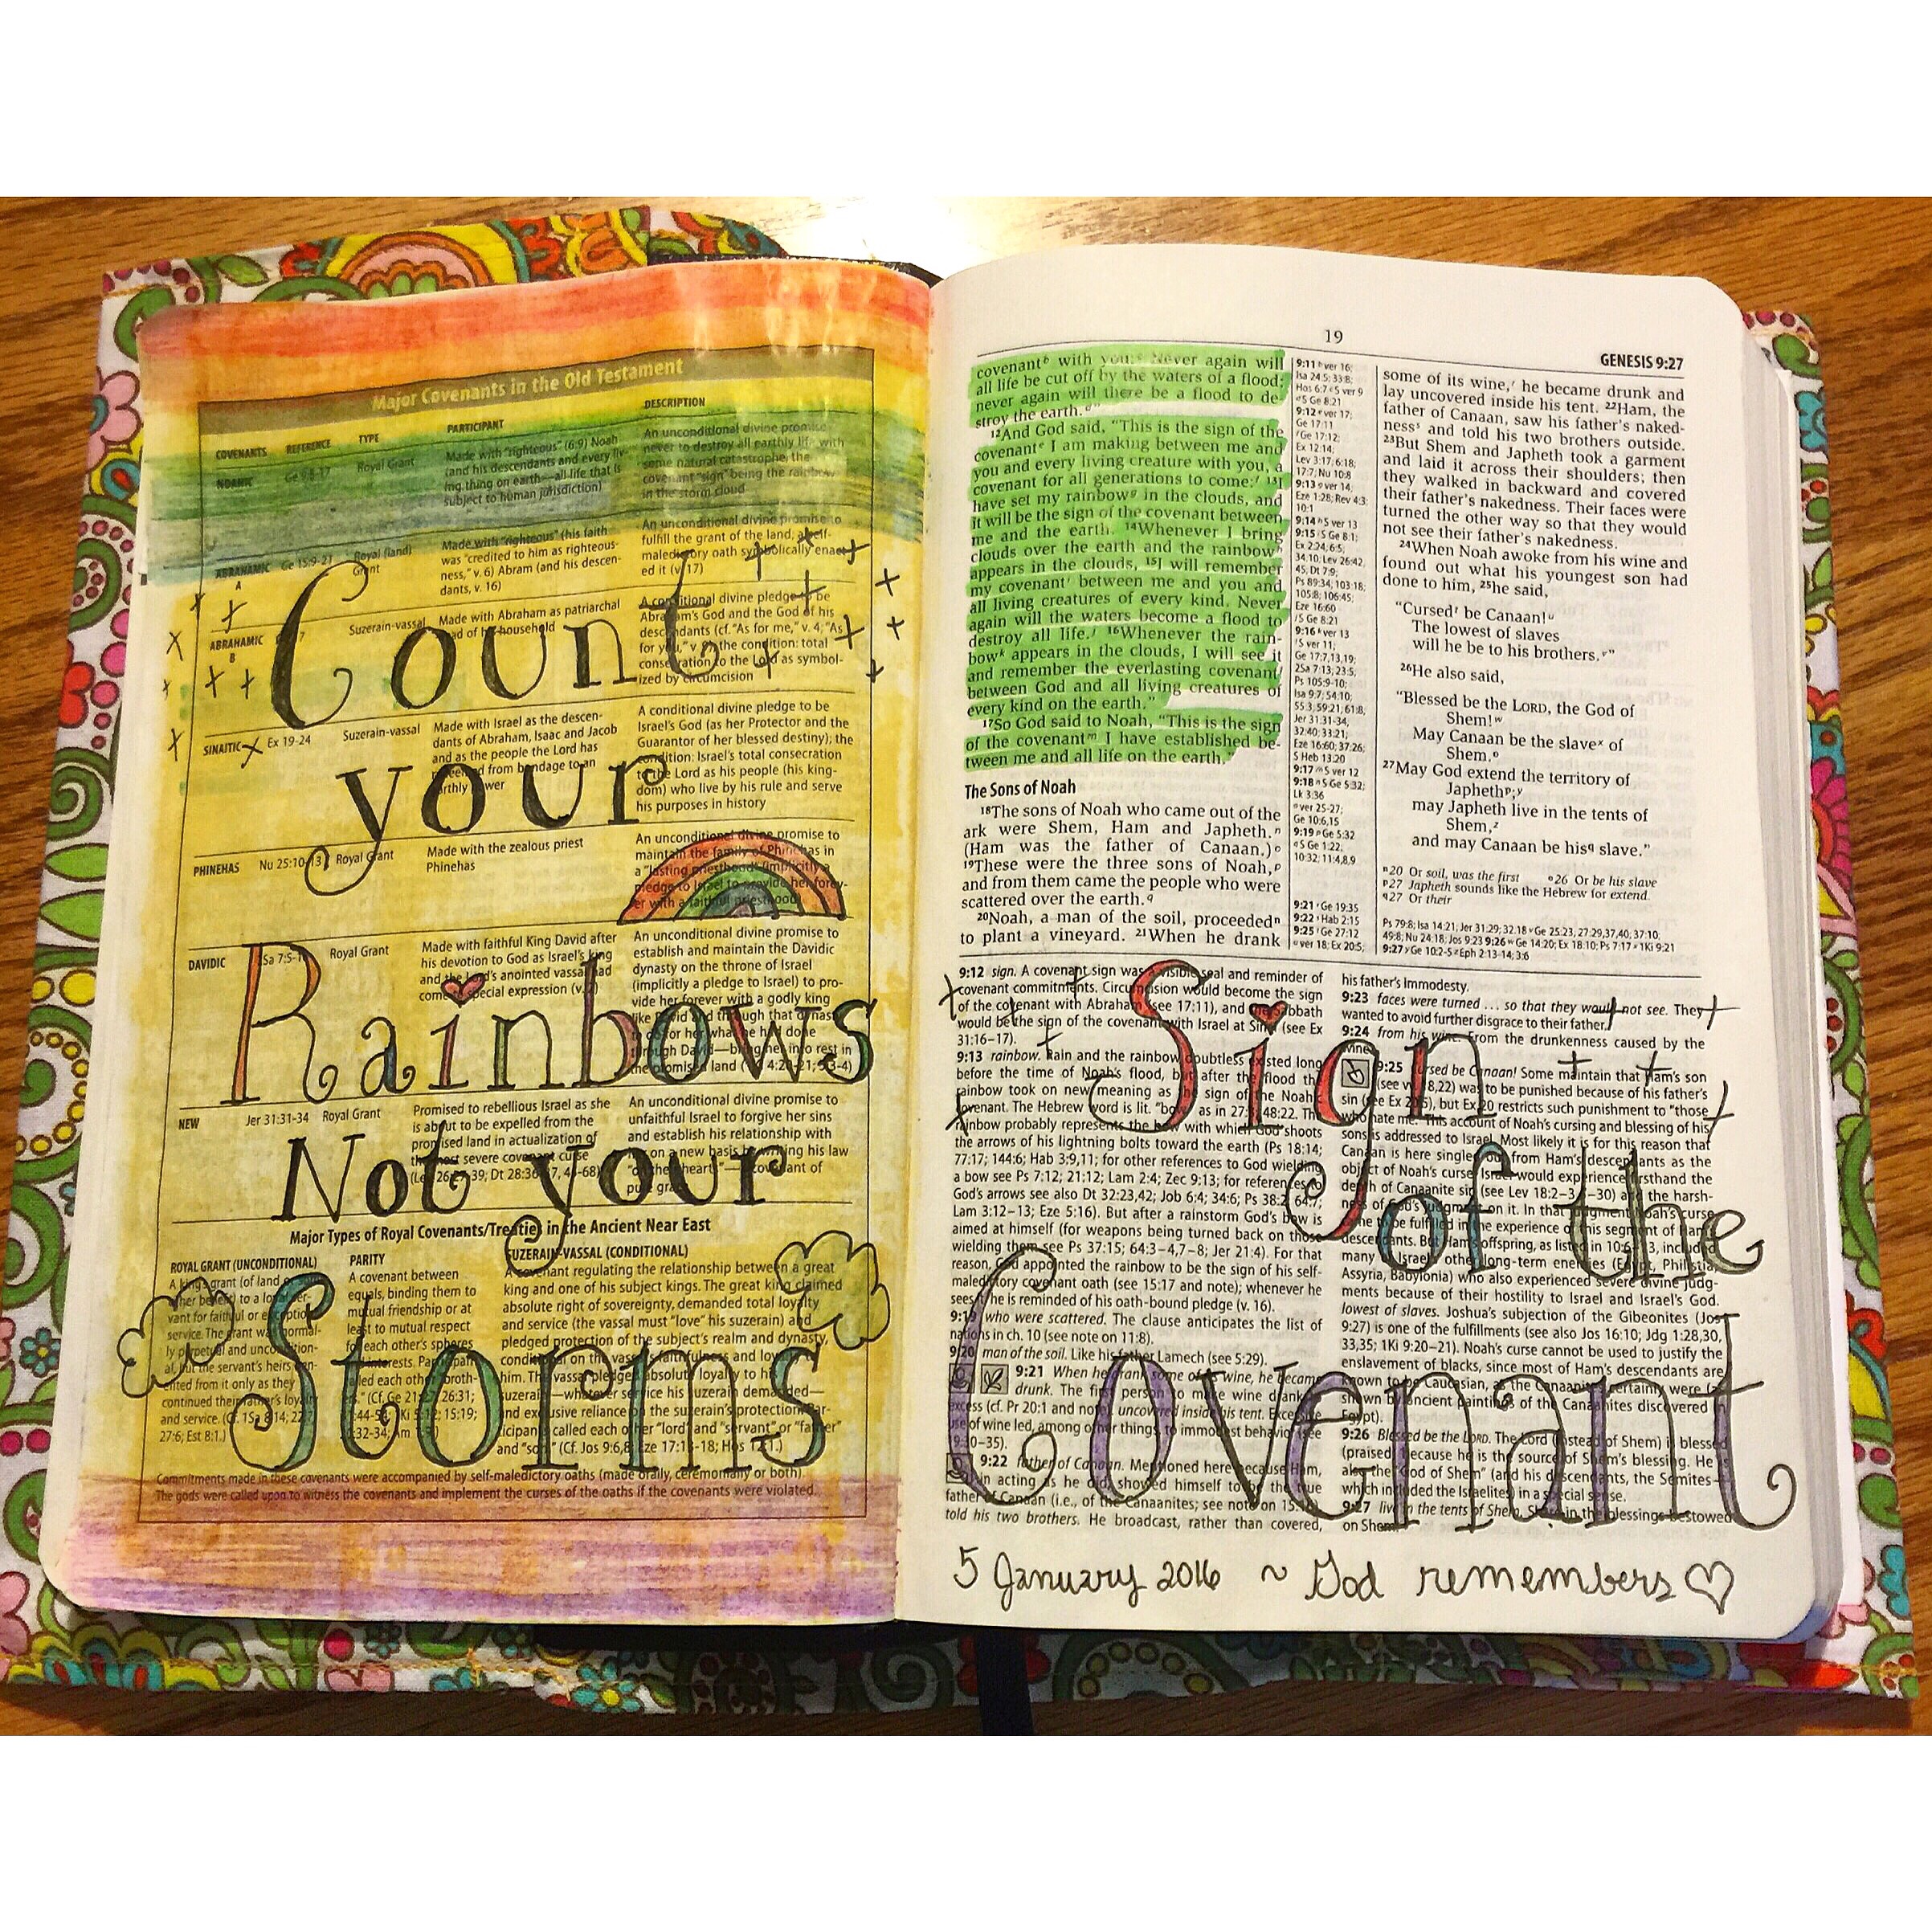 I especially like words/lettering, flowers, and trailing vines. In fact most of the doodling found in my past journals contain one of these elements.
 I am excited to see my illustrating improving and developing the more I practice, as well as my confidence and creativity growing. I just have to say that this experience so far has been an example of growth for me, because this is the most open and public I have ever been with my journaling and personal devotion methods. I am usually a very private person when it comes to my journals, so this has taken me out of my comfort zone. However, it has also helped me to be passionate again about spending time in prayer and God’s word, so I am happy for the change taking place, and I hope that I can encourage others through my openness to be open too and express their faith in new creative ways.
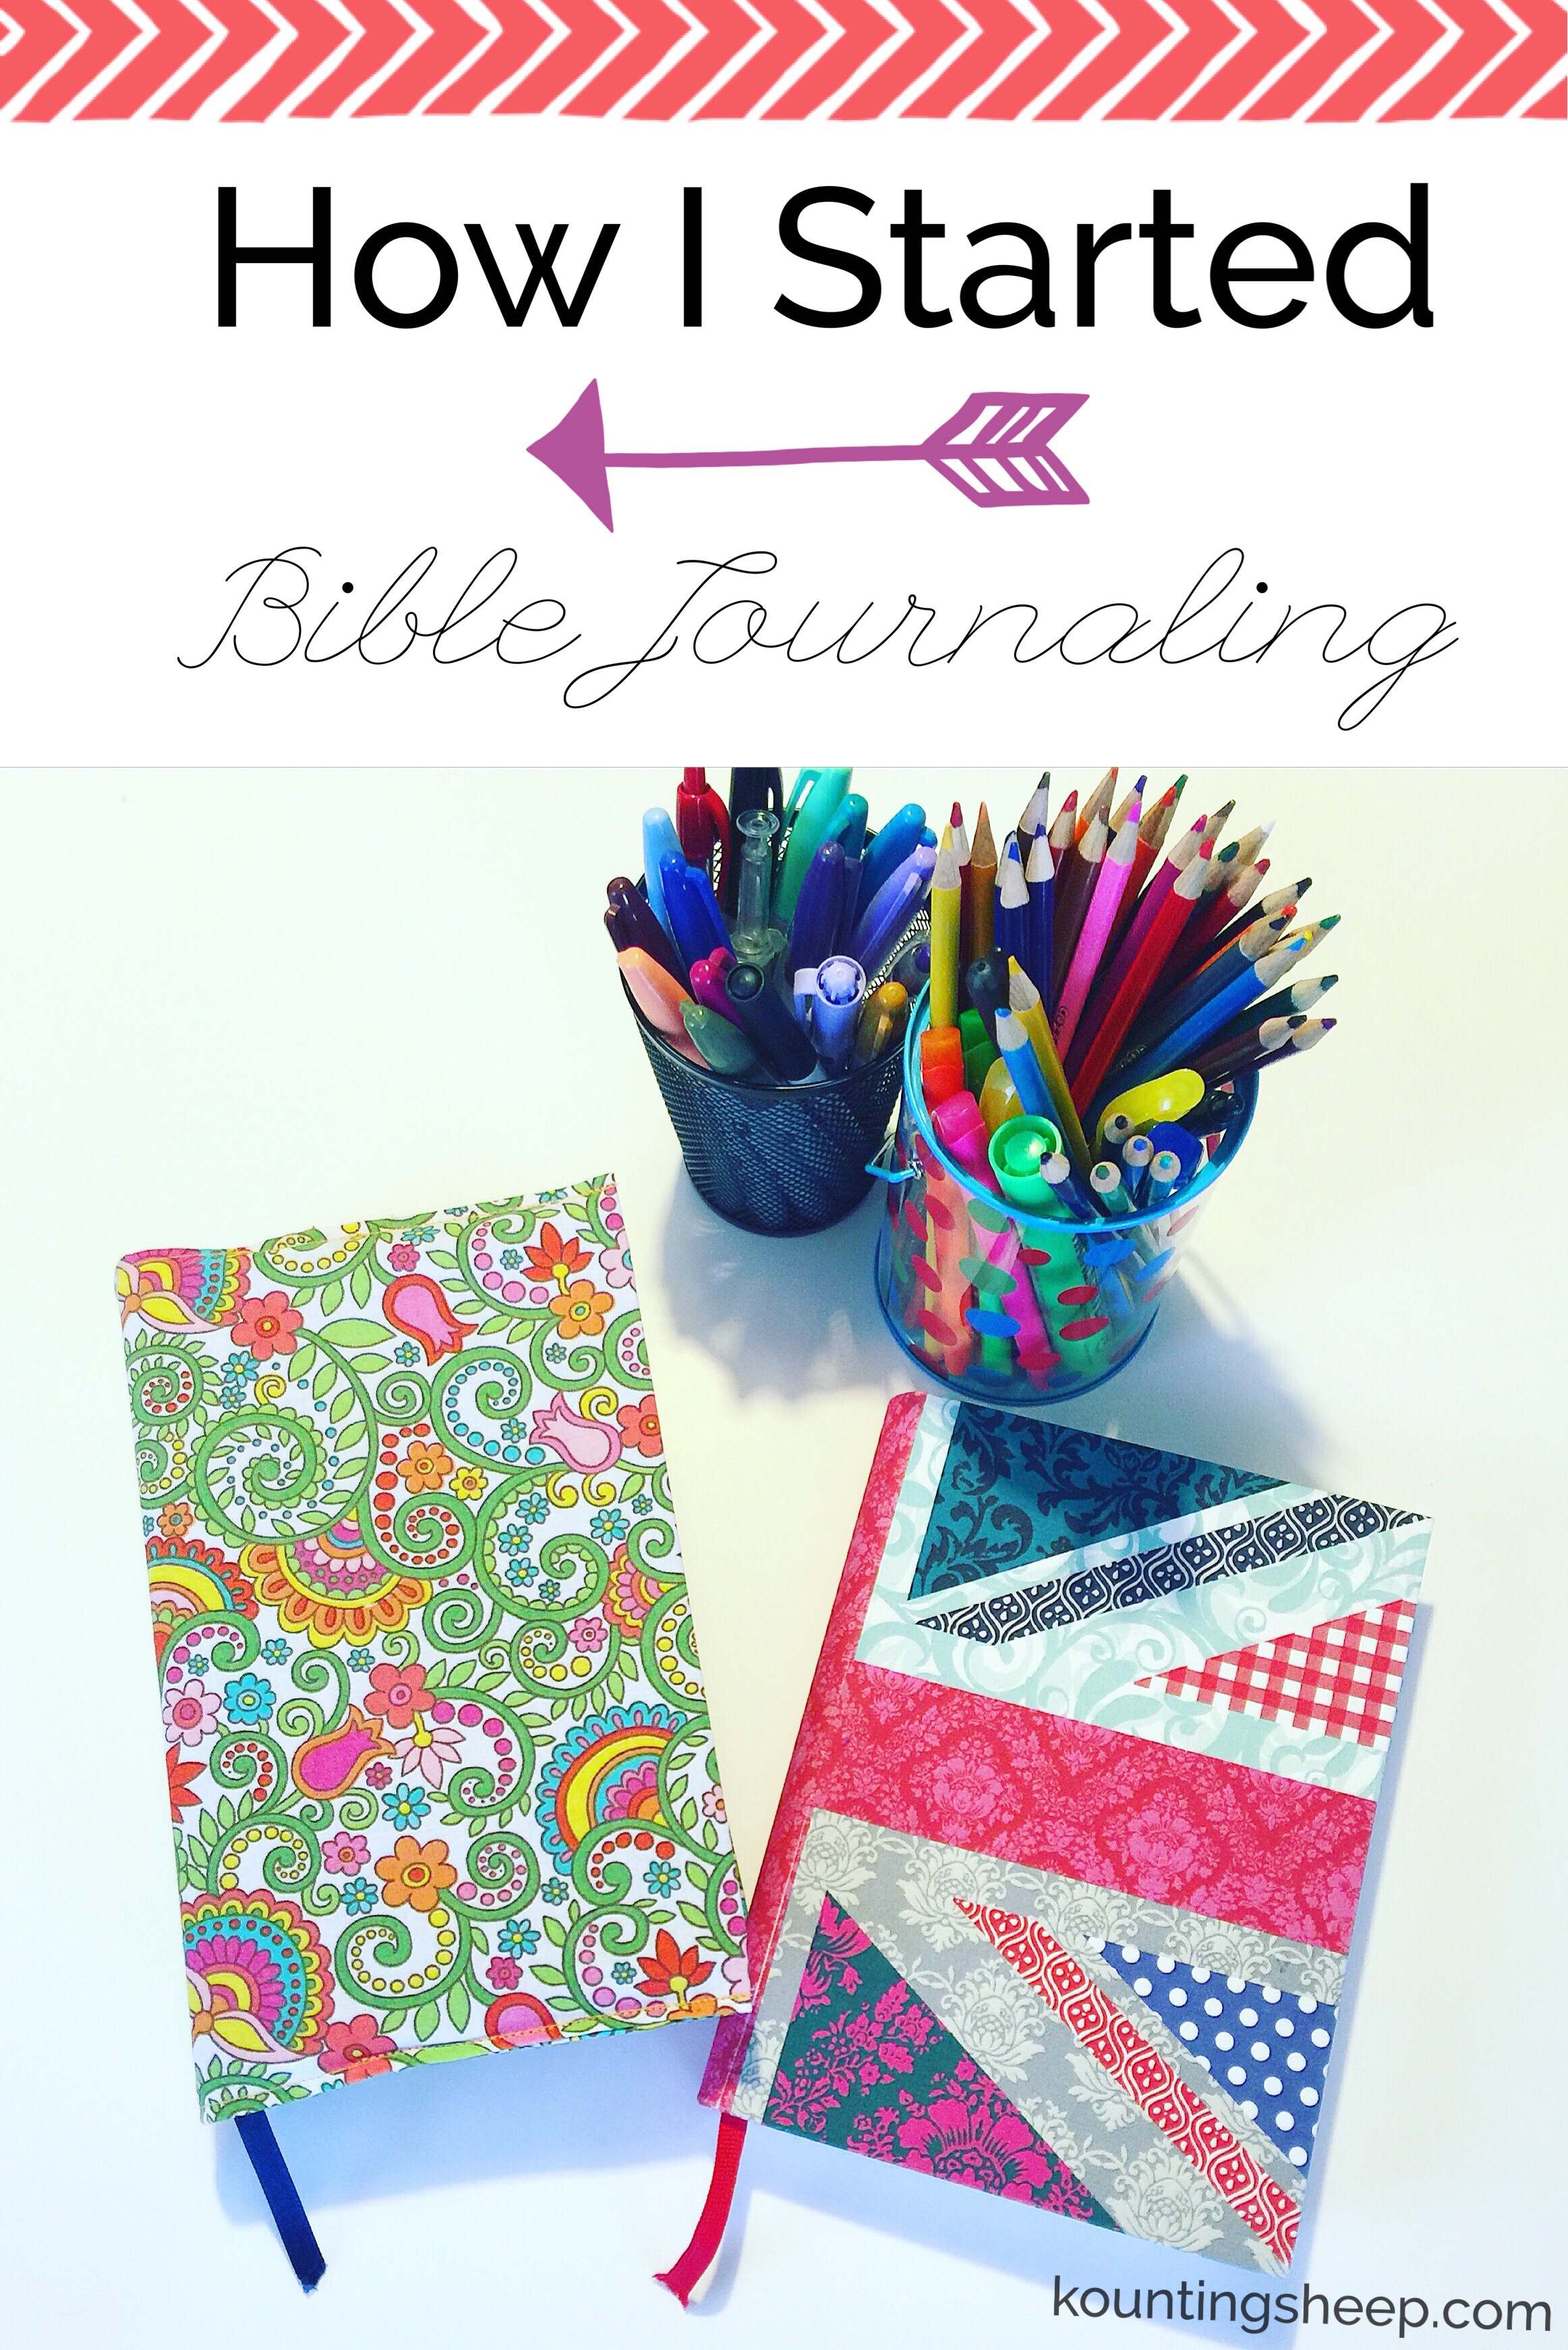
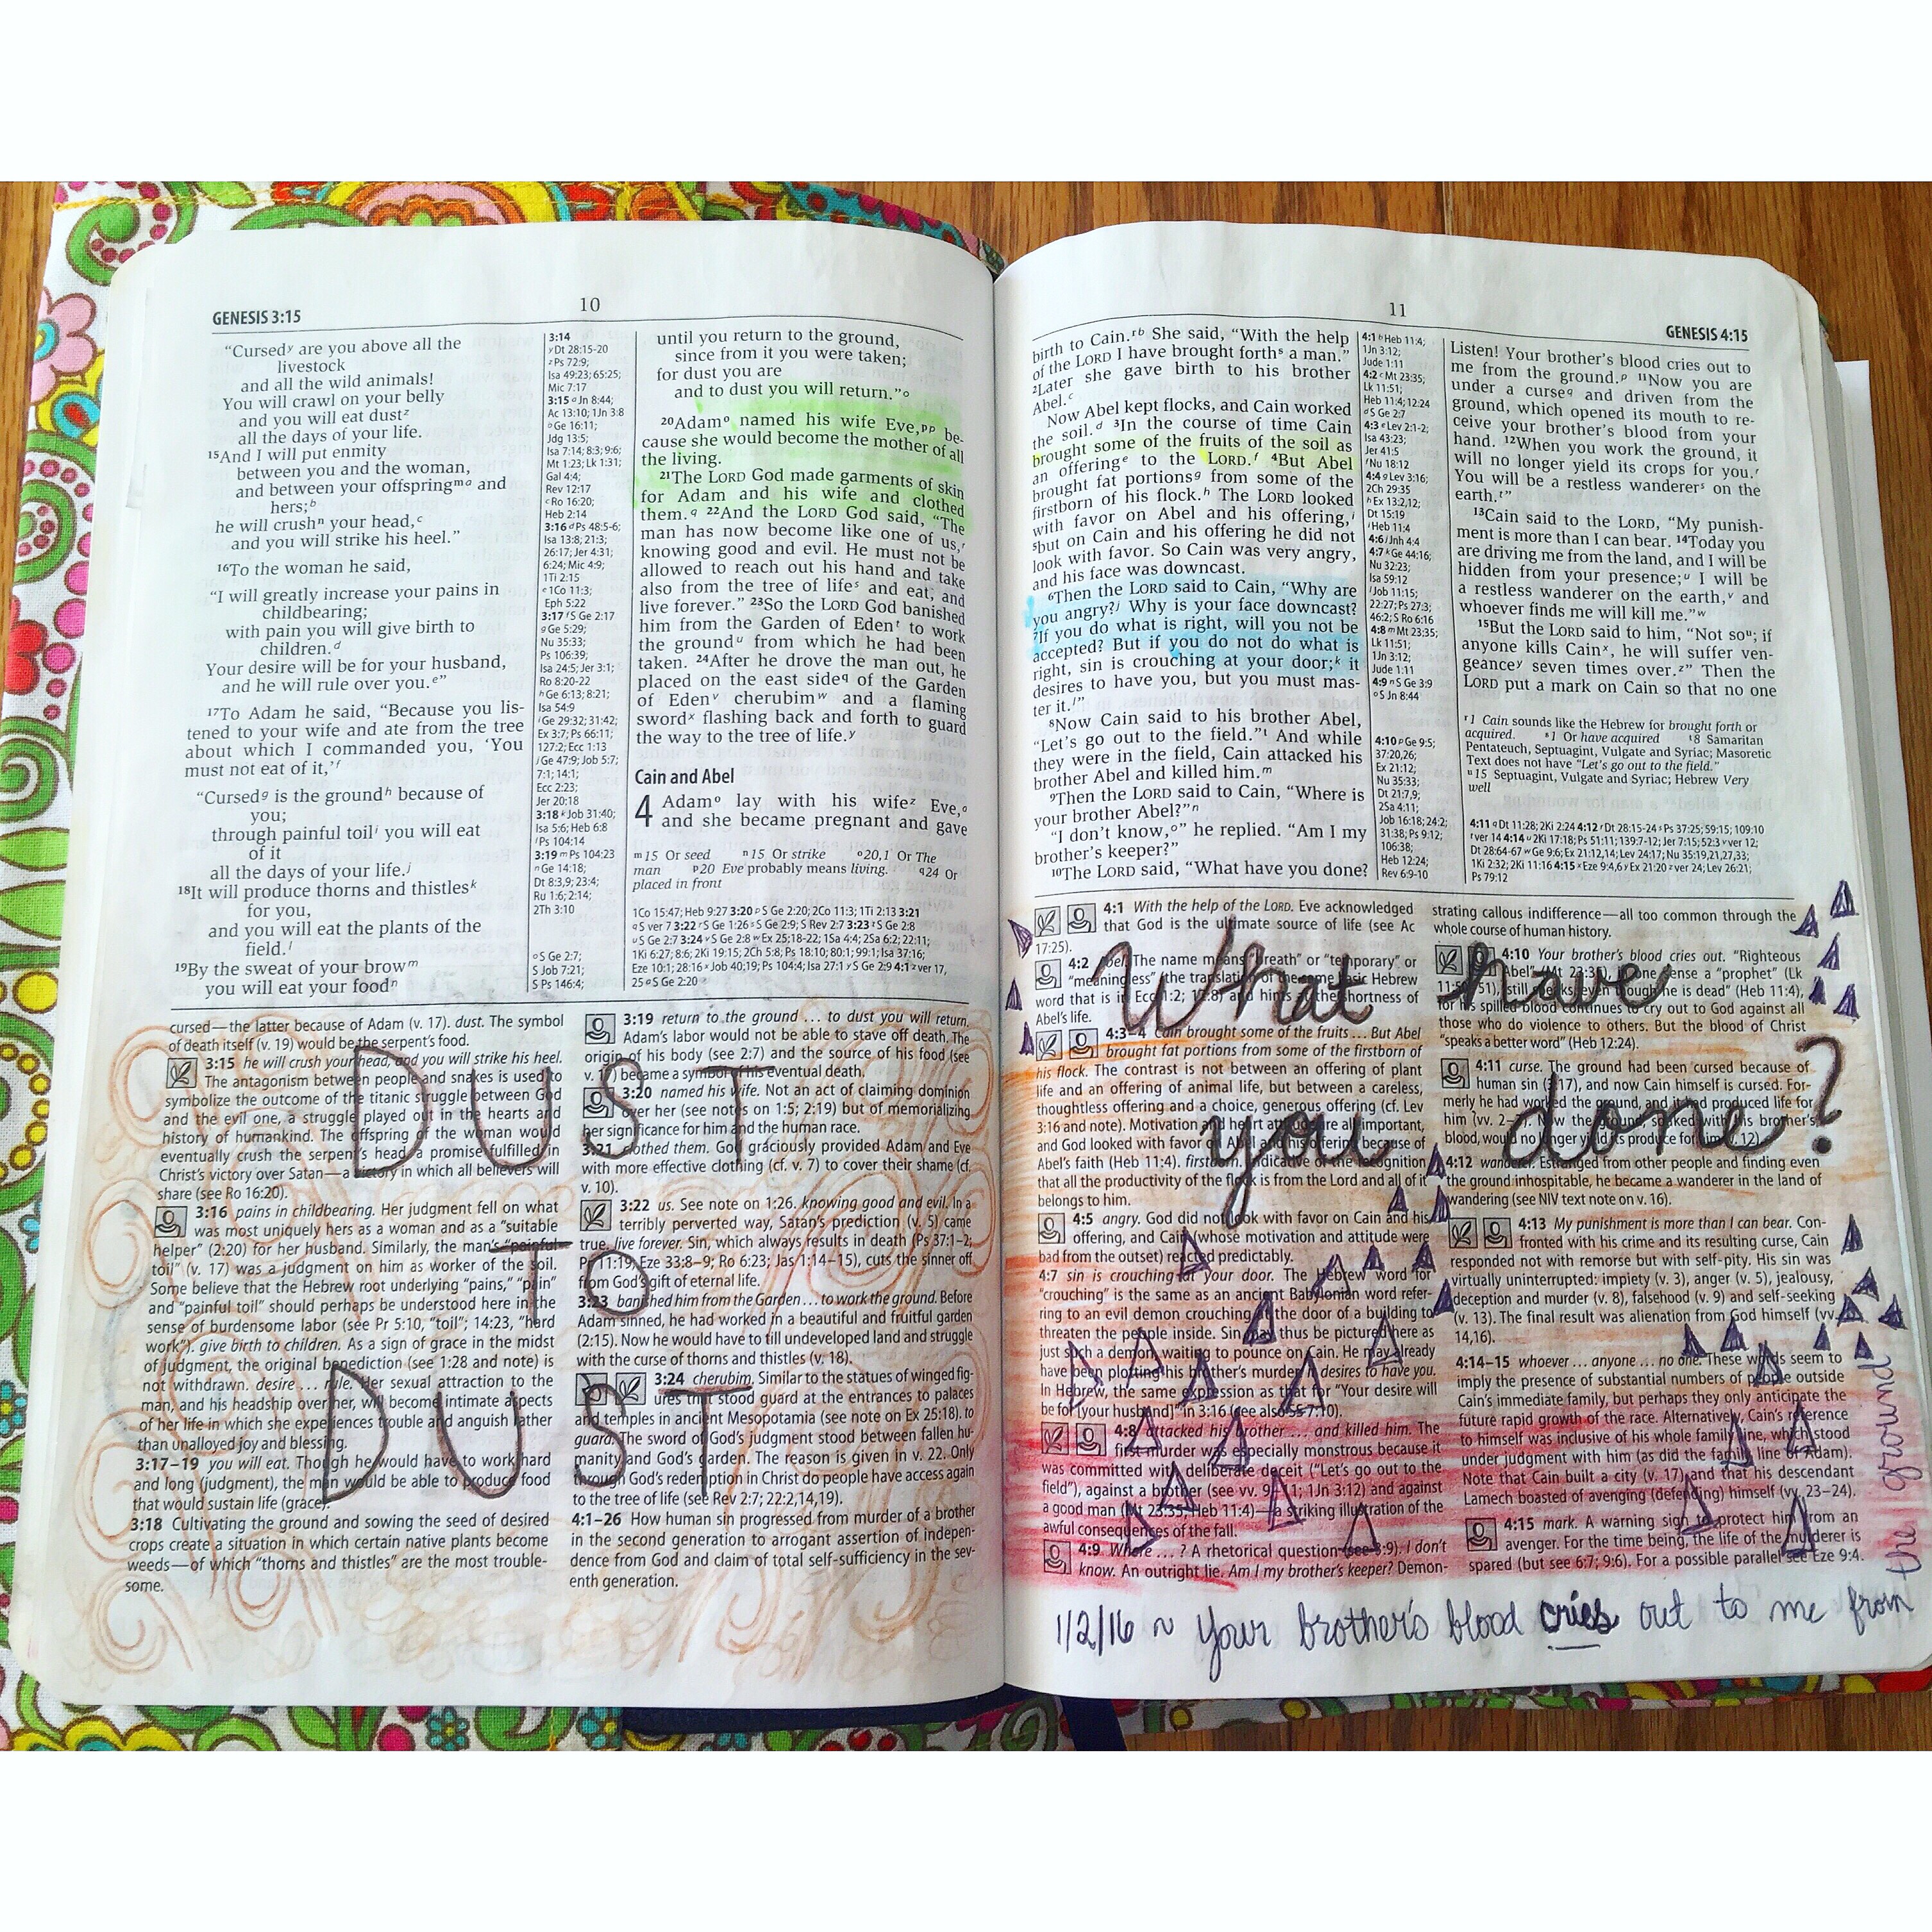
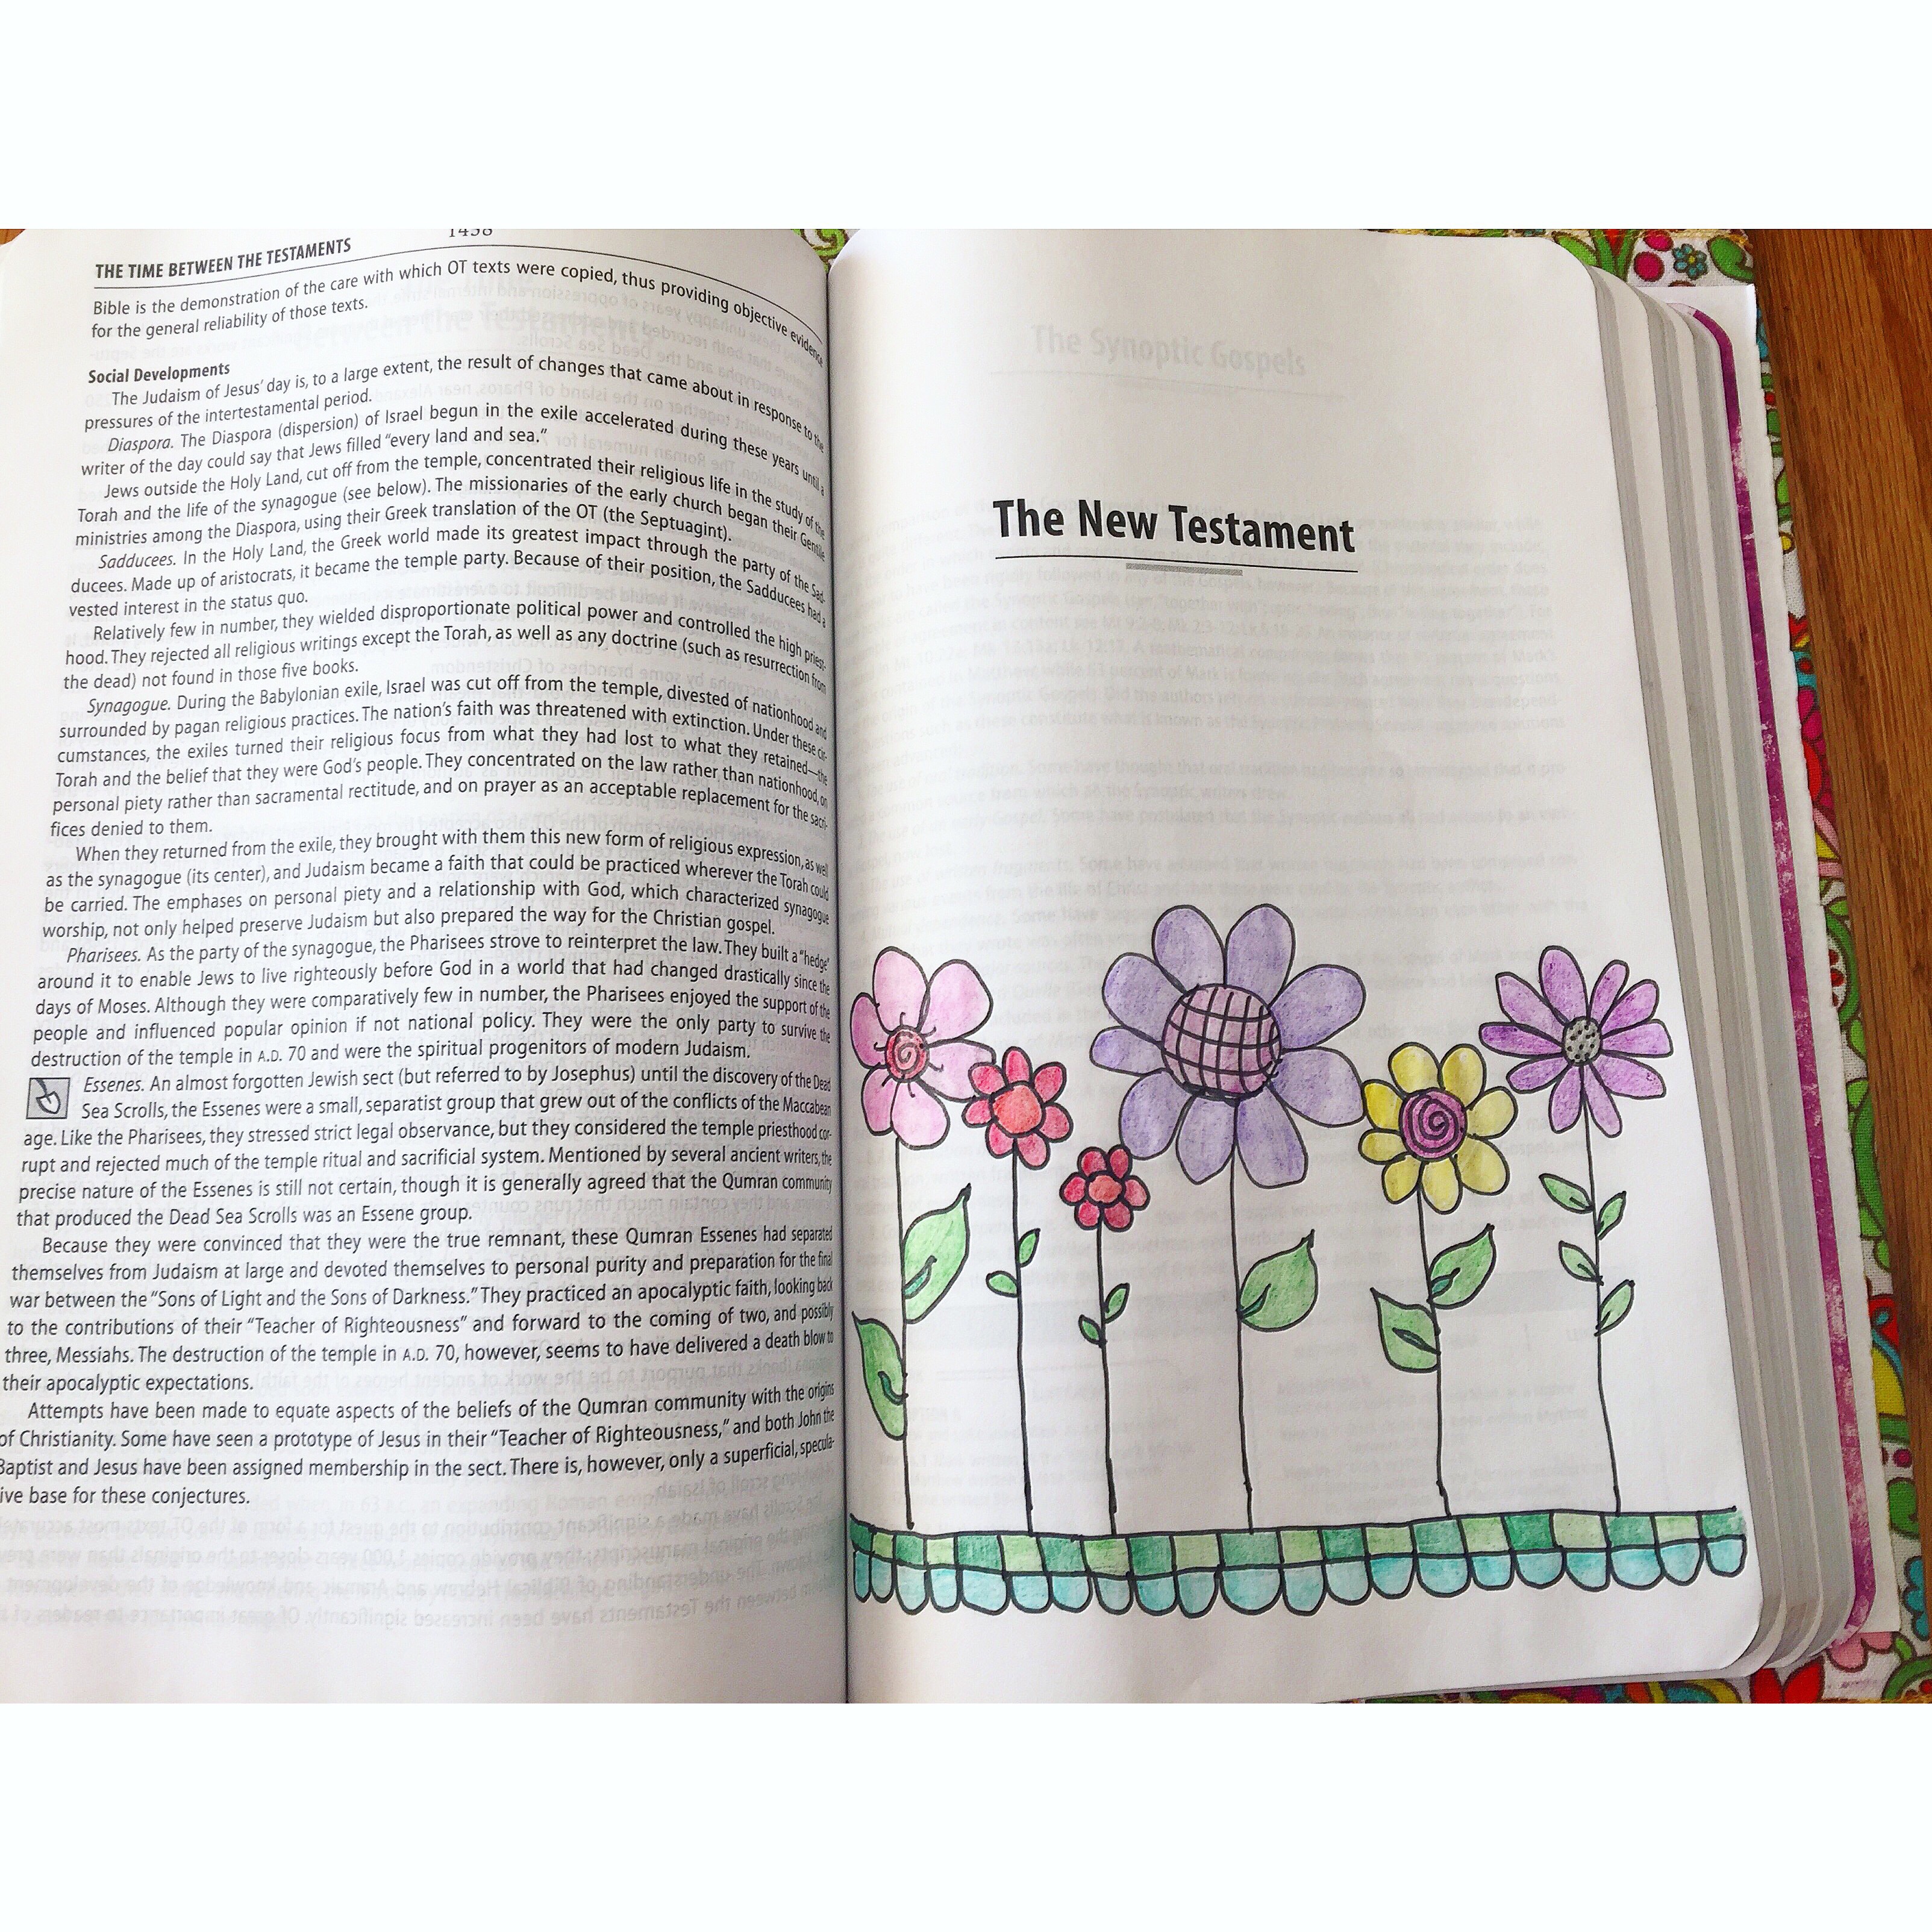
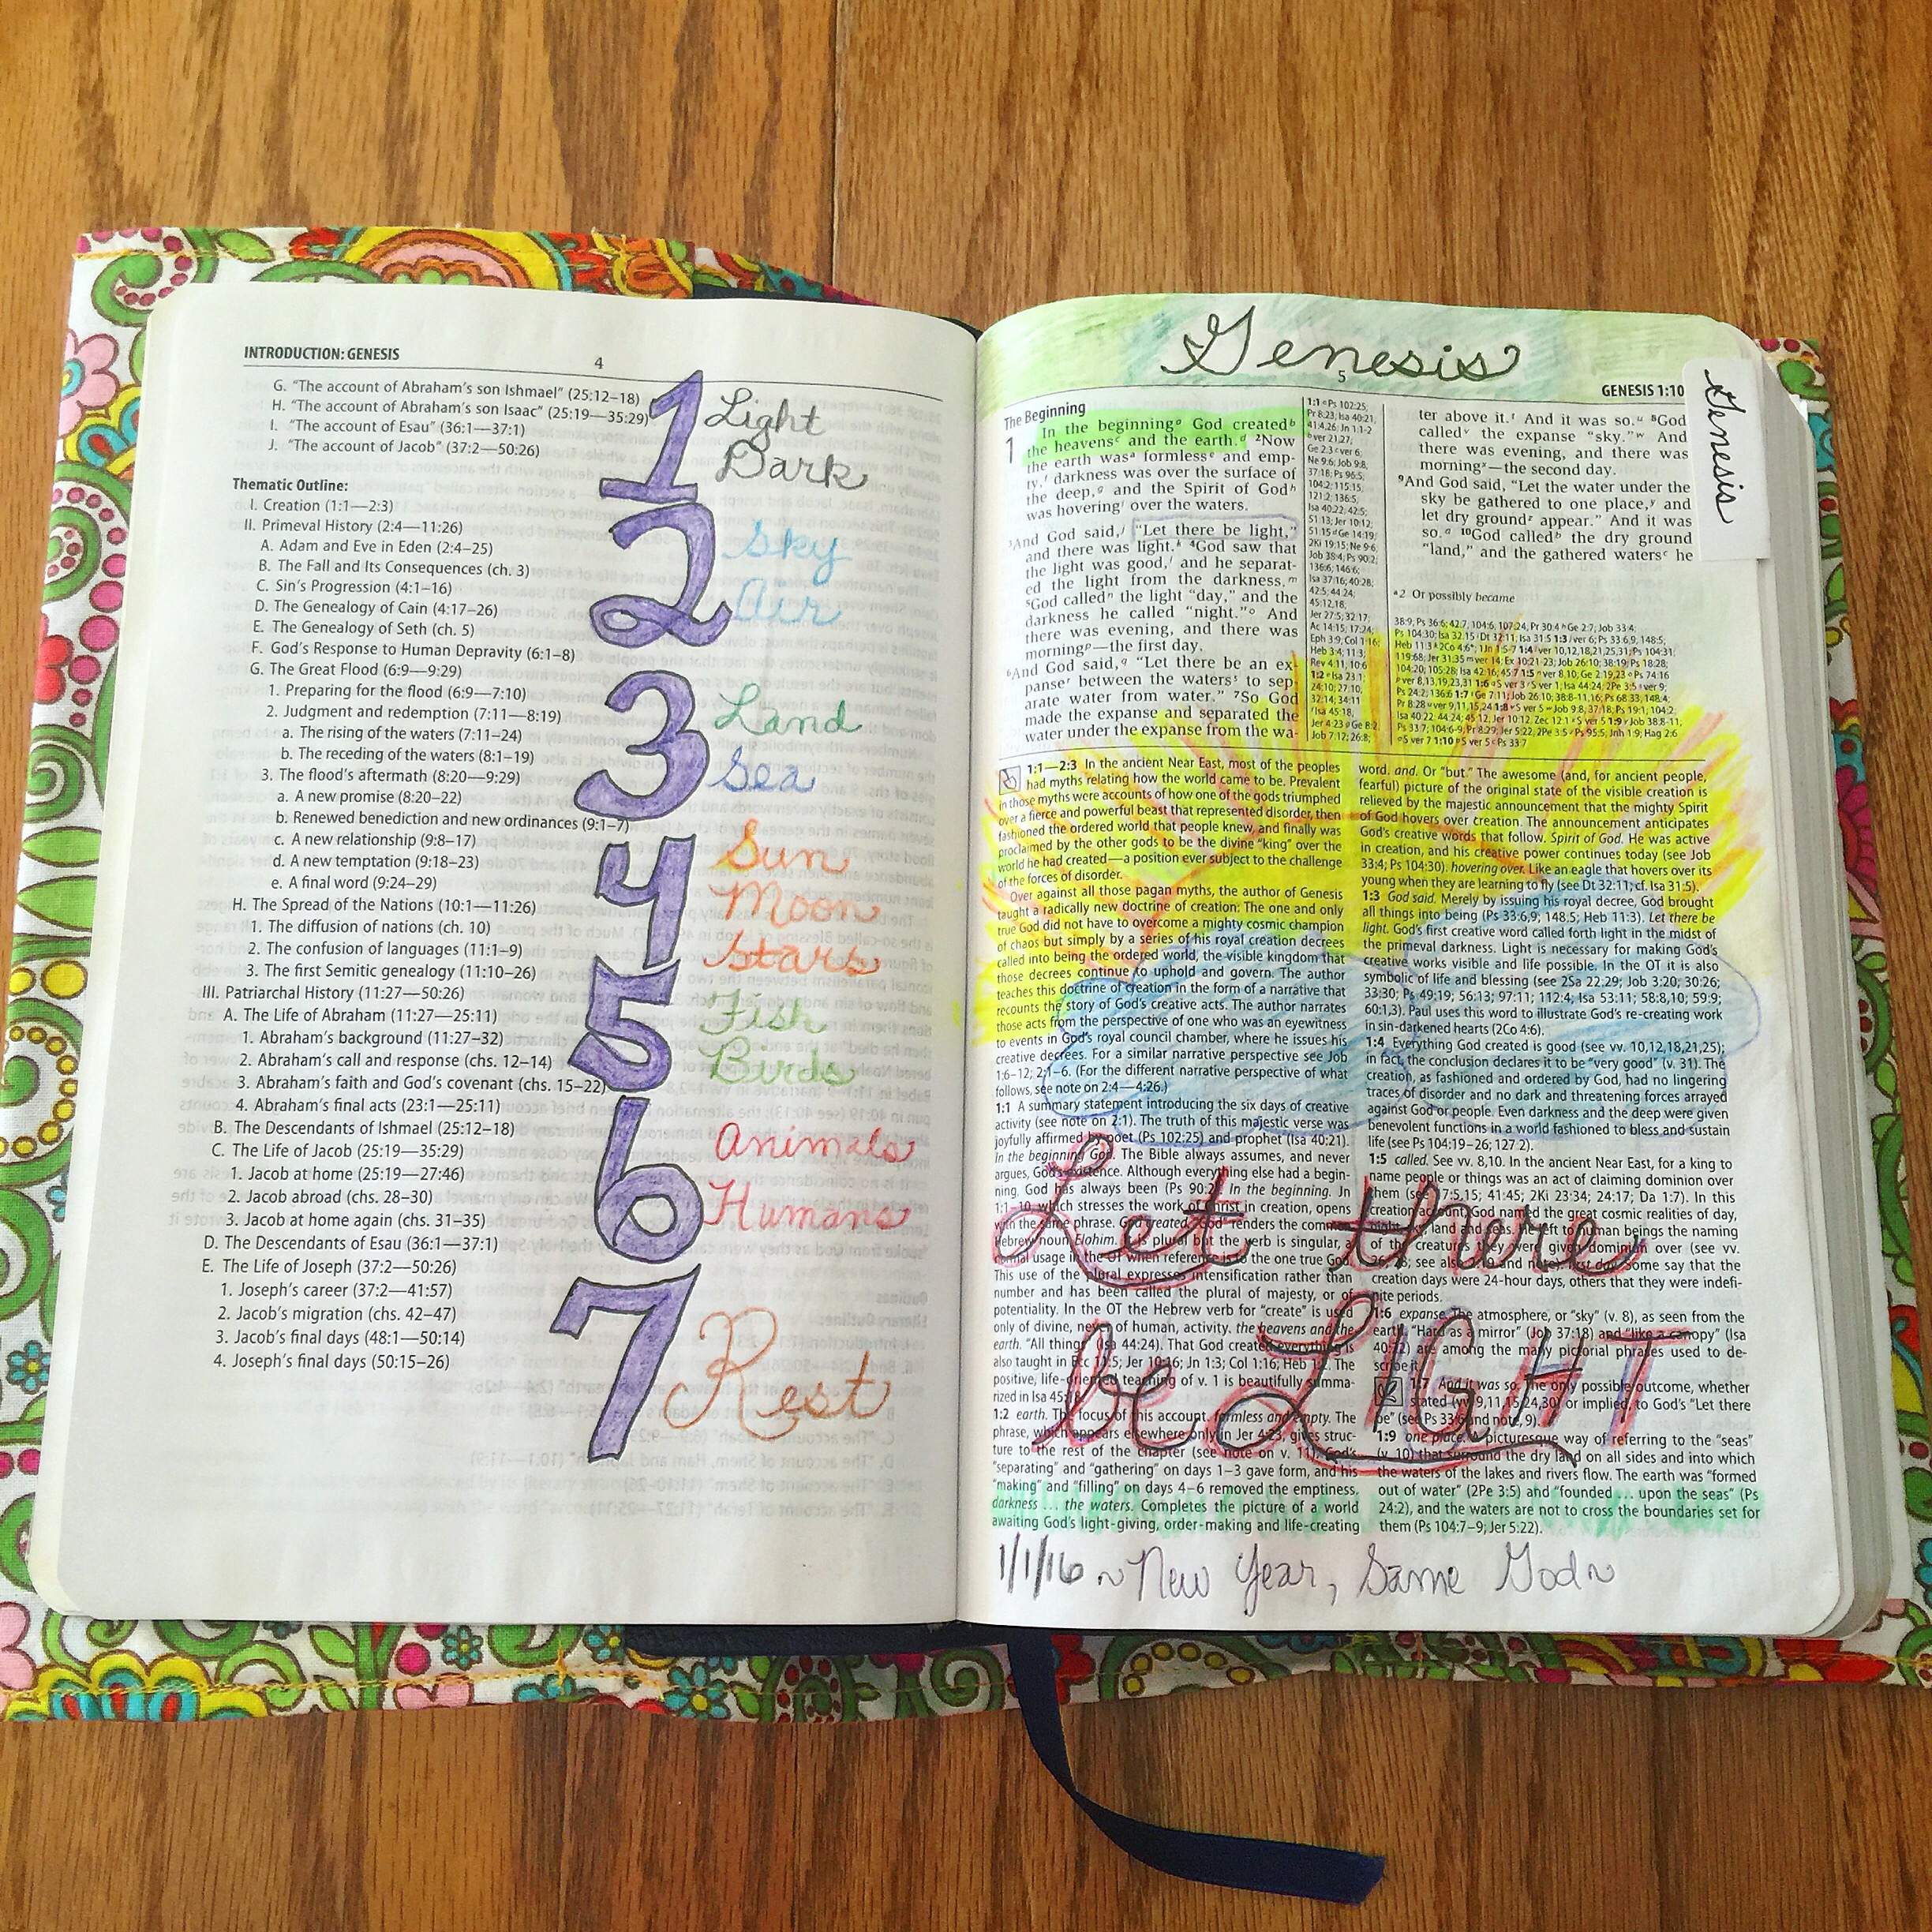 Since I’m a crafty person in general, I was surprised to find several supplies I already had to get started. I pulled out my NIV Study Bible that my parents gave me several Christmases ago, gathered up some colored pencils, and started to draw. I have had this Bible for awhile and it has sentimental value to me, so I was even more excited to make it very personal and expressive of myself. I started in Genesis and I was surprised at how easy it was to draw once I started. I decided to stick with colored pencils and mostly supplies that won’t completely obscure the writing. I mostly draw, color, and write in the study notes section and the margins.
 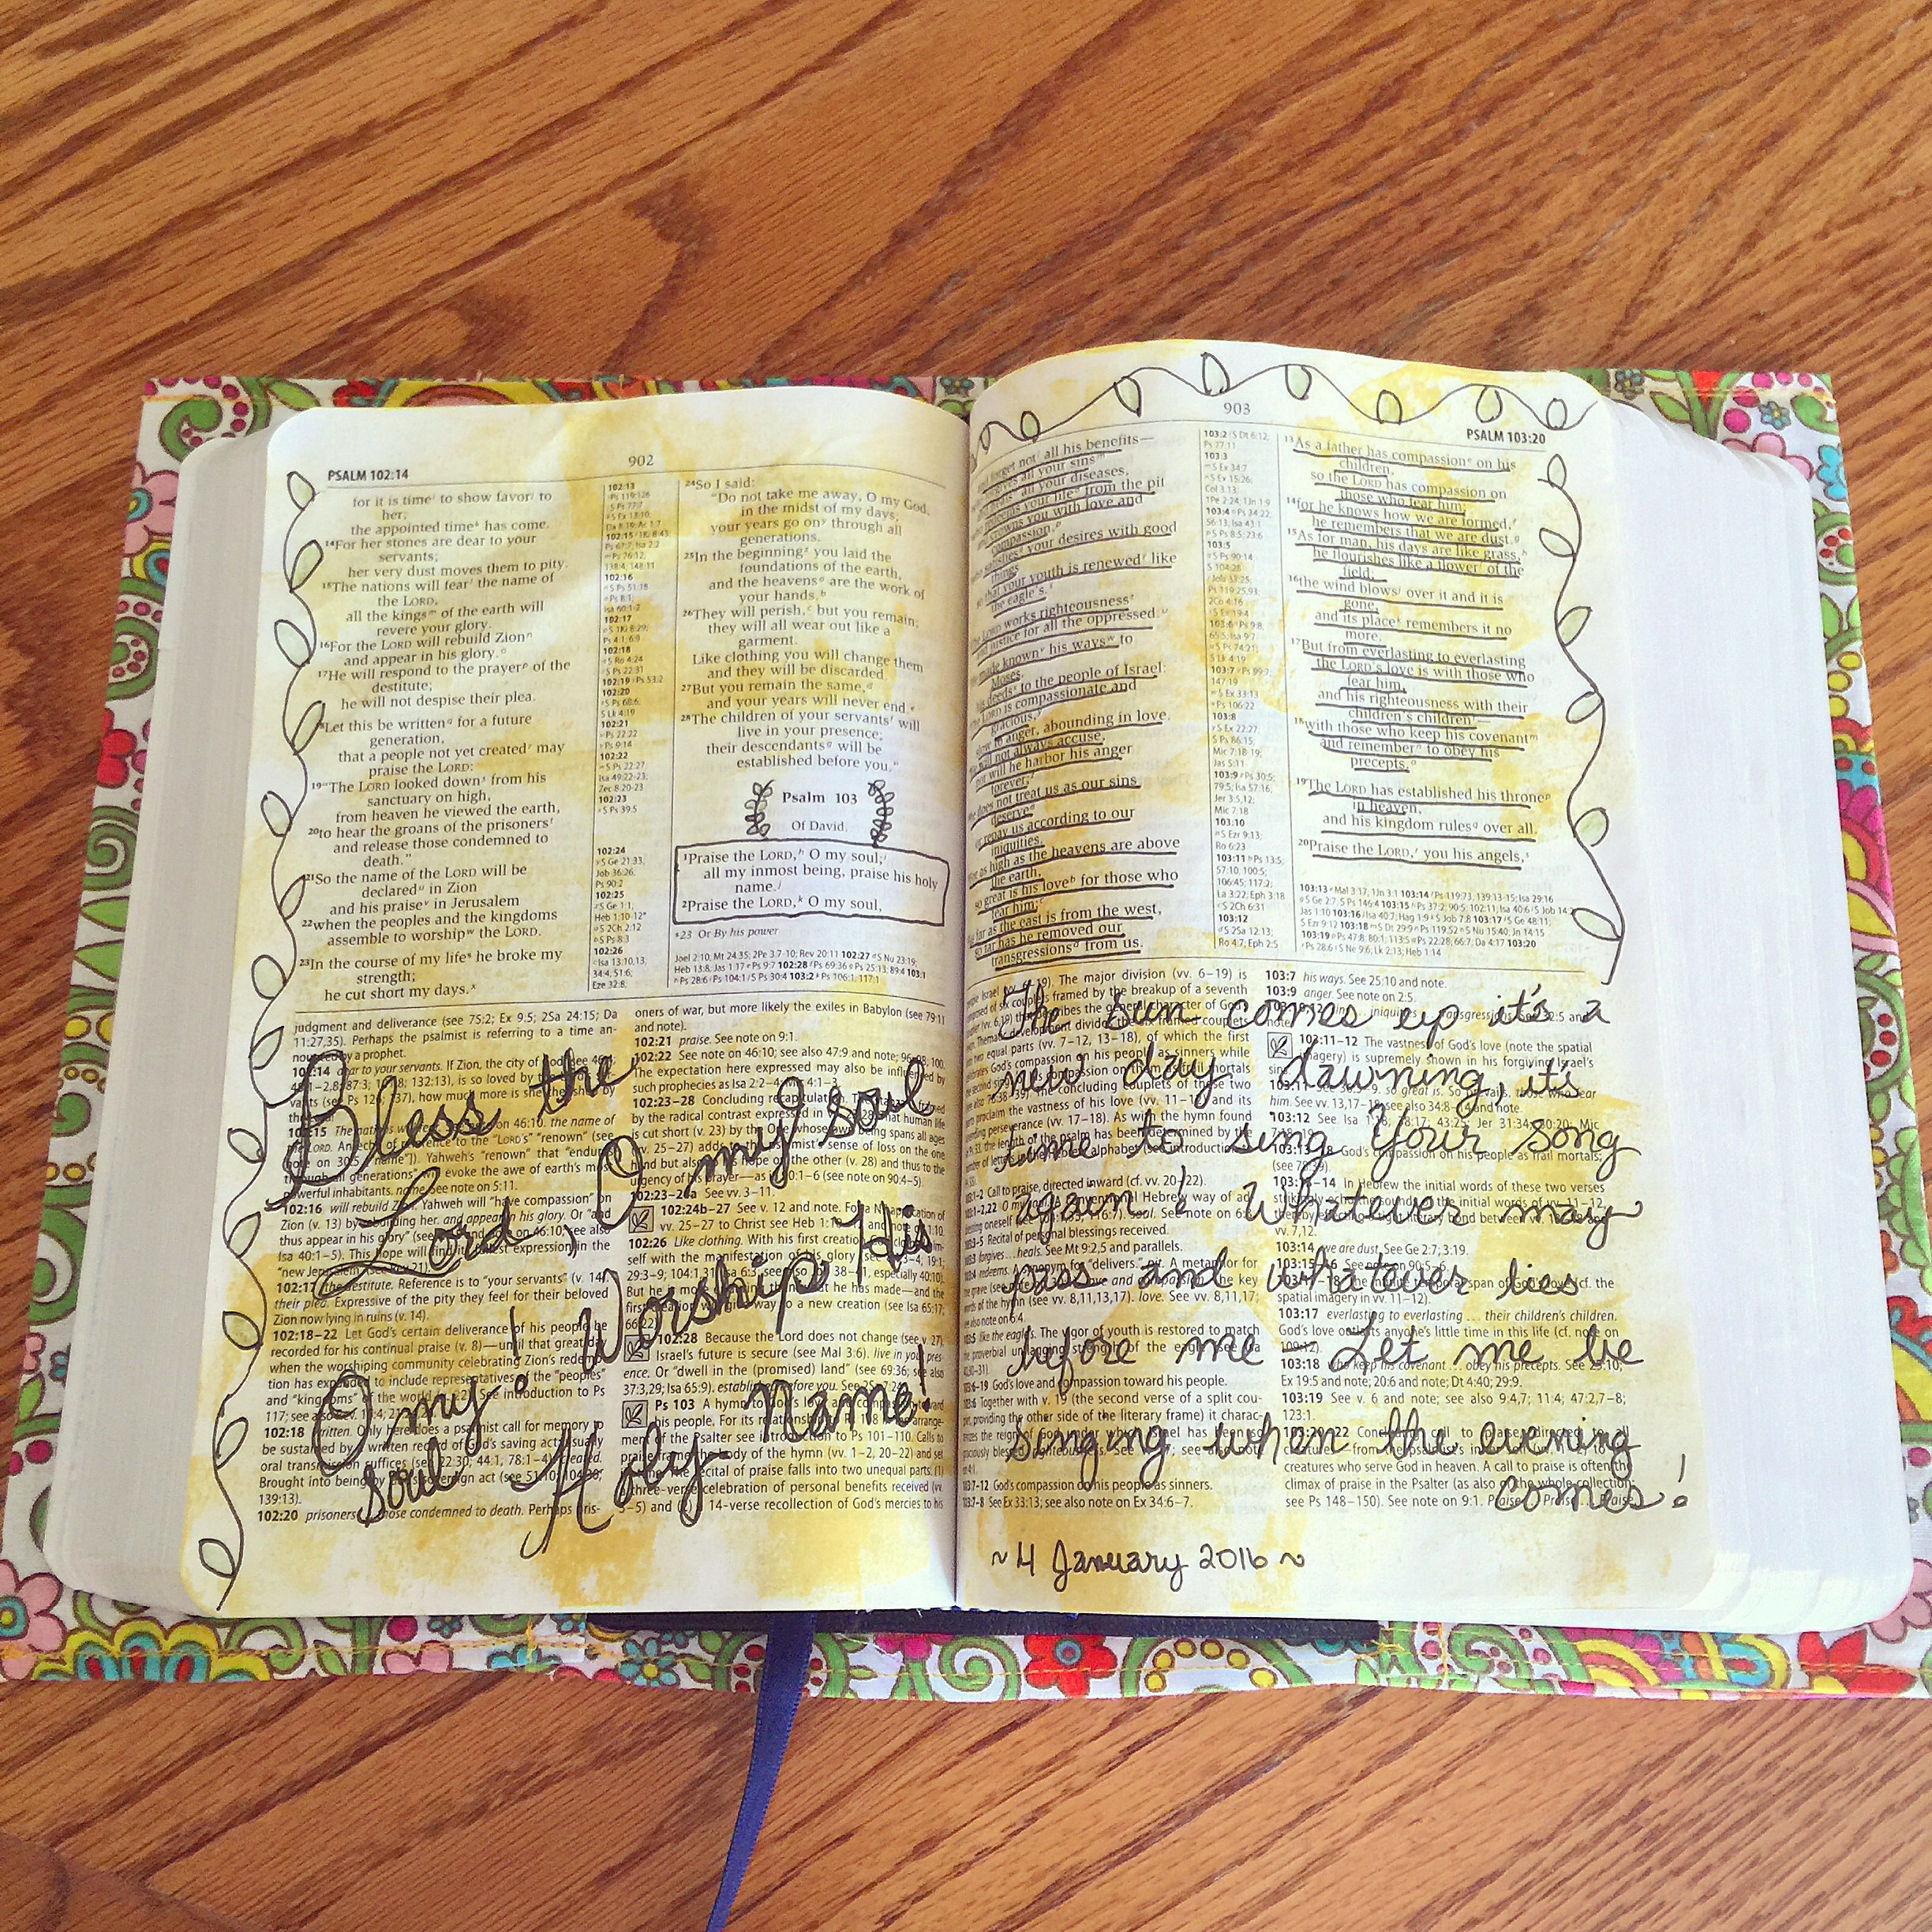 After a couple of days of illustrating in my Bible with colored pencils, I started hunting around to see if I could find more supplies. Luckily I found two stamp ink pads (Colorbox archival pigment ink), an old used-up gift card, and a felt tip archival pen. I flipped my Bible open to Psalm 103, one of my favorites, pressed the old gift card into the ink pad, and started spreading it across the page. So fun! I had found this technique online and it is typically used with acrylic paints, but it worked great with the stamp ink too, and no bleeding through to the other side of the page either. Same with the felt tip pen–the one I had is one designed for card making, so no bleed through.
 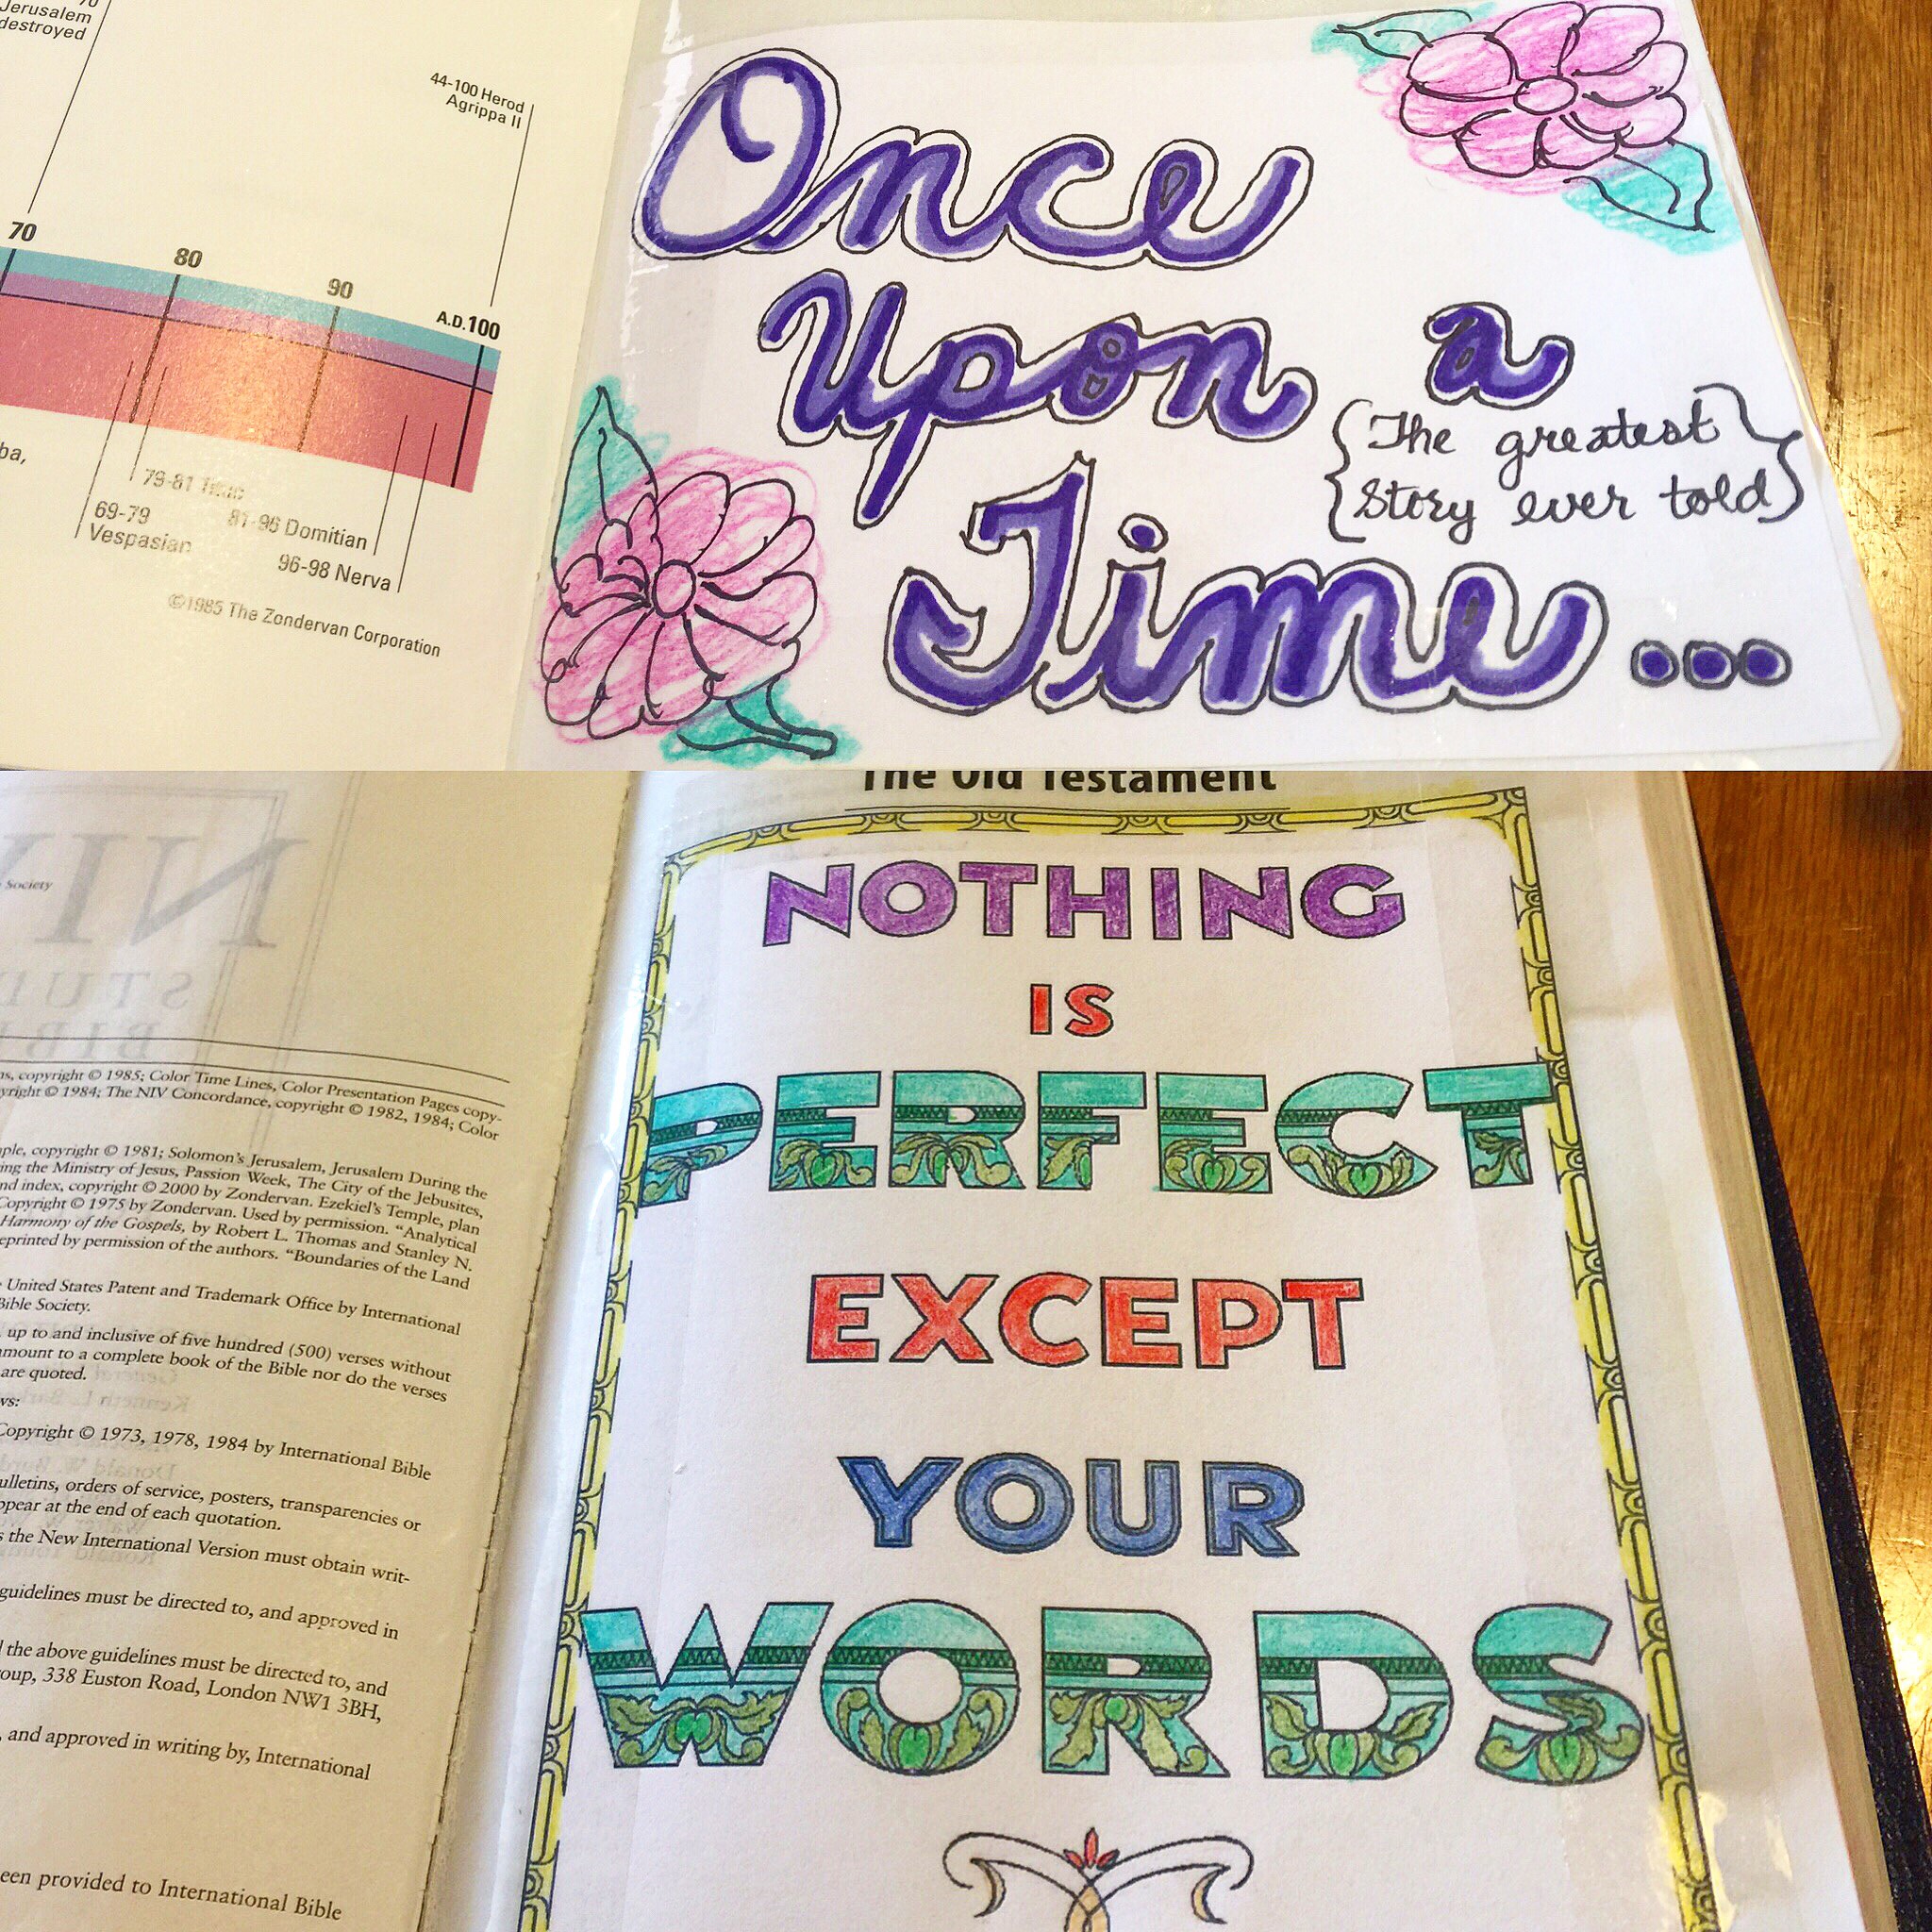 Another easy way that I found to add color and design to my Bible is to print out premade designs, color, then tape in (I didn’t have any glue, so tape for now). This allowed me to use some colored Sharpies too without having to worry about bleed through or ruining multiple pages.
 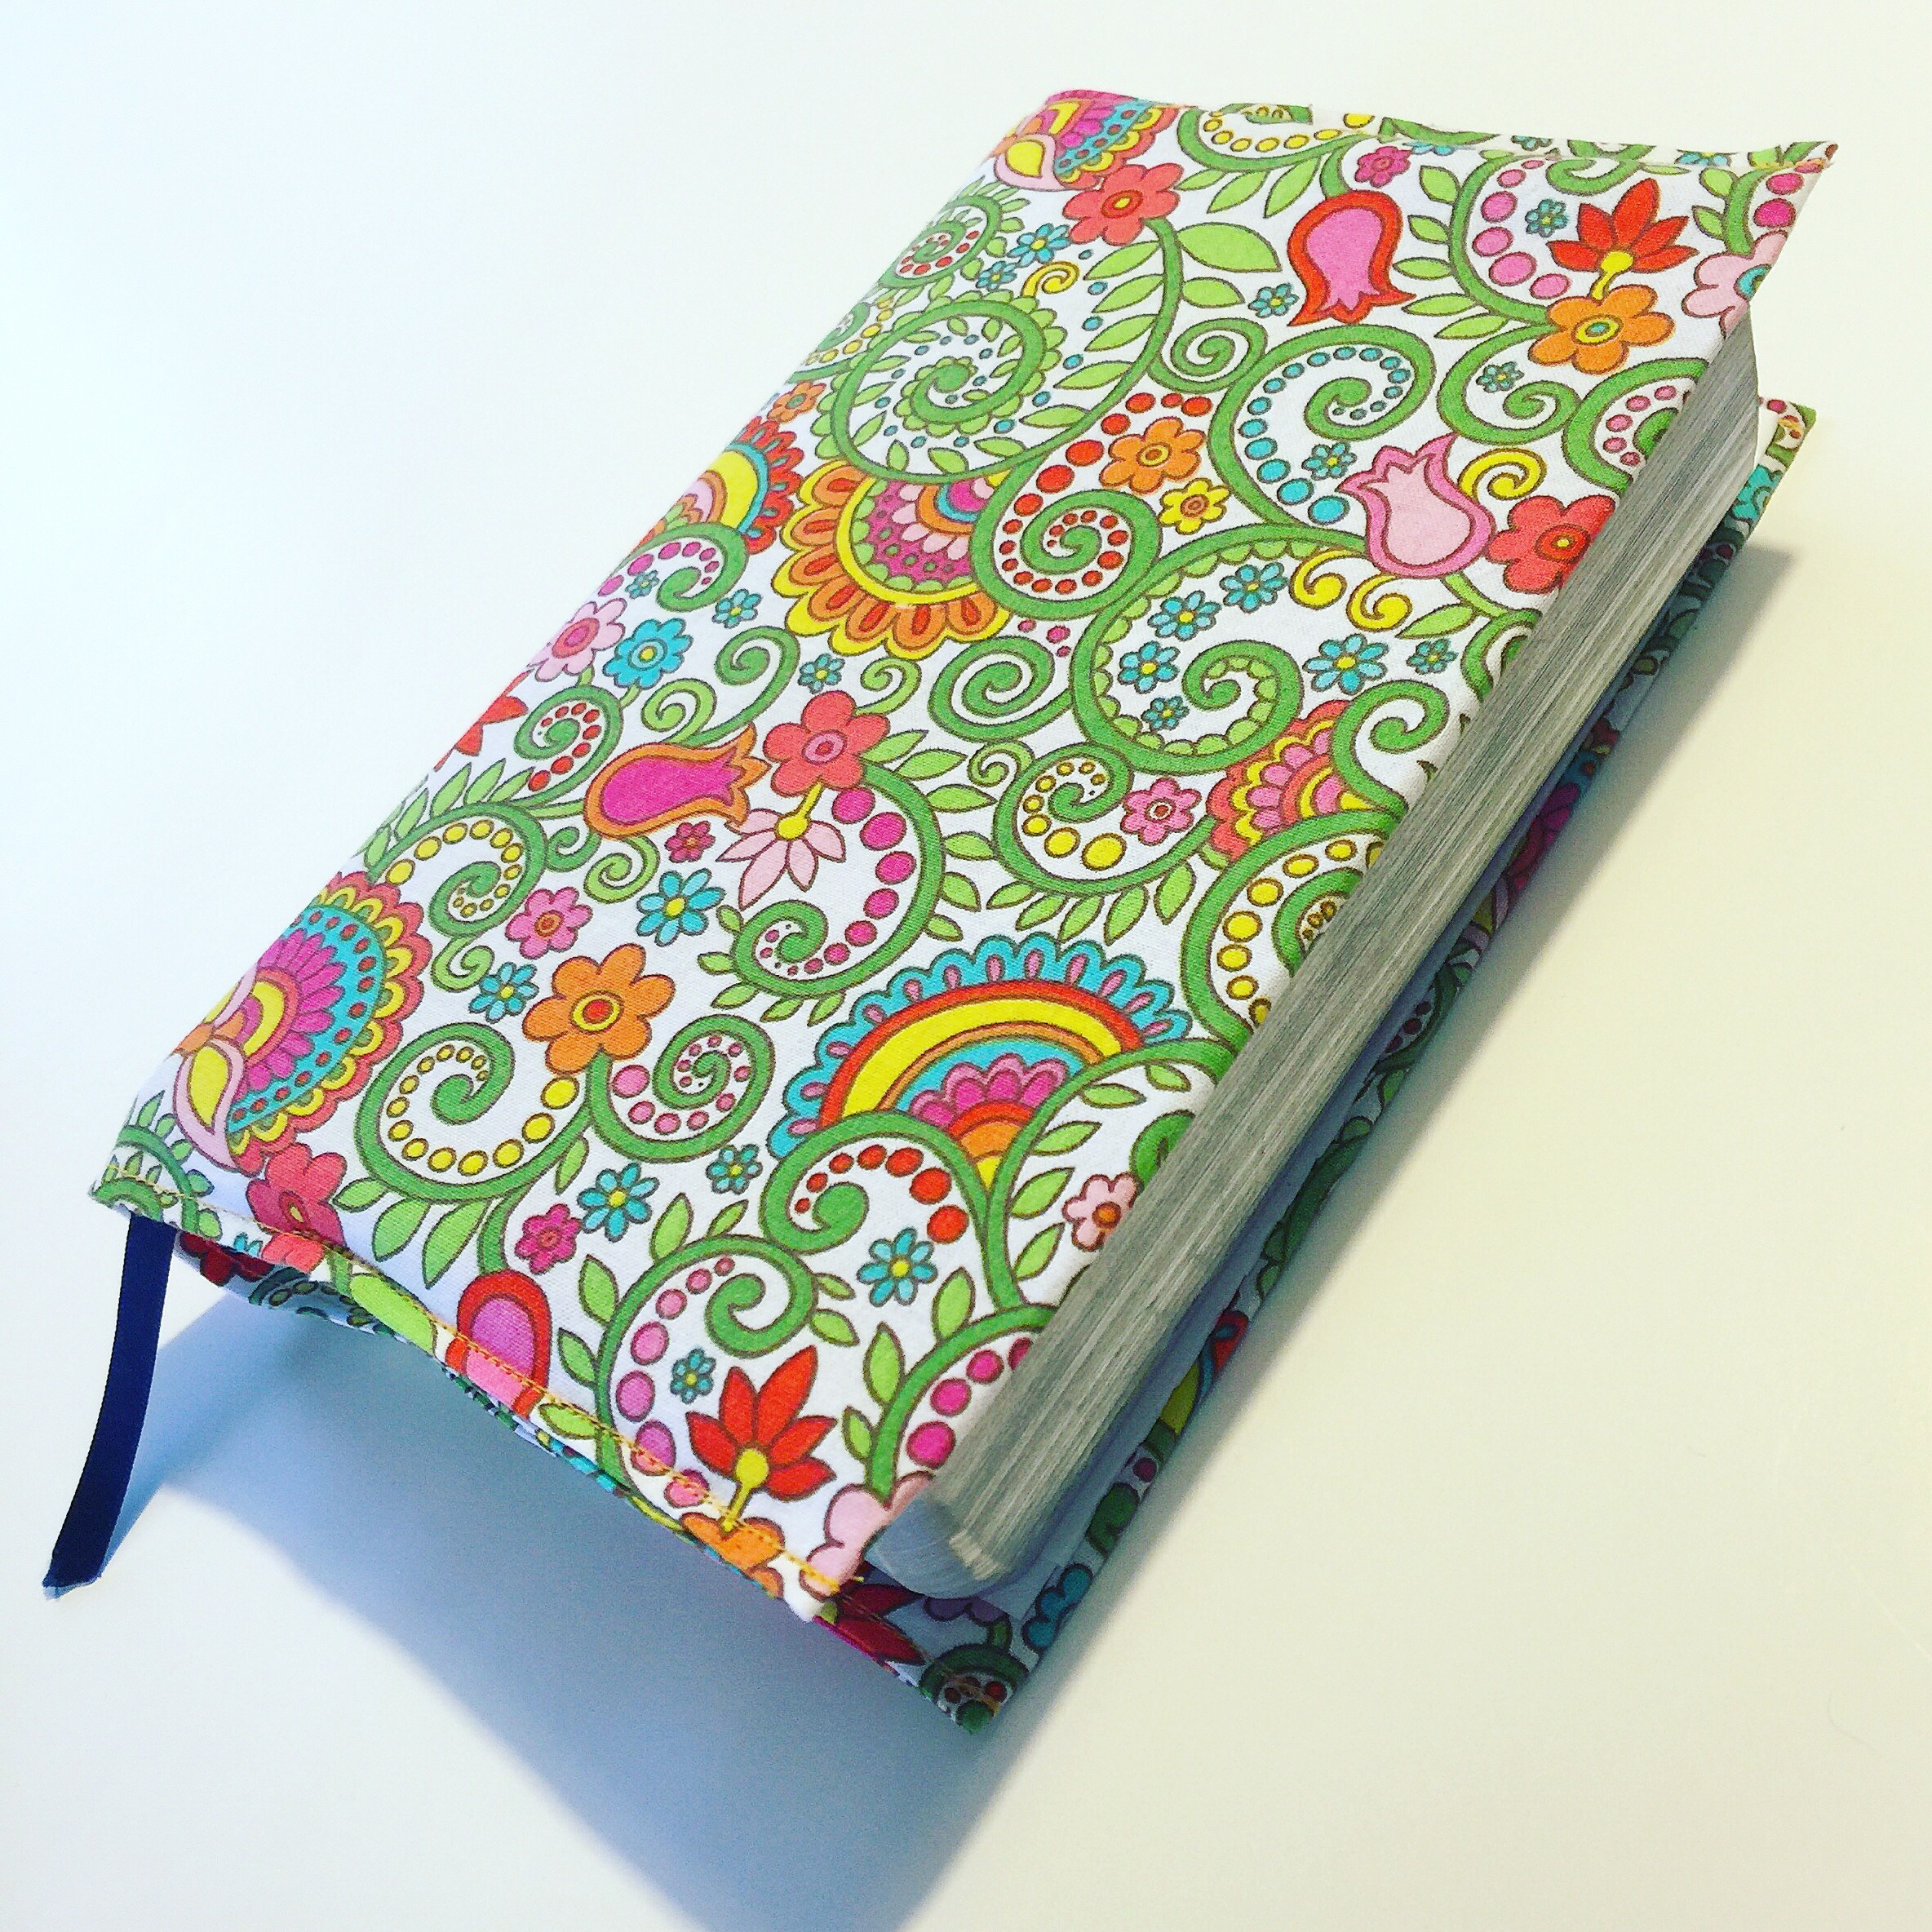 Lastly, I wanted to have a colorful Bible cover, so I looked up a tutorial on Pinterest, measured my Bible, and started sewing. I used a piece of remnant fabric that I purchased several months ago but was sad to discover wasn’t very big. Thankfully, it was just the right size to make a cover, and I am so happy I was able to put this beautiful fabric to use.


