Please note this post contains Amazon affiliate links. See the bottom of post for full disclosure.
UPDATE: Full pattern released December 2, 2021!
I have been getting a lot of interest on my half-finished Temperature Blanket from 2020 (I promise to finish it this year, wink wink). So I thought I would answer all the questions and give my basic recipe for how I am making one. When I finish my blanket, I will update this post with a link to the full pattern in my shop, but this will definitely get you started! I’m going to walk you through my process for picking colors, creating a temperature range, and helpful tips for making your own Temperature Blanket.
One of the biggest factors to a successful Temperature Blanket is to pick colors you like. It does not have to be rainbow colors. However, make sure to choose a yarn that won’t be discontinued any time soon and comes in a wide range of colors. For my first blanket, I picked Knit Picks/We Crochet Brava Worsted yarn. It’s an affordable yarn that I’ve used before and enjoy working with, plus it comes in so many different colors. You’ll want to pick about 10 or more different colors, depending on the temperature range you want to create. Obviously the more colors you have, the more colorful and nuanced your blanket will be. Also make sure to add in a neutral color, like cream, gray, or black, to use as a Monthly Marker.
The next thing you want to do is decide whether you want to record the high temps or the low temps for each day. For my blanket, I choose to focus on the high temps. It’s also important to create your own temperature range based on your local area, since some places don’t range in temperature as much as other places, or your temps may be more extreme (hot or cold) than other parts of the world. For example, I live in Arizona where it doesn’t really get below 50 degrees Fahrenheit for the high during the winter and the summer can be as high as 120 degrees Fahrenheit!
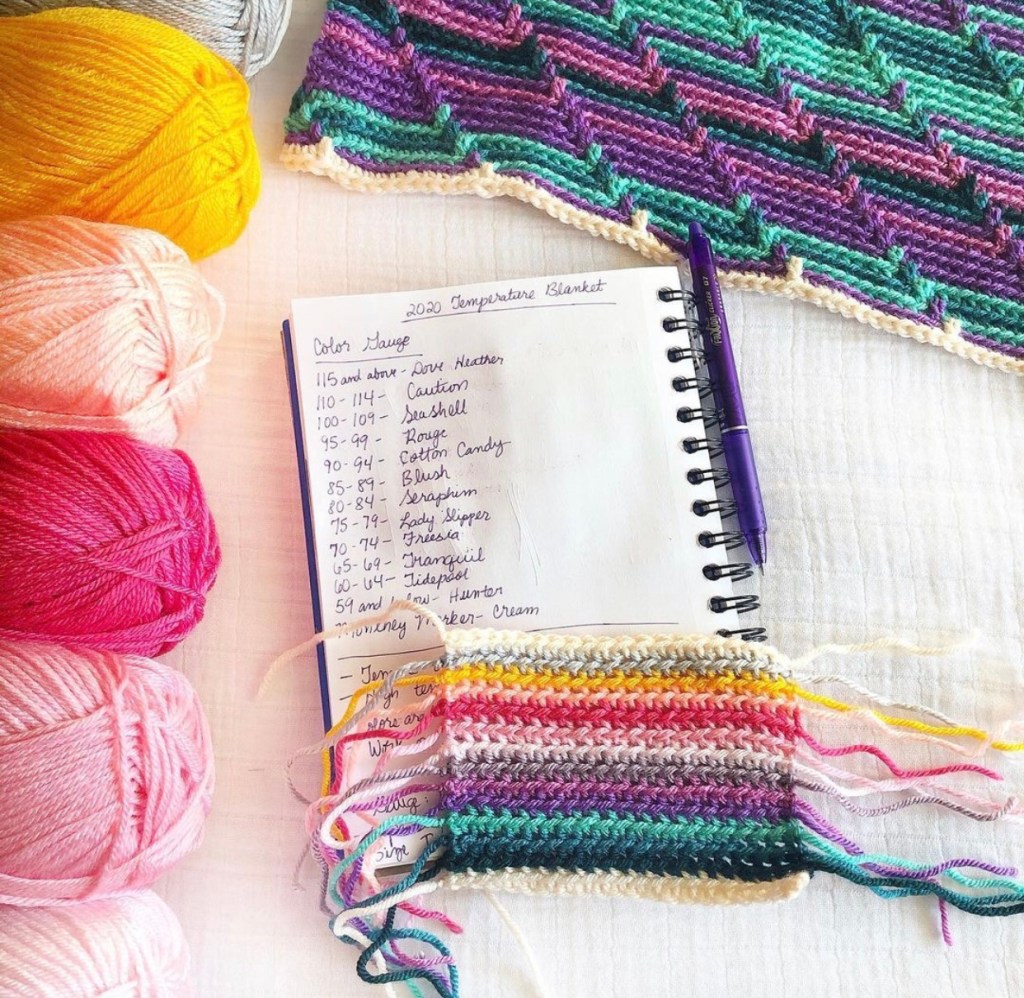
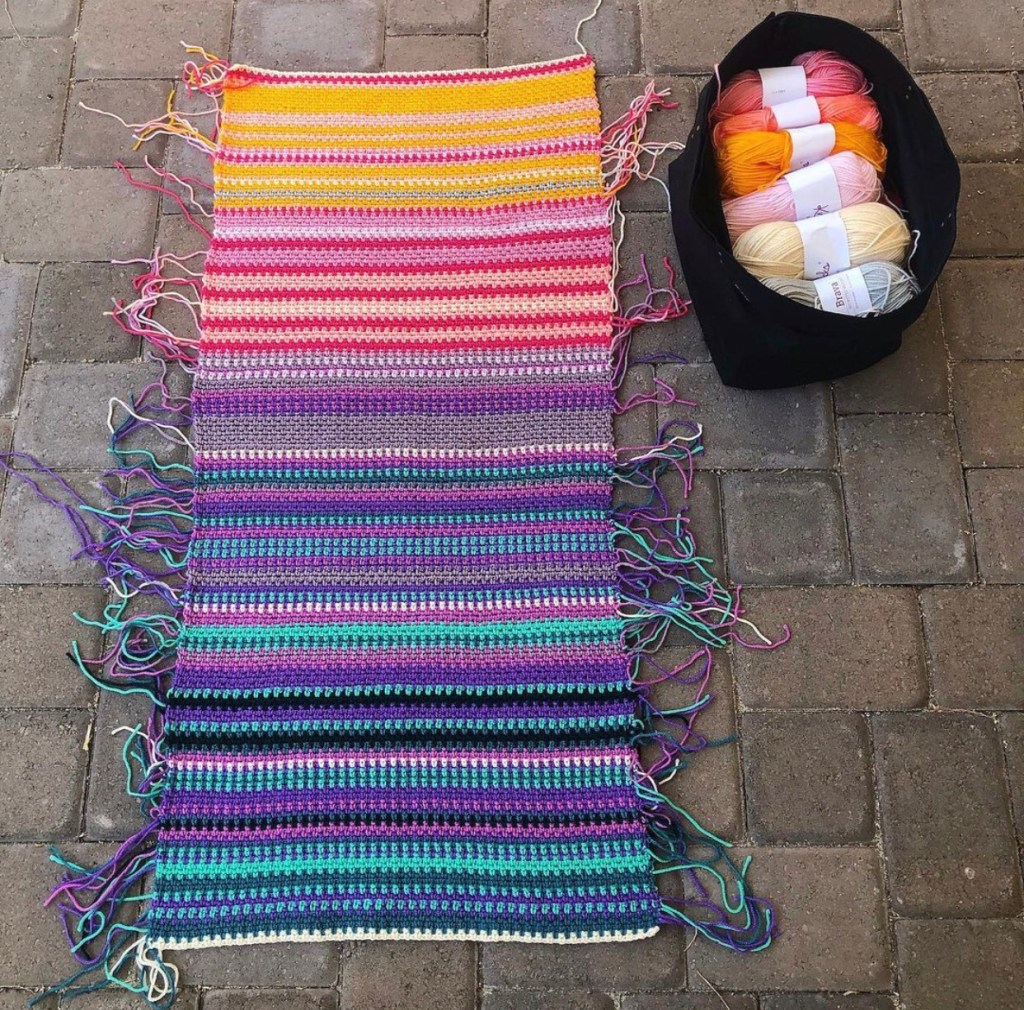
Make a list of the colors you have and then divide up your temperature range amongst the colors. For my range, I did a 5 degree gap, since I wanted to make sure my blanket had a lot of colorful nuance. Here’s my Temperature range as an example:
Mesa, Arizona Temperature Range
- 115 and Above: Dove Heather
- 110-114: Caution
- 105-109: Seashell
- 100-104: Rouge
- 95-99: Cotton Candy
- 90-94: Blush
- 85-89: Seraphim
- 80-84: Lady Slipper
- 75-79: Freesia
- 70-74: Tranquil
- 60-69: Tidepool
- 59 and Below: Hunter
- Monthly Marker: Cream
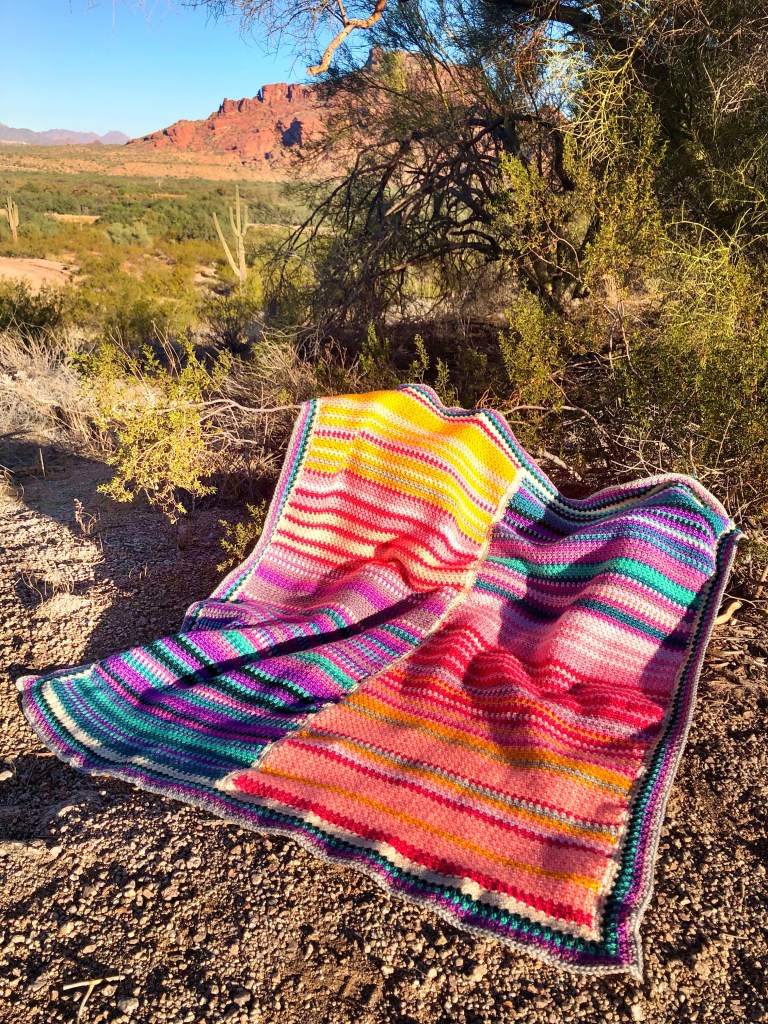
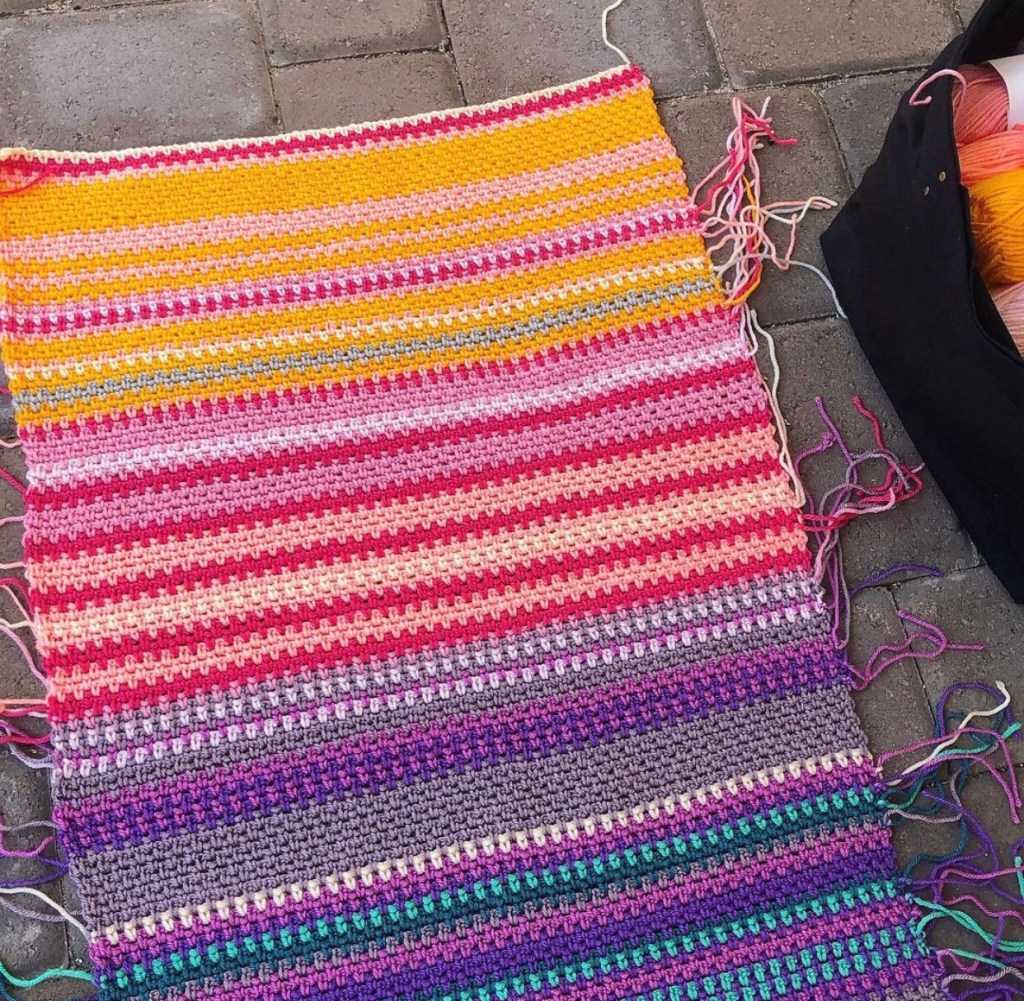
Another important factor to a successful temperature blanket is to not make it in one big row-a-day block, because 365+ rows makes for a way too long blanket. It’s better to break it down into panels or squares so that your blanket will come out to a more manageable size. This also means less work each day/week since you’re only working on a portion of the blanket at a time. For mine, I decided to do two panels. It works out almost exactly even to split it into the first half of the year and the second half of the year, including a starting row and the 12 monthly markers.

The great thing about modern technology is that you can always access temperatures online. This is helpful for working on your blanket once a week or once a month, instead of trying to keep up daily if you’re like me and can’t commit to a daily year-long project. It also makes it easier to catch up should you fall behind, since you can always look up and record your temperatures for past dates. It also means you don’t necessarily have to do a temperature blanket for your current year! Pick a special year (like the year you were born or your child was born or you got married, etc) to help commemorate a milestone year you want to remember. I did go ahead and write down the daily temps in my notebook (or you can use a knitting project notebook like this) so I could cross them off as I worked that row and keep track of where I was for when I inevitably abandoned the project and came back to it.
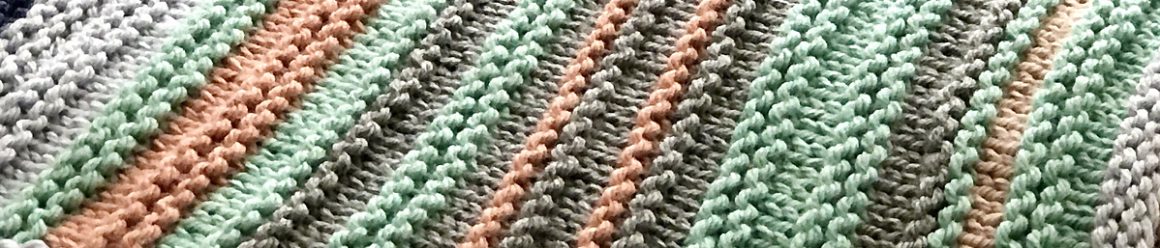
You’ve got your yarn, you’ve got your temp range, now it’s time to get started! I chose the crochet moss stitch for my blanket, and that will be the pattern I share below. I highly recommend making a gauge swatch with all of your colors in order, so you can see how they will work together, as well as to measure your gauge. Gauge is not essential for this project, but it’s helpful to know you won’t get a blanket that’s too big or too small. Get the full pattern including Temperature Tracking Chart on Ravelry here and on Etsy here.
My Temperature Blanket (Crochet) Details
- Finished Size: Panel – 18”/46 cm wide by 44”/112 cm long; Blanket – 40”/102 cm wide by 48”/122 cm long
- Gauge: 16 sc and 16 rows = 4”/10 cm. Use a gauge tool like this to check your gauge swatch.
- Hook: US Size H (5 mm) Clover Amour hook
- Notions: Chibi yarn needle, scissors, tape measure
- Yarn: Knit Picks/We Crochet Brava Worsted (100% acrylic; 218 yards/100 grams per skein) in 13 colors: 1-2 skeins in each color. See above for example colors. You could also get a couple sampler packs of Brava Worsted where all the colors are picked for you.
Use hashtag #mytemperatureblanket and #kountingsheep when sharing your progress on social media! You can also tag me @kountingsheep on Instagram for a chance to be shared in my Stories. Link your project on Ravelry here.
Please note this post contains Amazon affiliate links. This means that when you make a purchase through the link, I receive a small commission at no additional cost to you. All pictures and opinions contained in this post are my own.
 Have you tried Tunisian crochet before? If you haven’t ever heard of this technique, it’s a special combination of knit and crochet that uses what was traditionally called an “afghan” hook, or a long crochet hook. Your grandma would have known it as “Afghan stitch” or “Afghan crochet” because it was a very popular technique to use to make large panels for blankets. In fact, I know my grandma knew how to do Afghan stitch, because she made my dad an entire blanket using this technique.
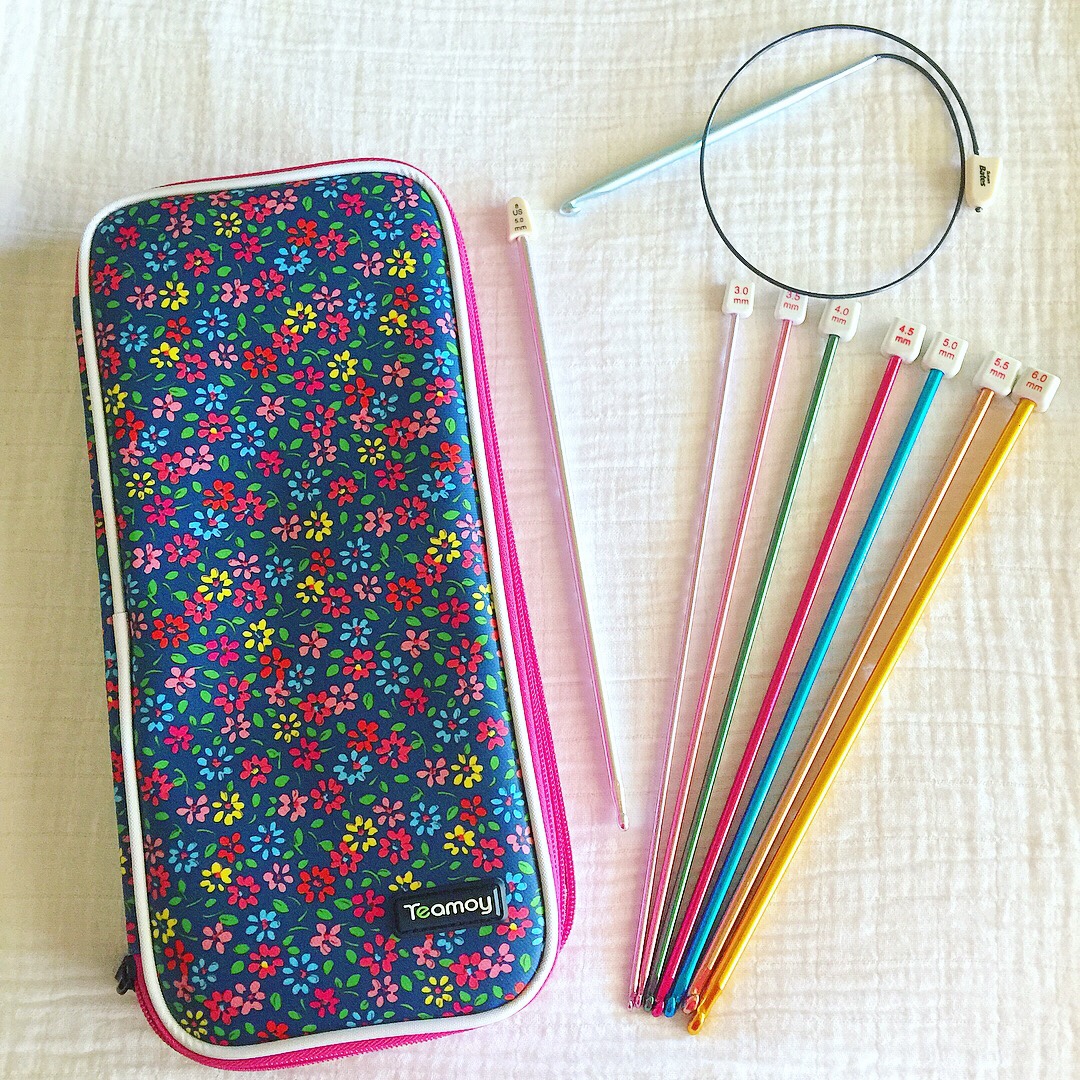
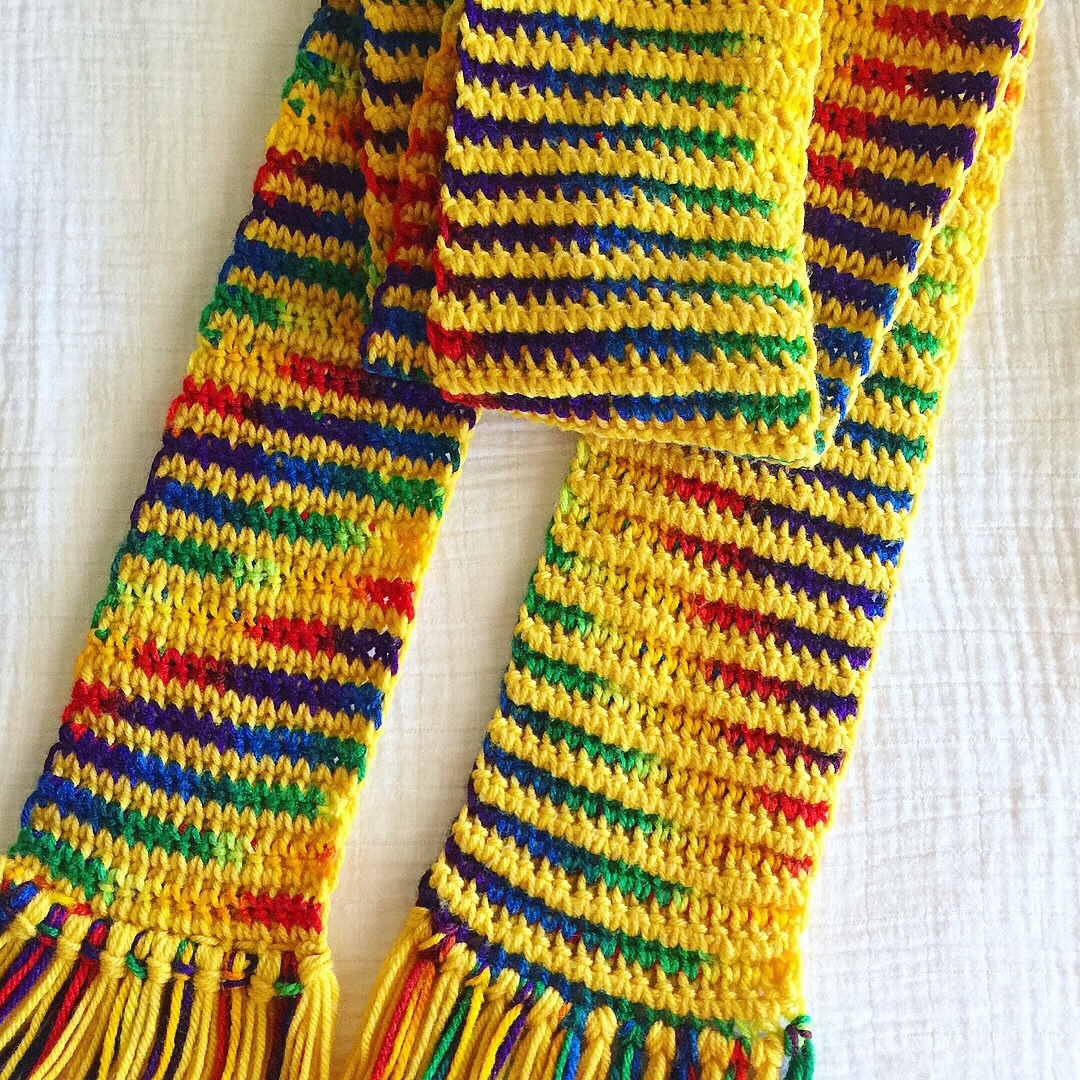 I learned how to do Tunisian crochet about 15 years ago before I had learned to knit. I had been crocheting for several years and wanted to branch out to something new, but wasn’t ready to pick up some knitting needles. I had several books, a few long afghan hooks, and a few double-ended crochet cables (like circular knitting needles but with crochet hook tips). I mostly made scarves, because you don’t have to turn your work with Tunisian crochet. The above pictured scarf is the only thing I still have from when I first learned Tunisian. Unfortunately I gave away all my Tunisian supplies when I learned to knit, thinking I would never be interested in doing it again. I have major regrets now for not keeping my supplies, especially the double-ended cable hooks.
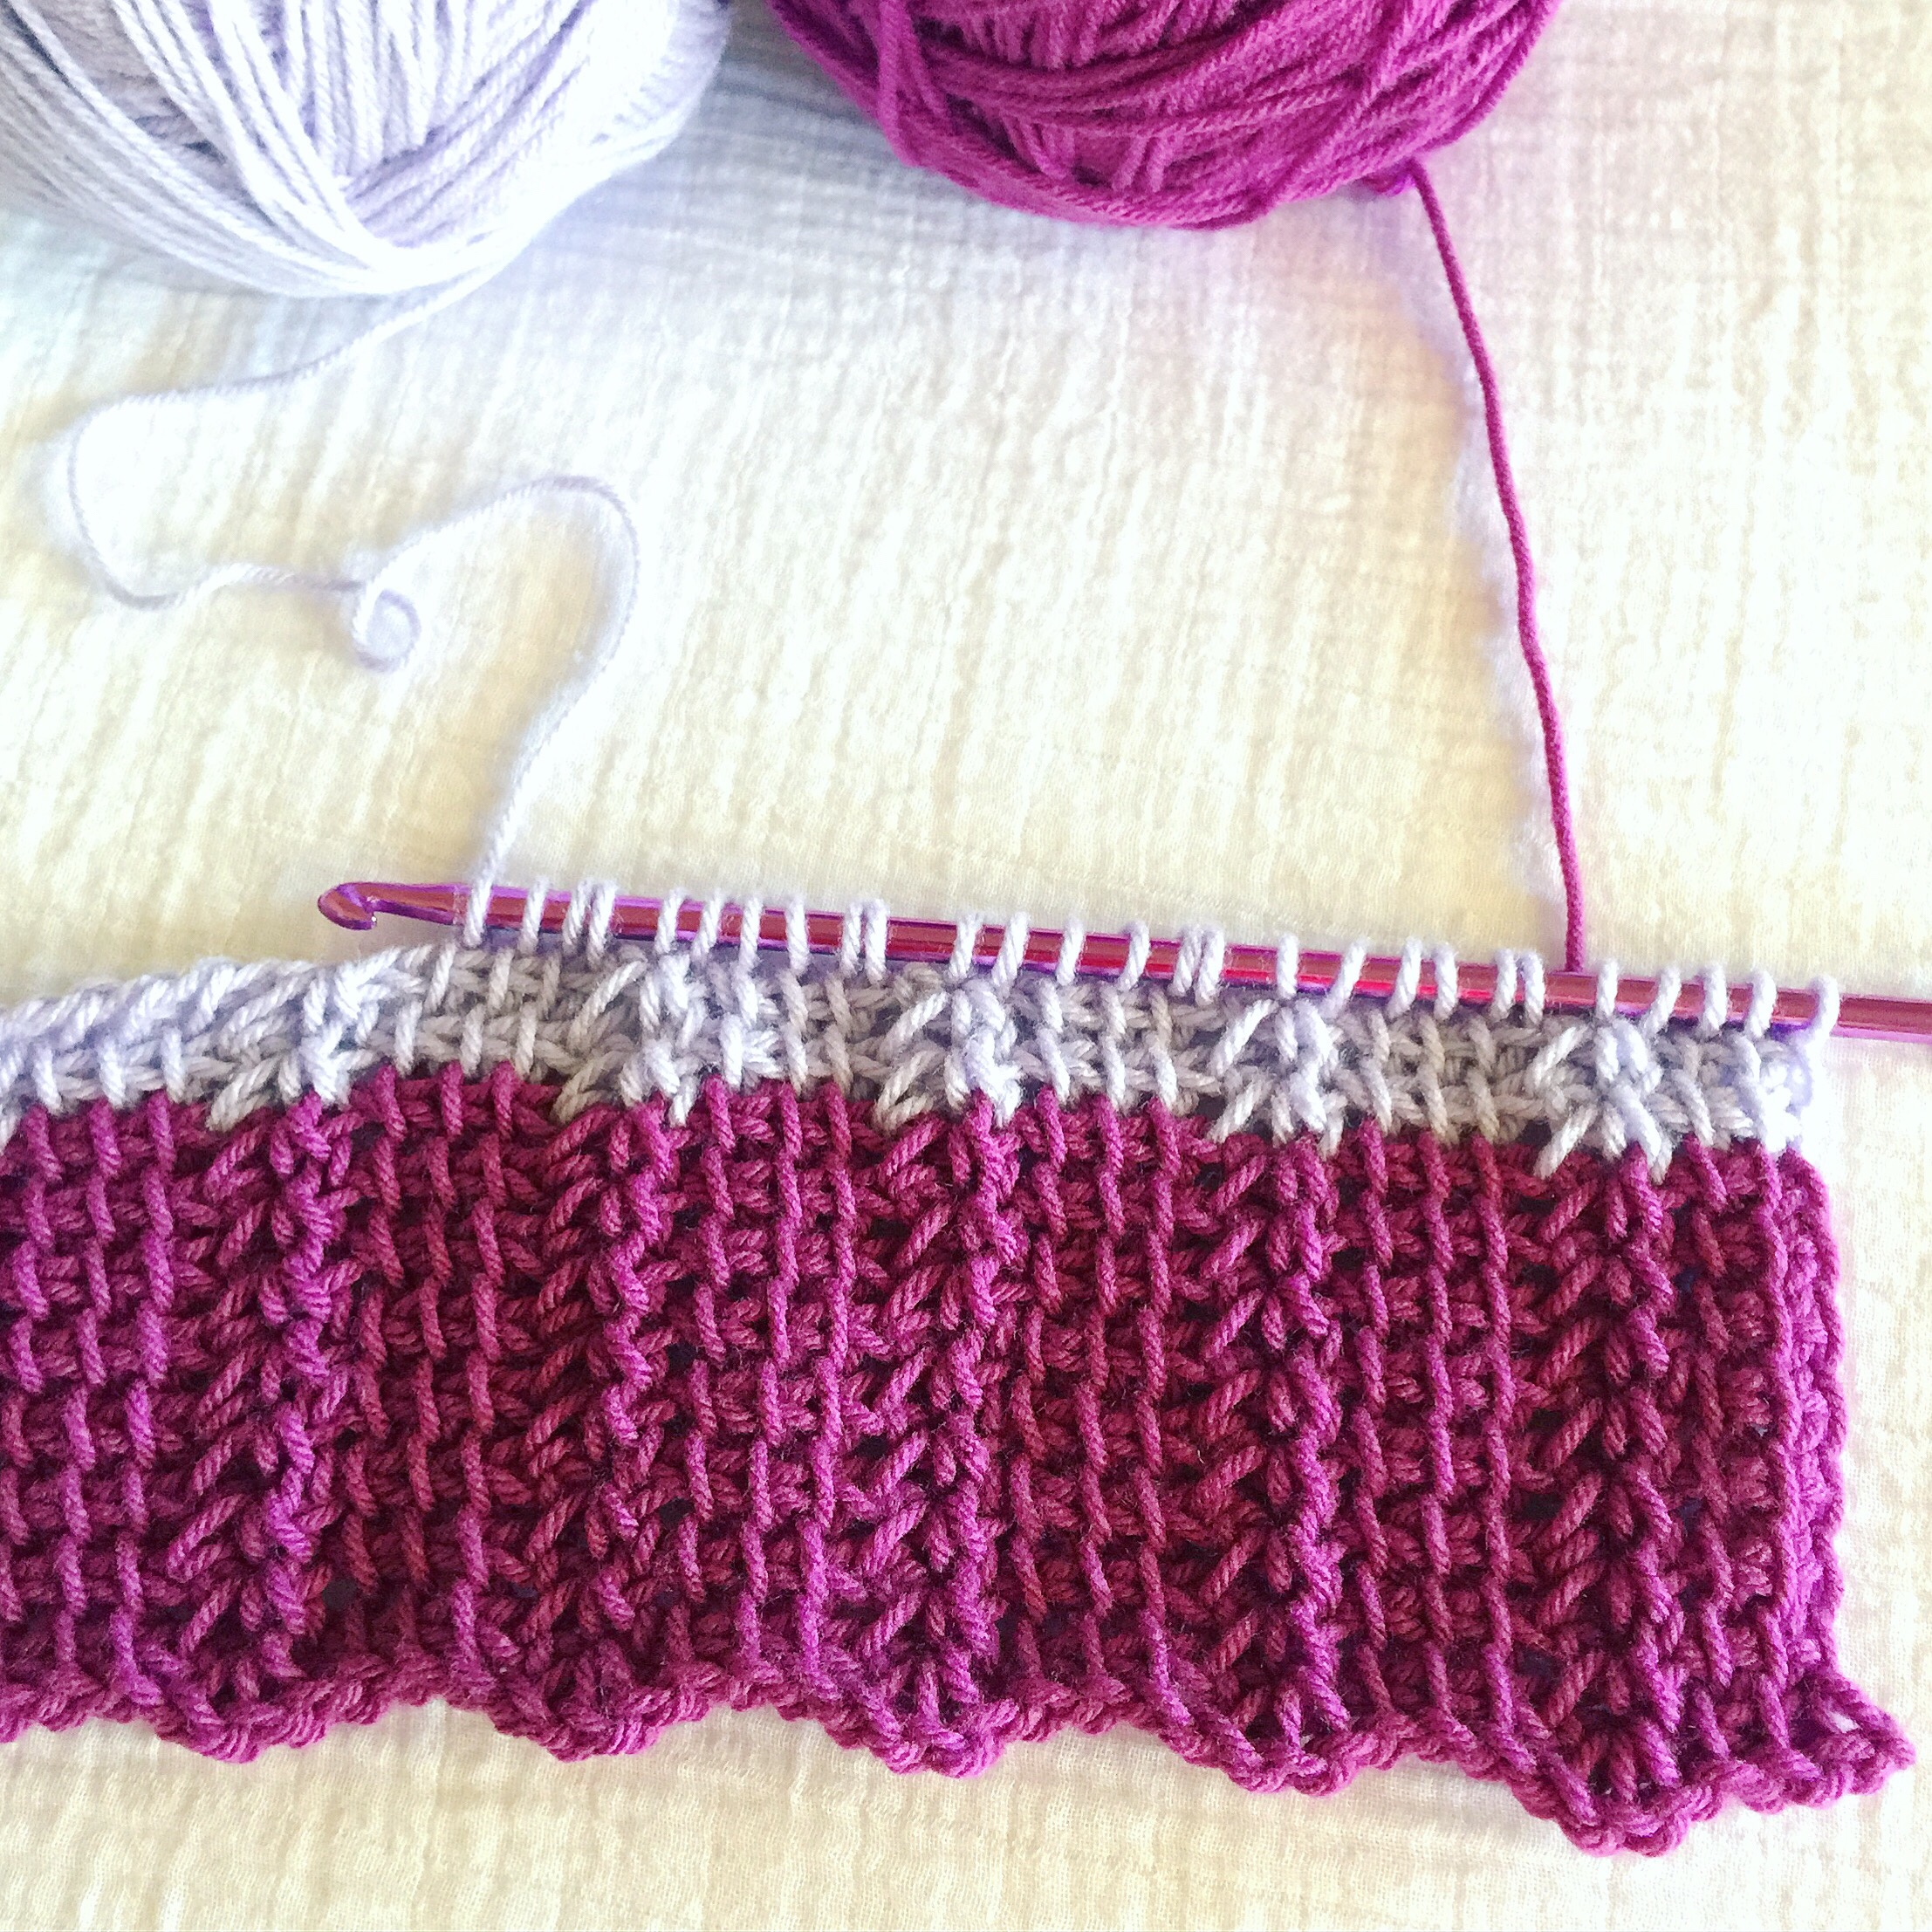 Now with the recent resurgence of this technique, I decided to get a new set of Tunisian hooks and pick it up again. And I’m addicted! I really think the best part about Tunisian crochet is the fact you don’t have to turn your work. Tunisian is a combo of “croknitting” loops onto your hook going right to left, then crocheting the loops off your hook from left to right. It produces a fabric that is neither fully knit nor fully crochet but resembles a little bit of both. I’m currently working on my very first Tunisian crochet blanket, and it’s been fun learning new stitches.
 For Day 3 in this “College Bound” series, I have a new crochet pattern to share with you! The Collegiate Throw is the perfect project to help get your college student into school spirit. Choose your school colors to crochet this giant granny square blanket, perfect for dorm rooms, chilly fall football games, cuddling up with a textbook, or even to help stay warm in a cold classroom.
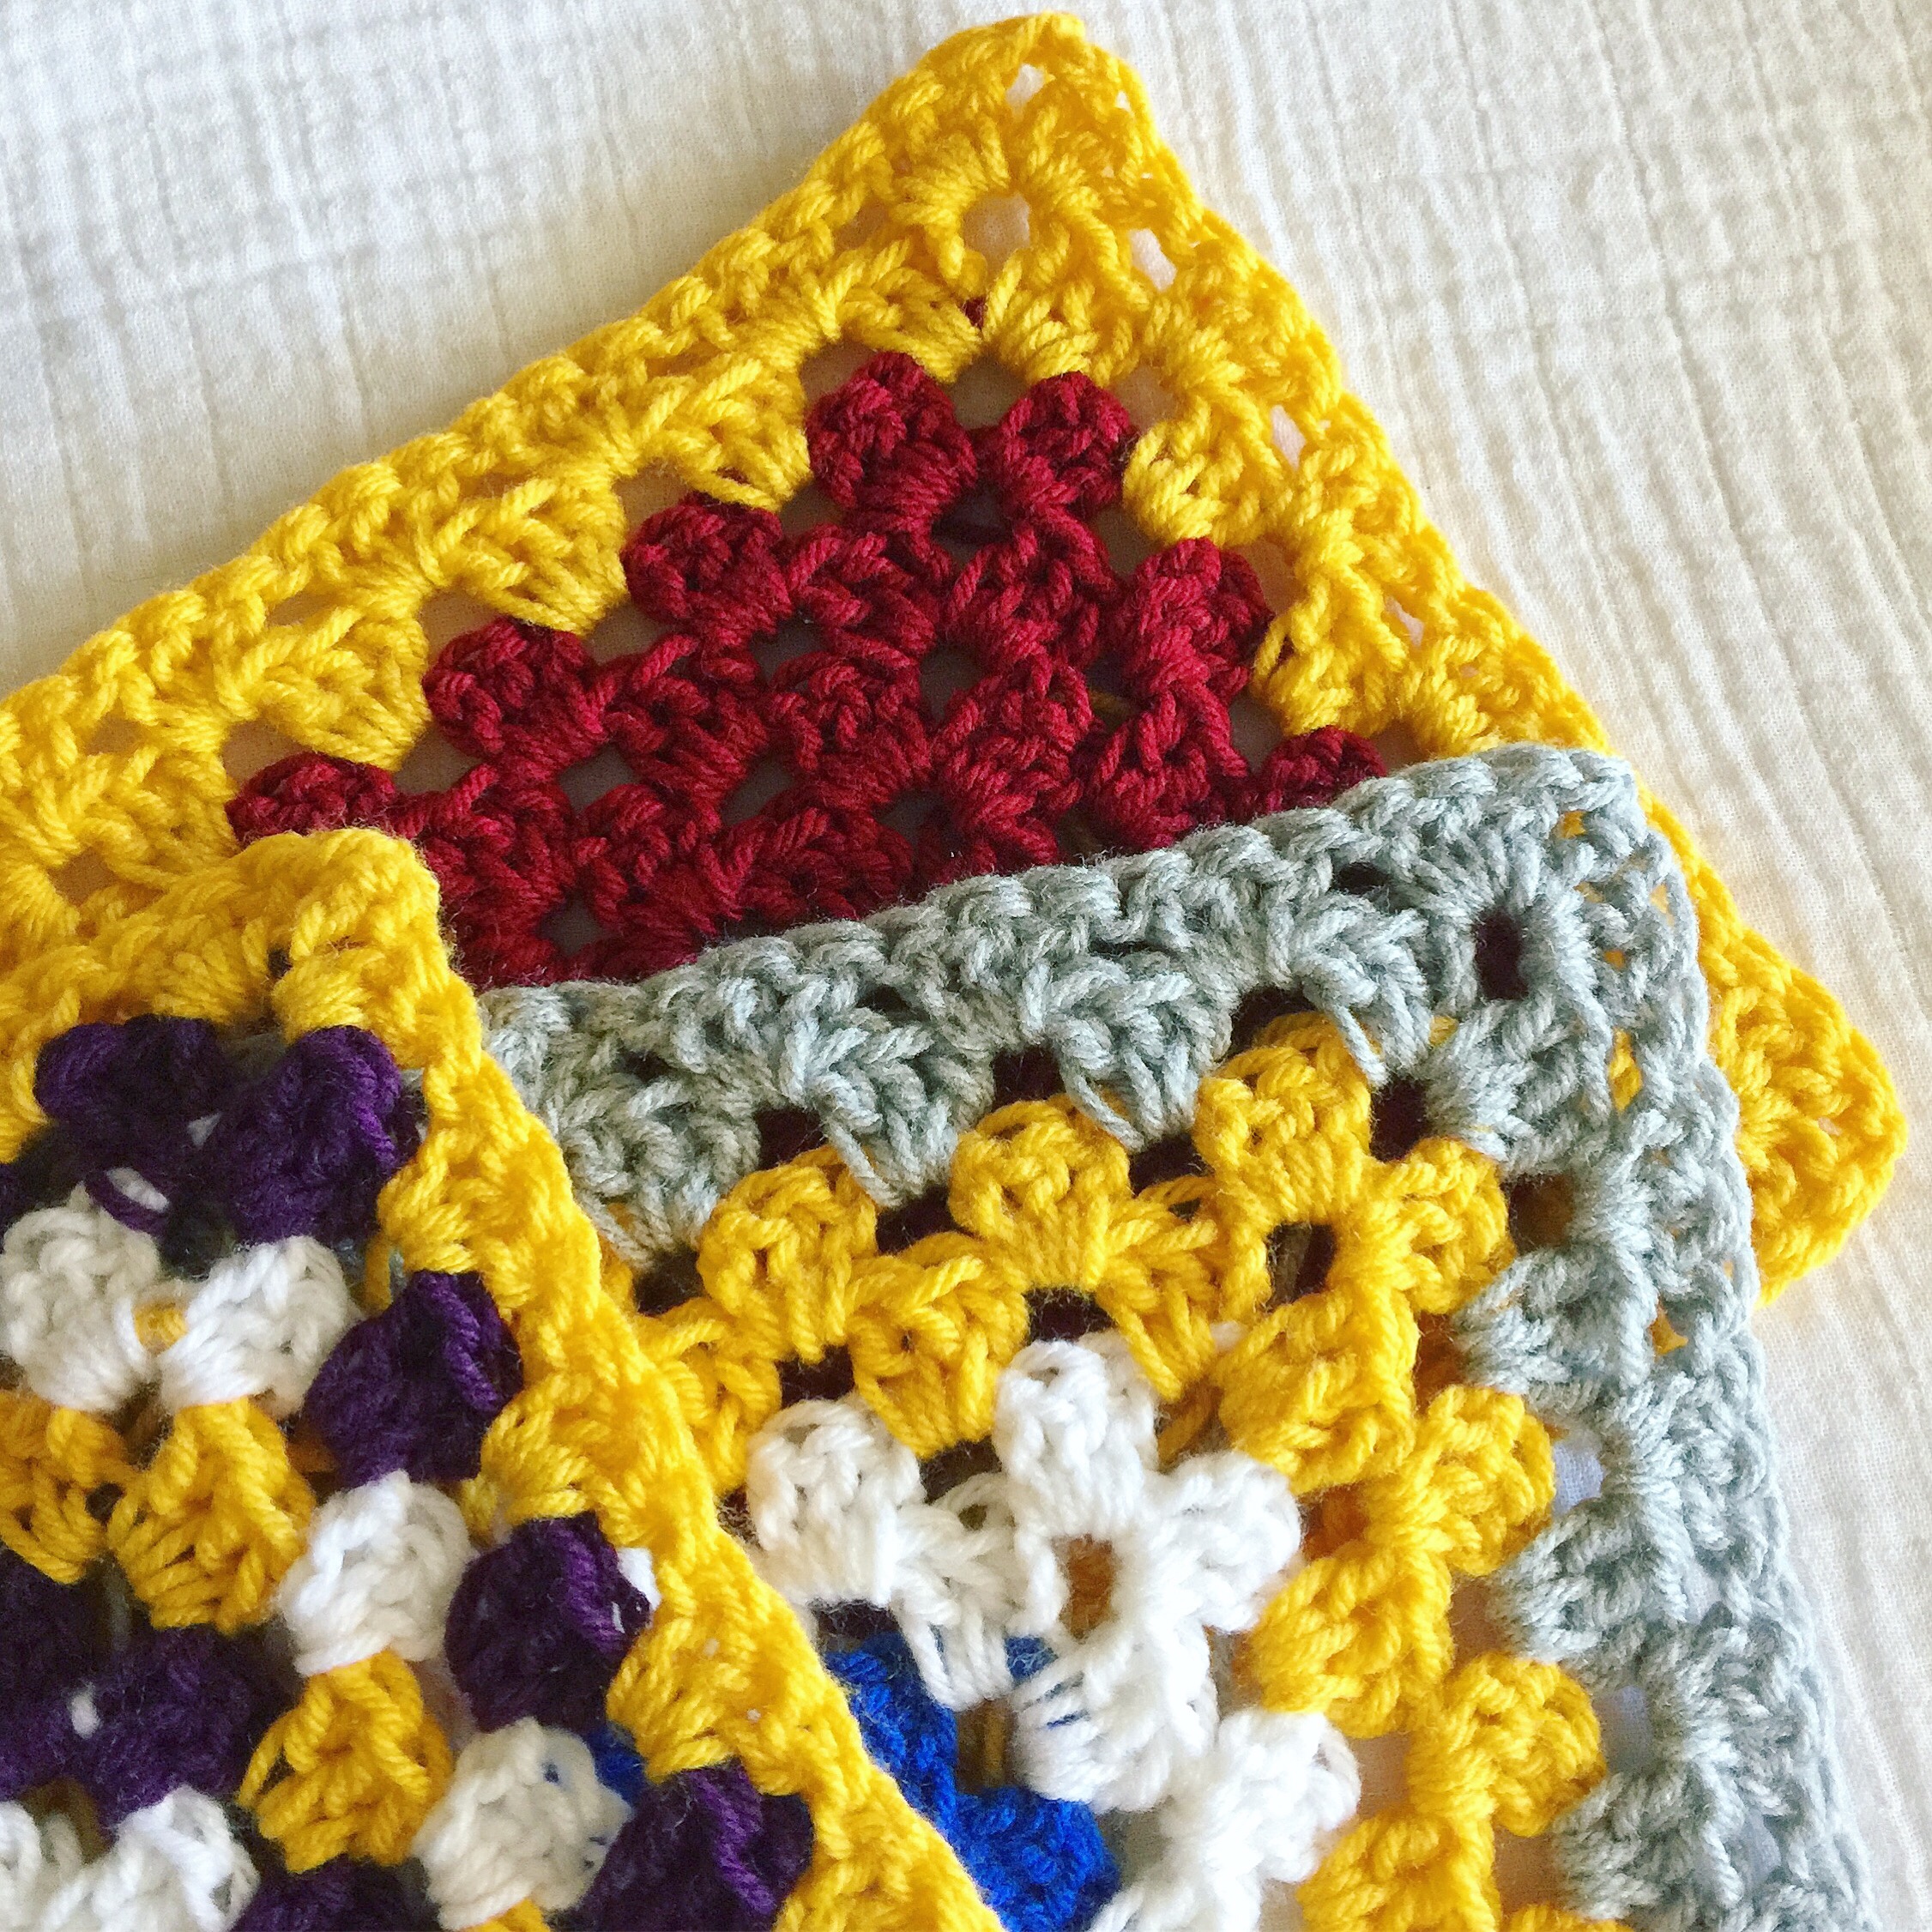 The Collegiate Throw pattern includes written instructions for how to make the blanket, special instructions for making a crisp straight square, 4 color sequence ideas, and 2 picture tutorials for special stitches. This crochet pattern has been carefully edited and tested to ensure quality and accuracy.
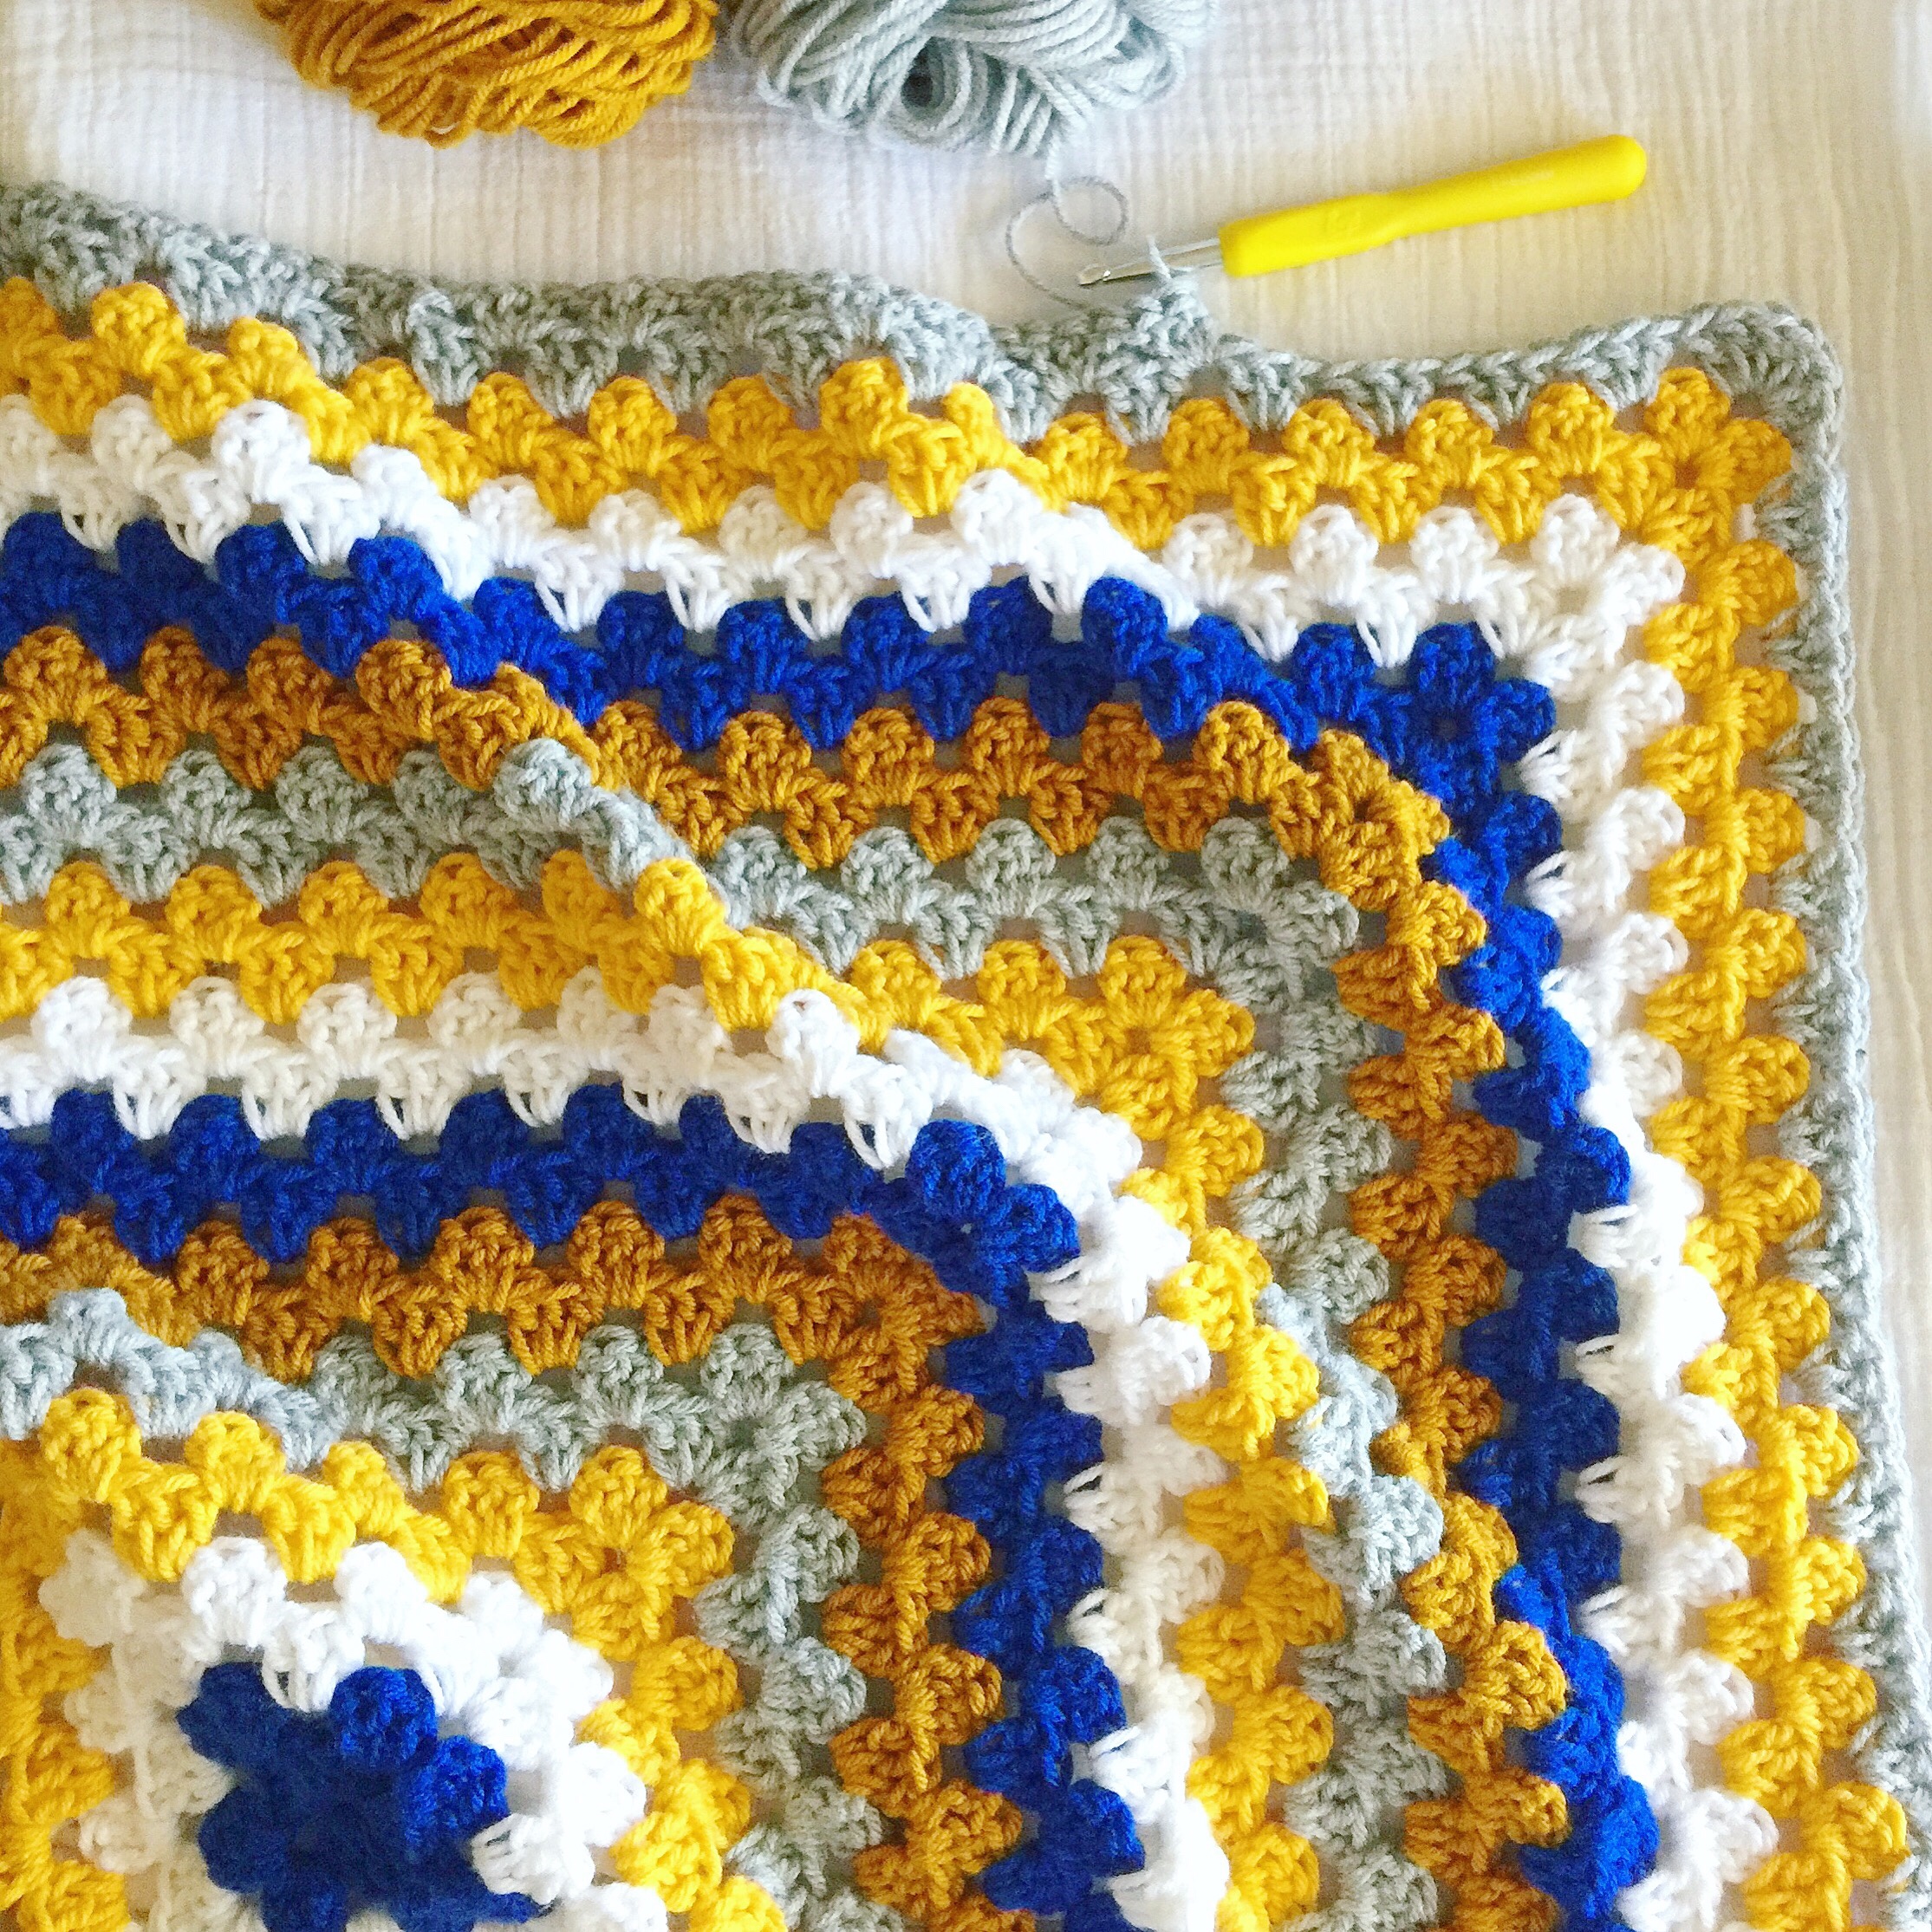 Download your copy of the Collegiate Throw crochet pattern in my Etsy shop
  Please note that this post contains Amazon affiliate links. This means that I receive a small commission when you purchase through the links at no additional cost to you. All pictures and opinions contained in this post are my own.
  To continue the series from last week of Mother’s Day Gift Ideas, I have a pattern you can crochet as a gift: the Miss Priss Hat. This Hat pattern is one that I designed 10 years ago in April 2008, and I have revised and updated the pattern to improve it. New features include all 3 sizes in one pattern, toddler, child, and adult; new recommended yarn; new hook sizes; and a new bow pattern (Southern Style Bow by Southern Day Crochet, which can be found
 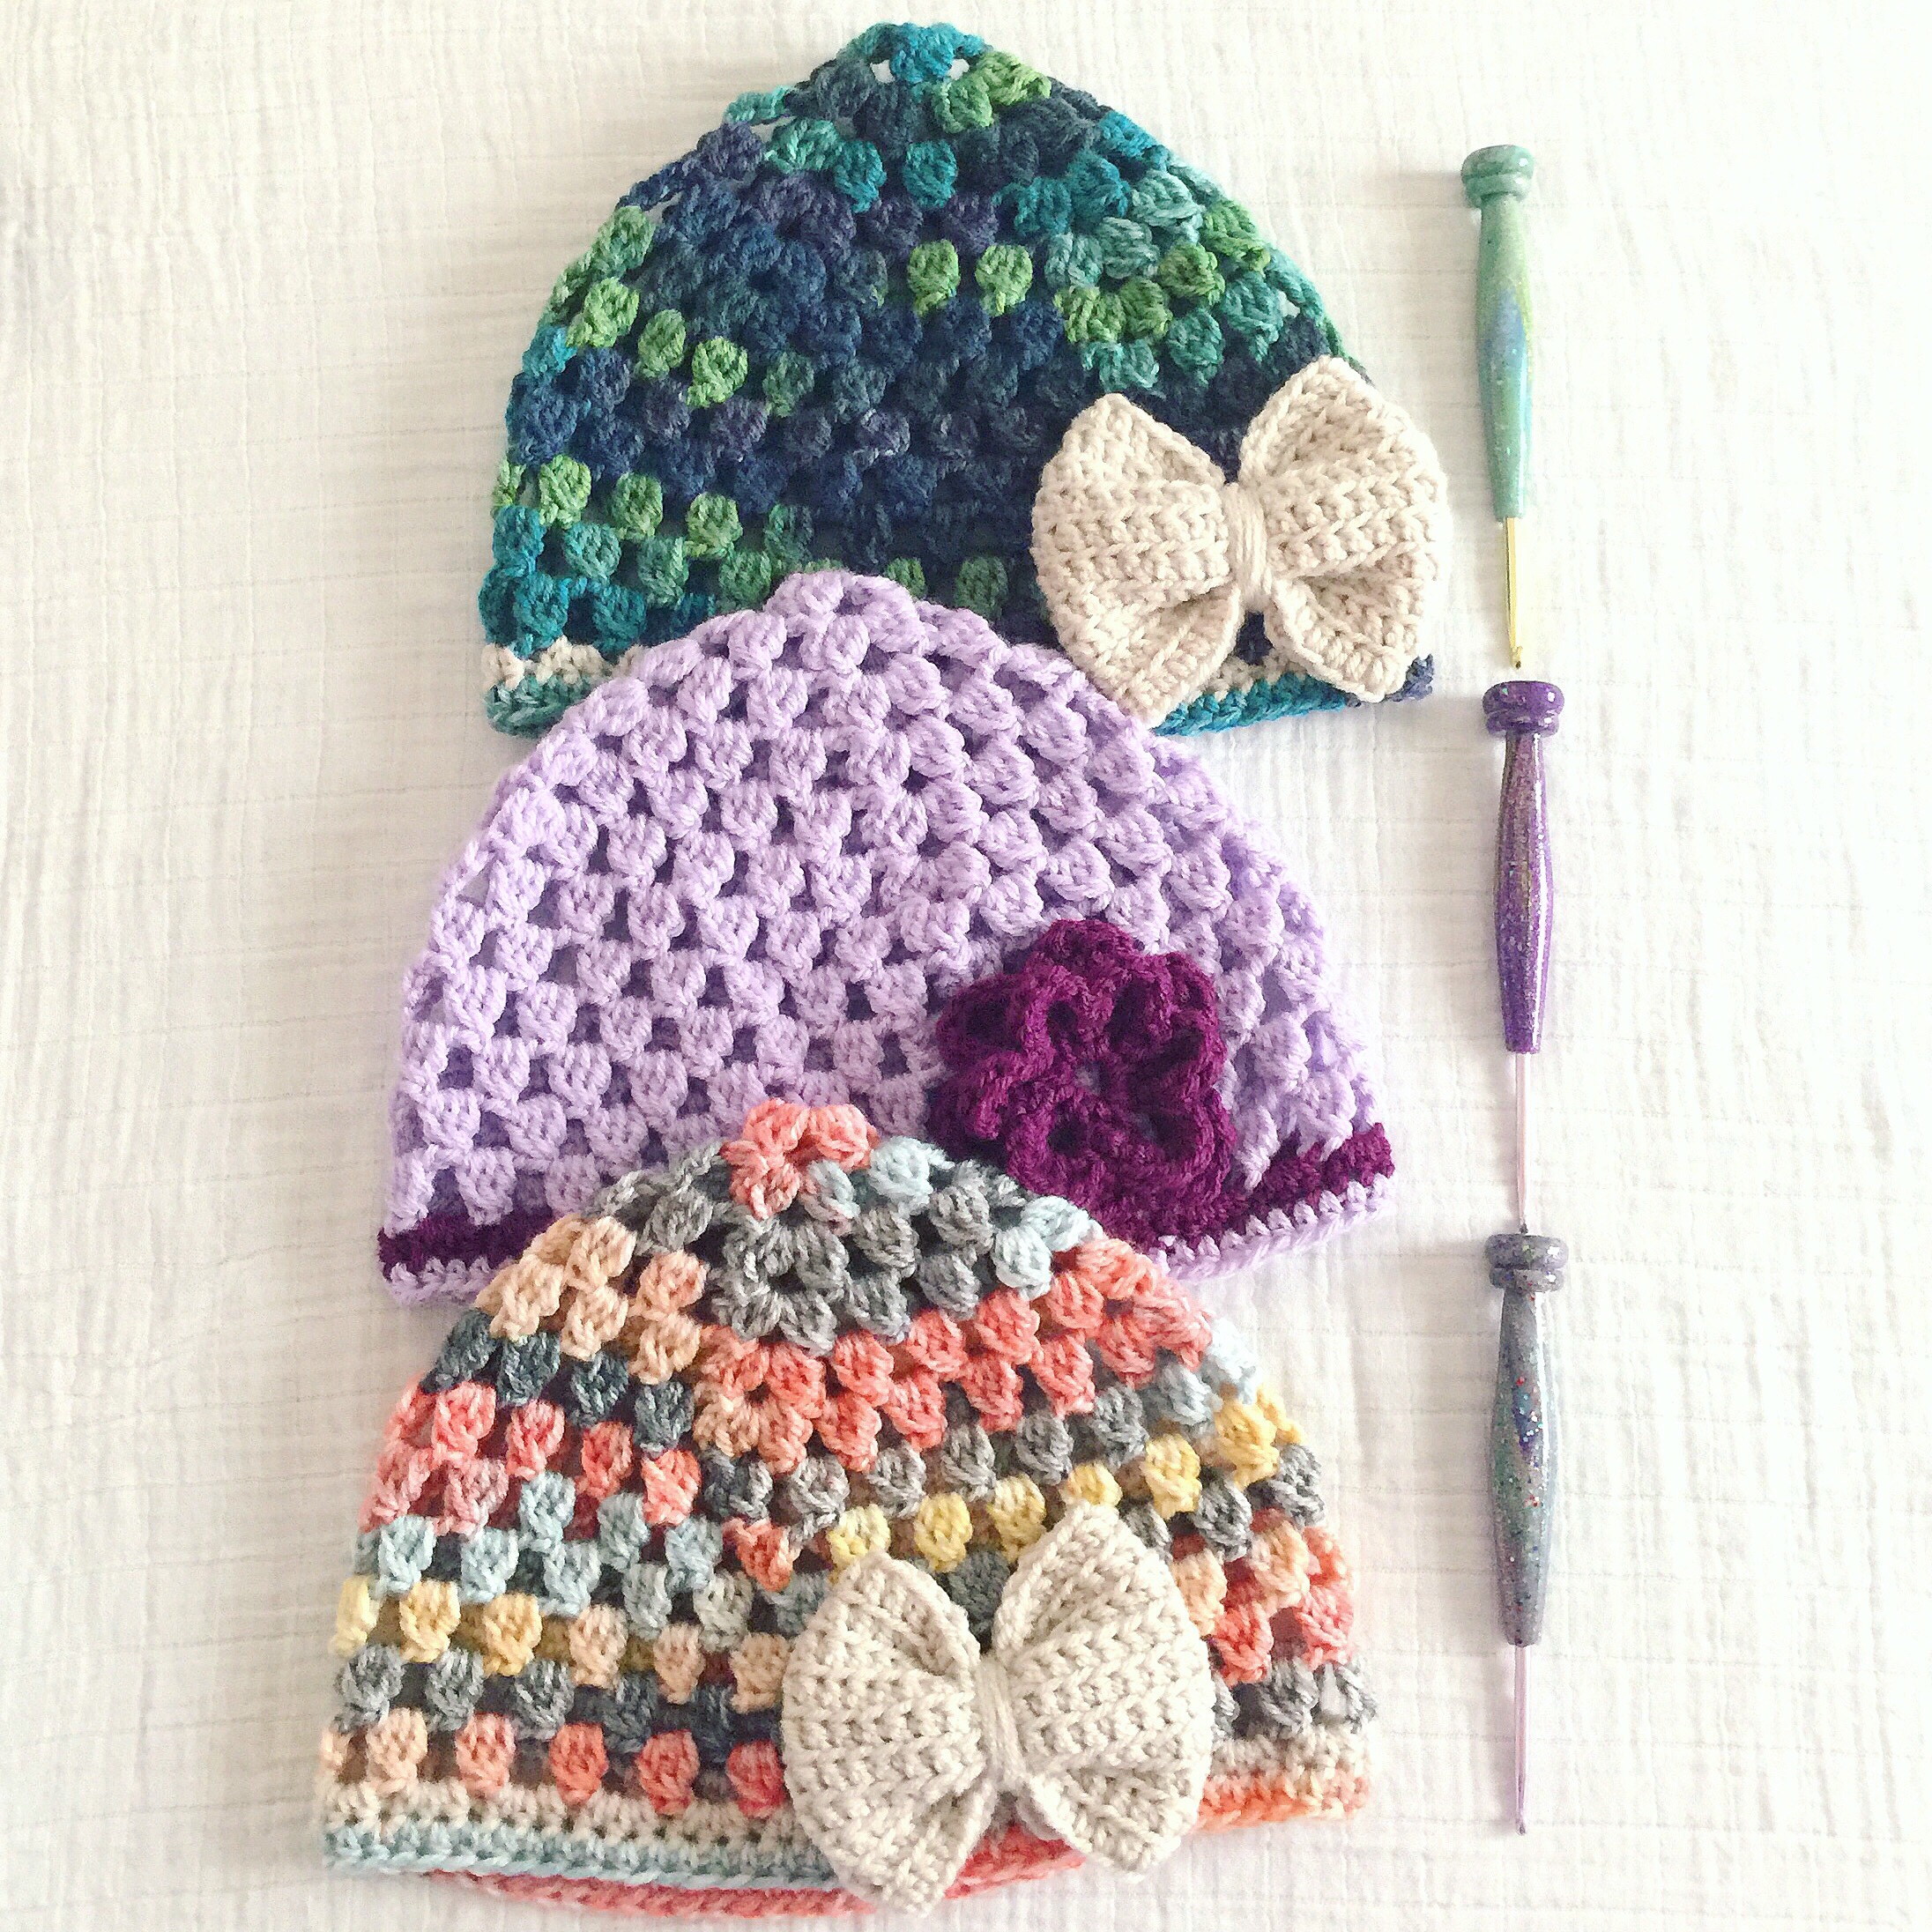 I was also able to partner with Oak Viking Designs to create several custom polymer clay crochet hooks to coordinate with the pattern. These hooks are featured in the pattern, and you can purchase your own custom hook for yourself or as a Mother’s Day gift through her shop
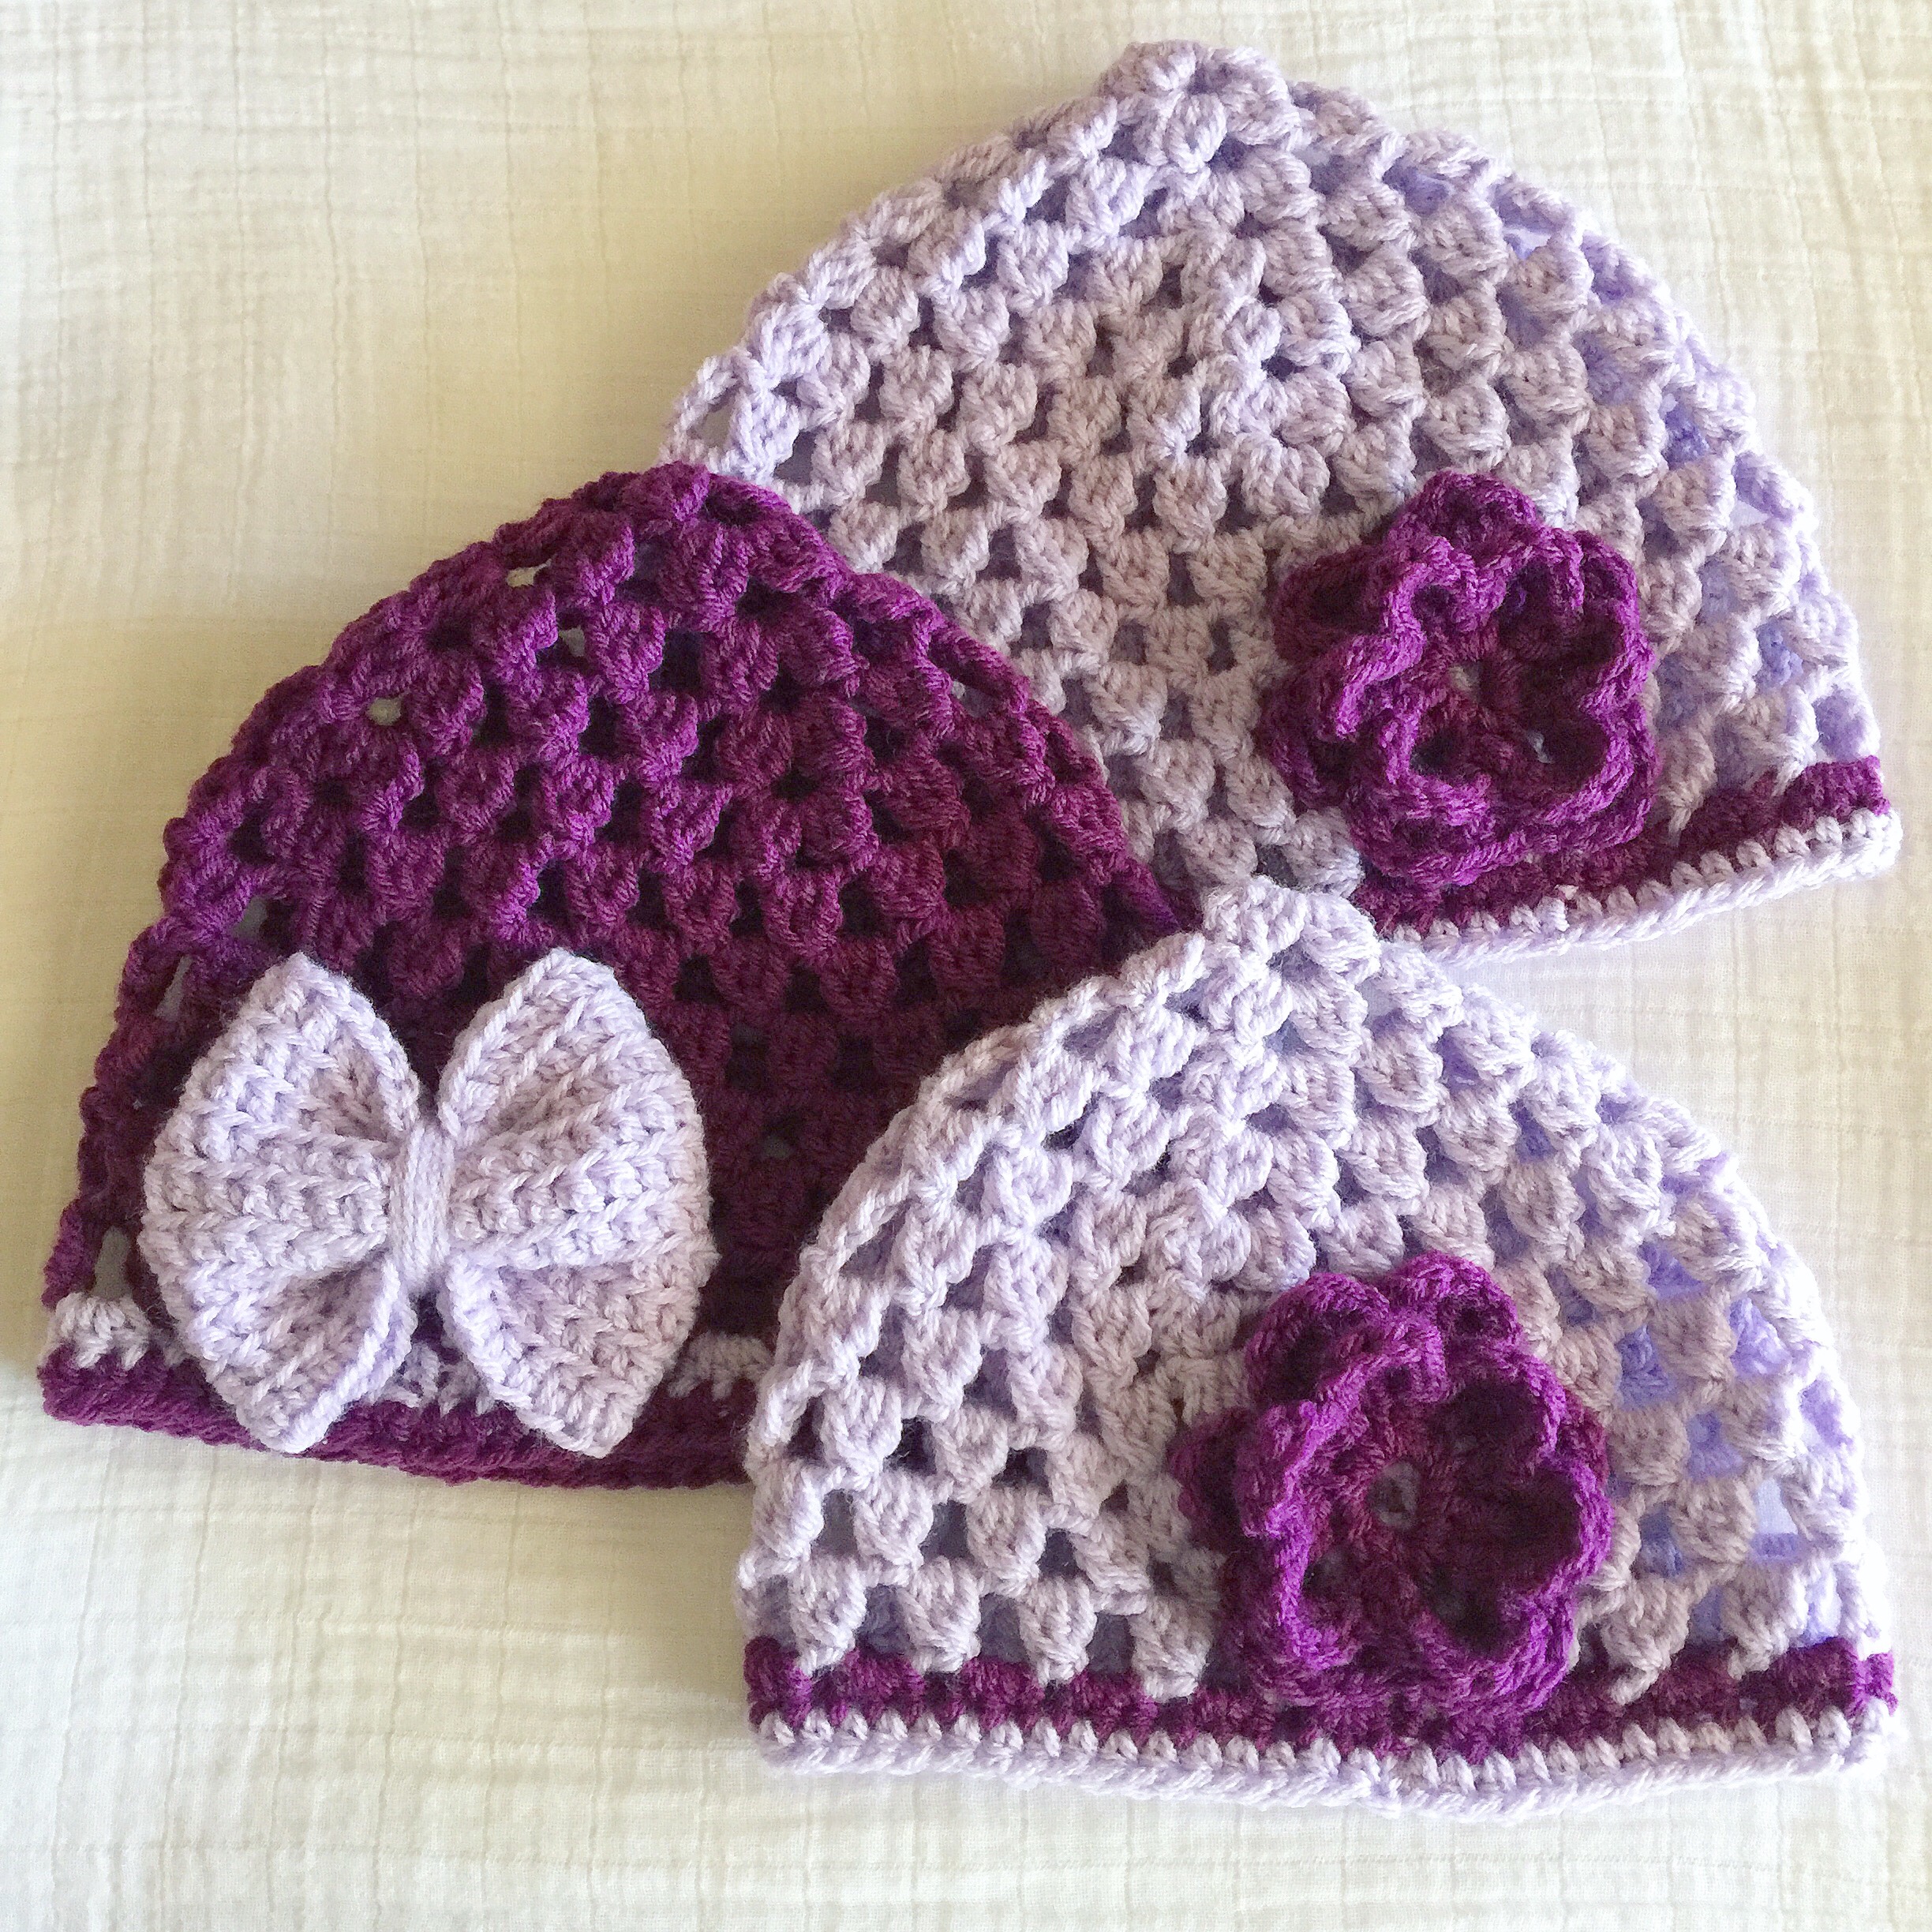

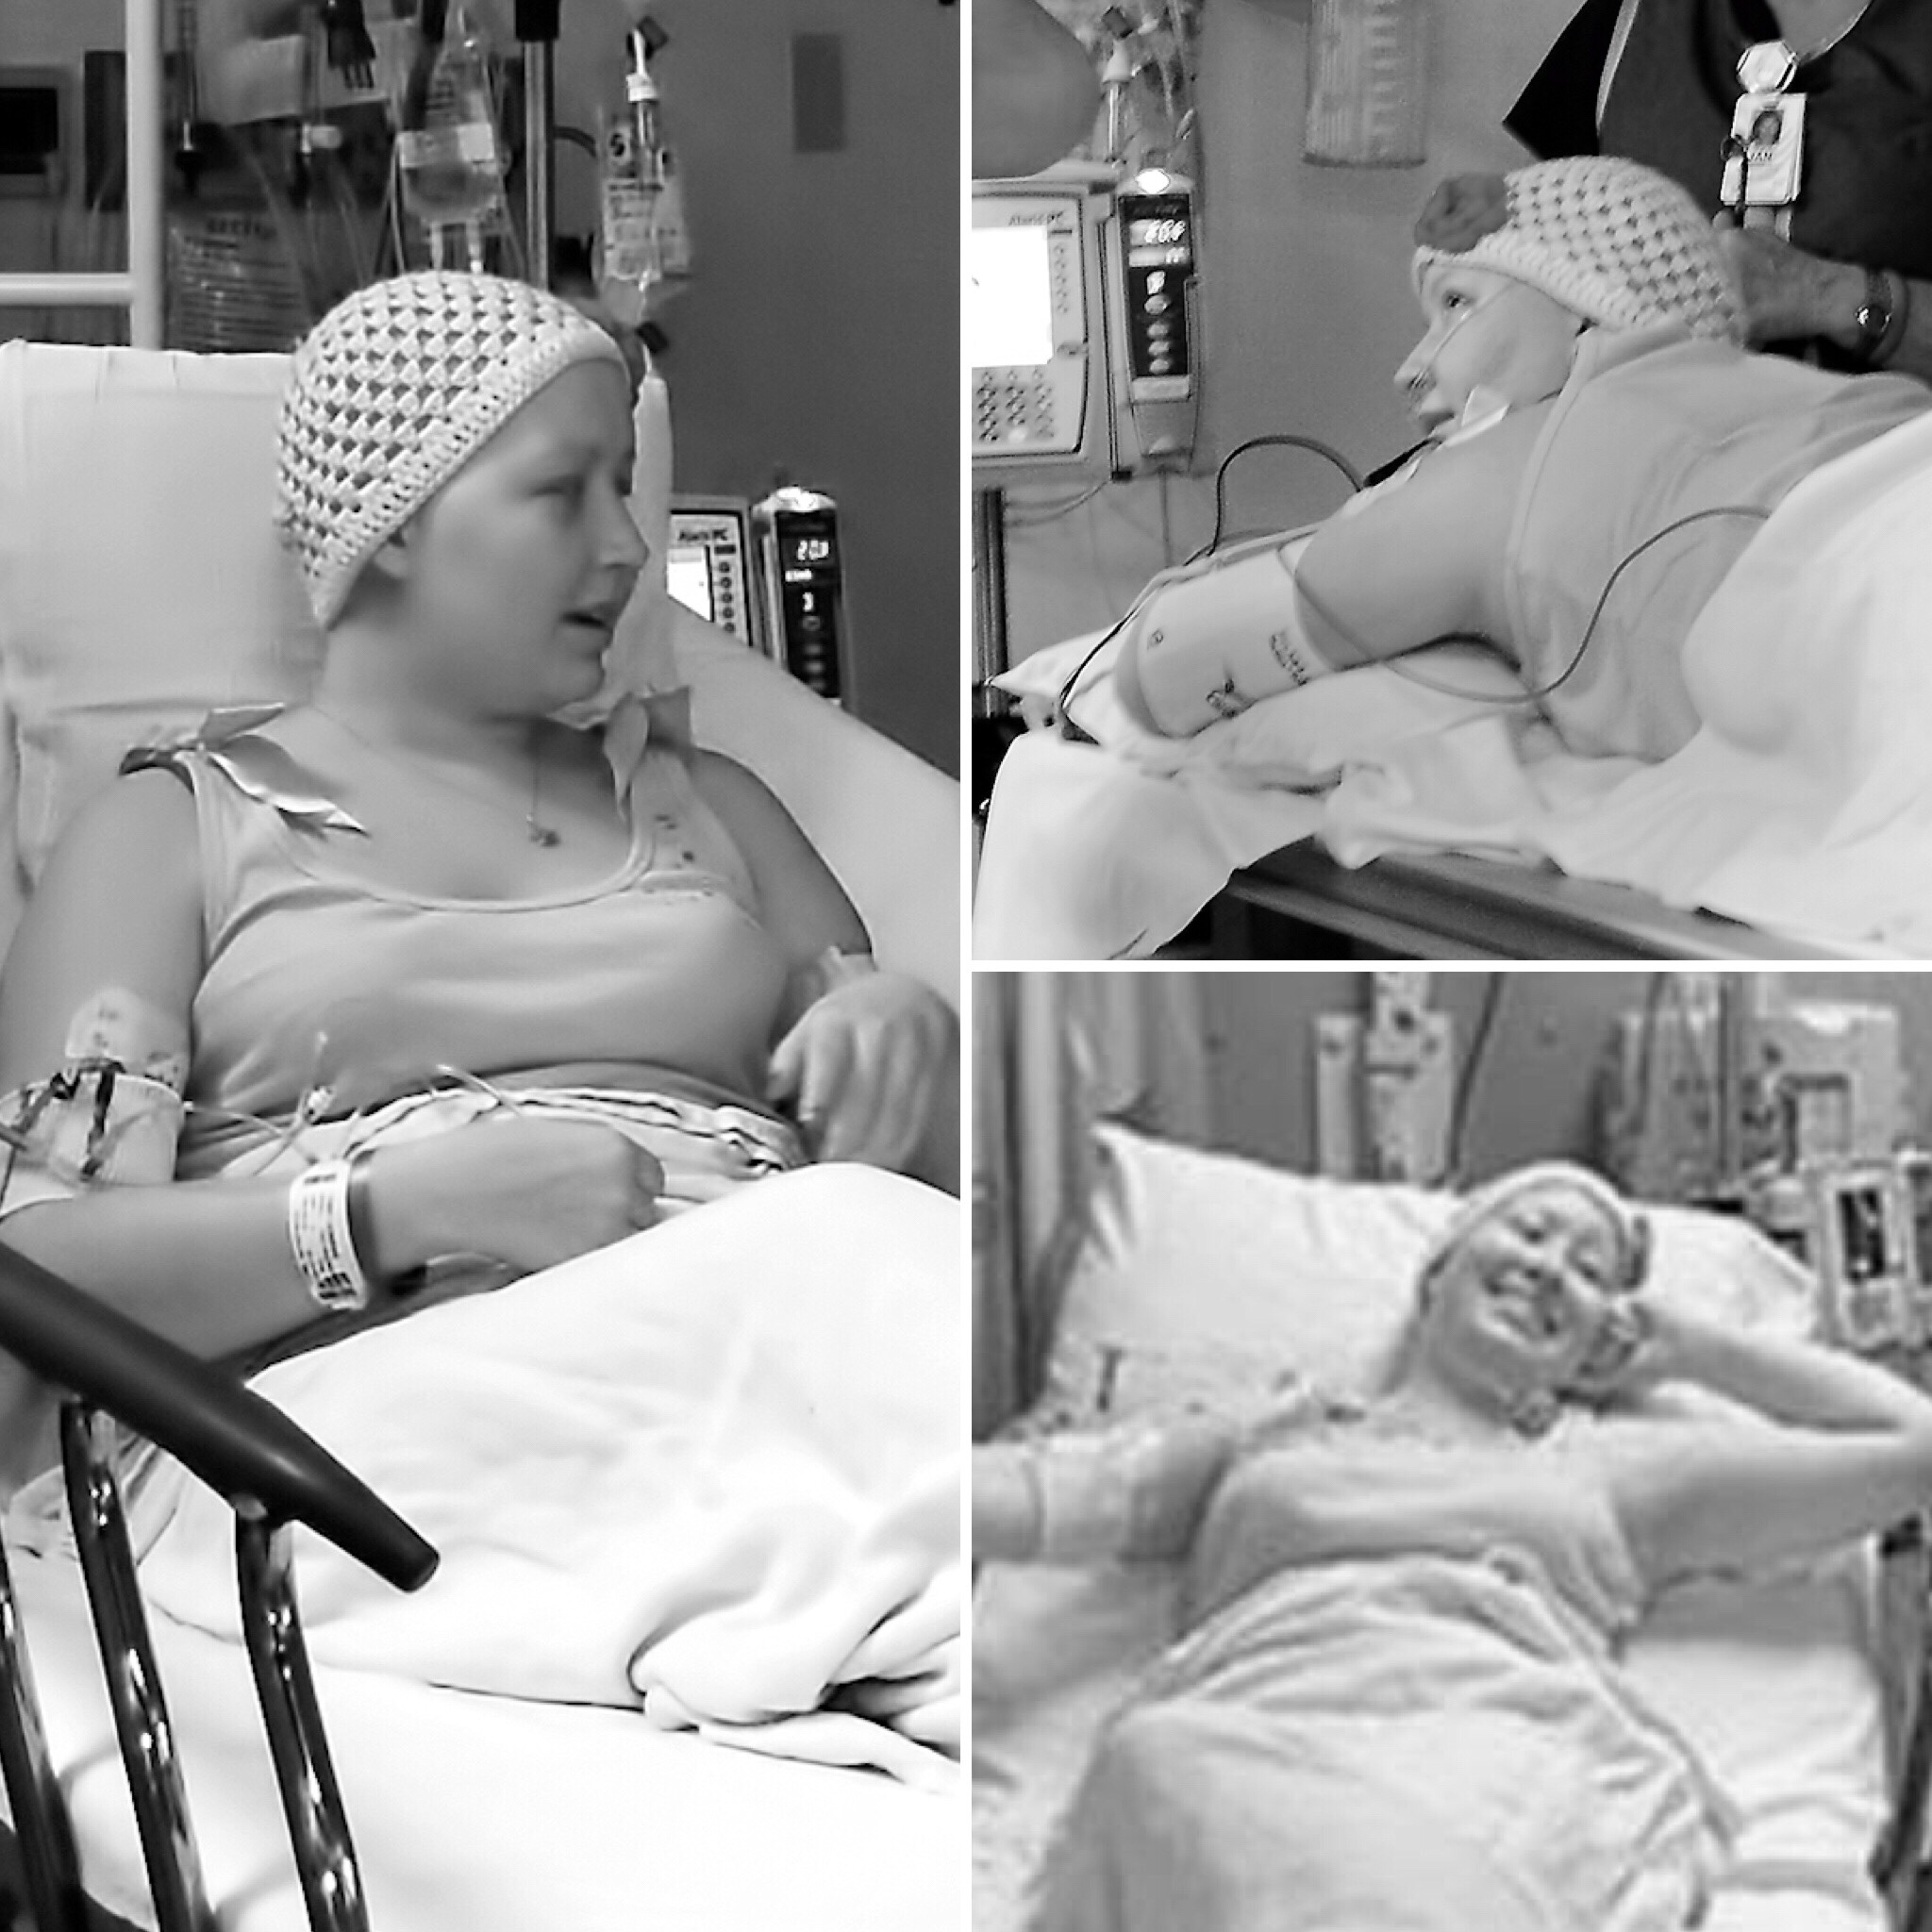 The Miss Priss Hat has a special place in my heart because it was designed for my sister, Heather, as she underwent cancer treatments. This was her favorite hat, and I made her at least 8 in different colors so that she would have many options to wear while she was bald. The hats were soft, washable, and breathable since it was summer in Arizona when she was going through chemo, but her head still got cold. This hat makes a great chemo cap for those going through cancer treatments. Everyone who saw Heather wearing a Miss Priss Hat loved it, and it has been one of my most popular requests in the last decade. Sadly, the above photos are the only ones I have of her wearing her pink Miss Priss hat, but I’ll never forget what she looked like while wearing them. This pattern is dedicated to her memory, Heather Nicole 1987-2009.
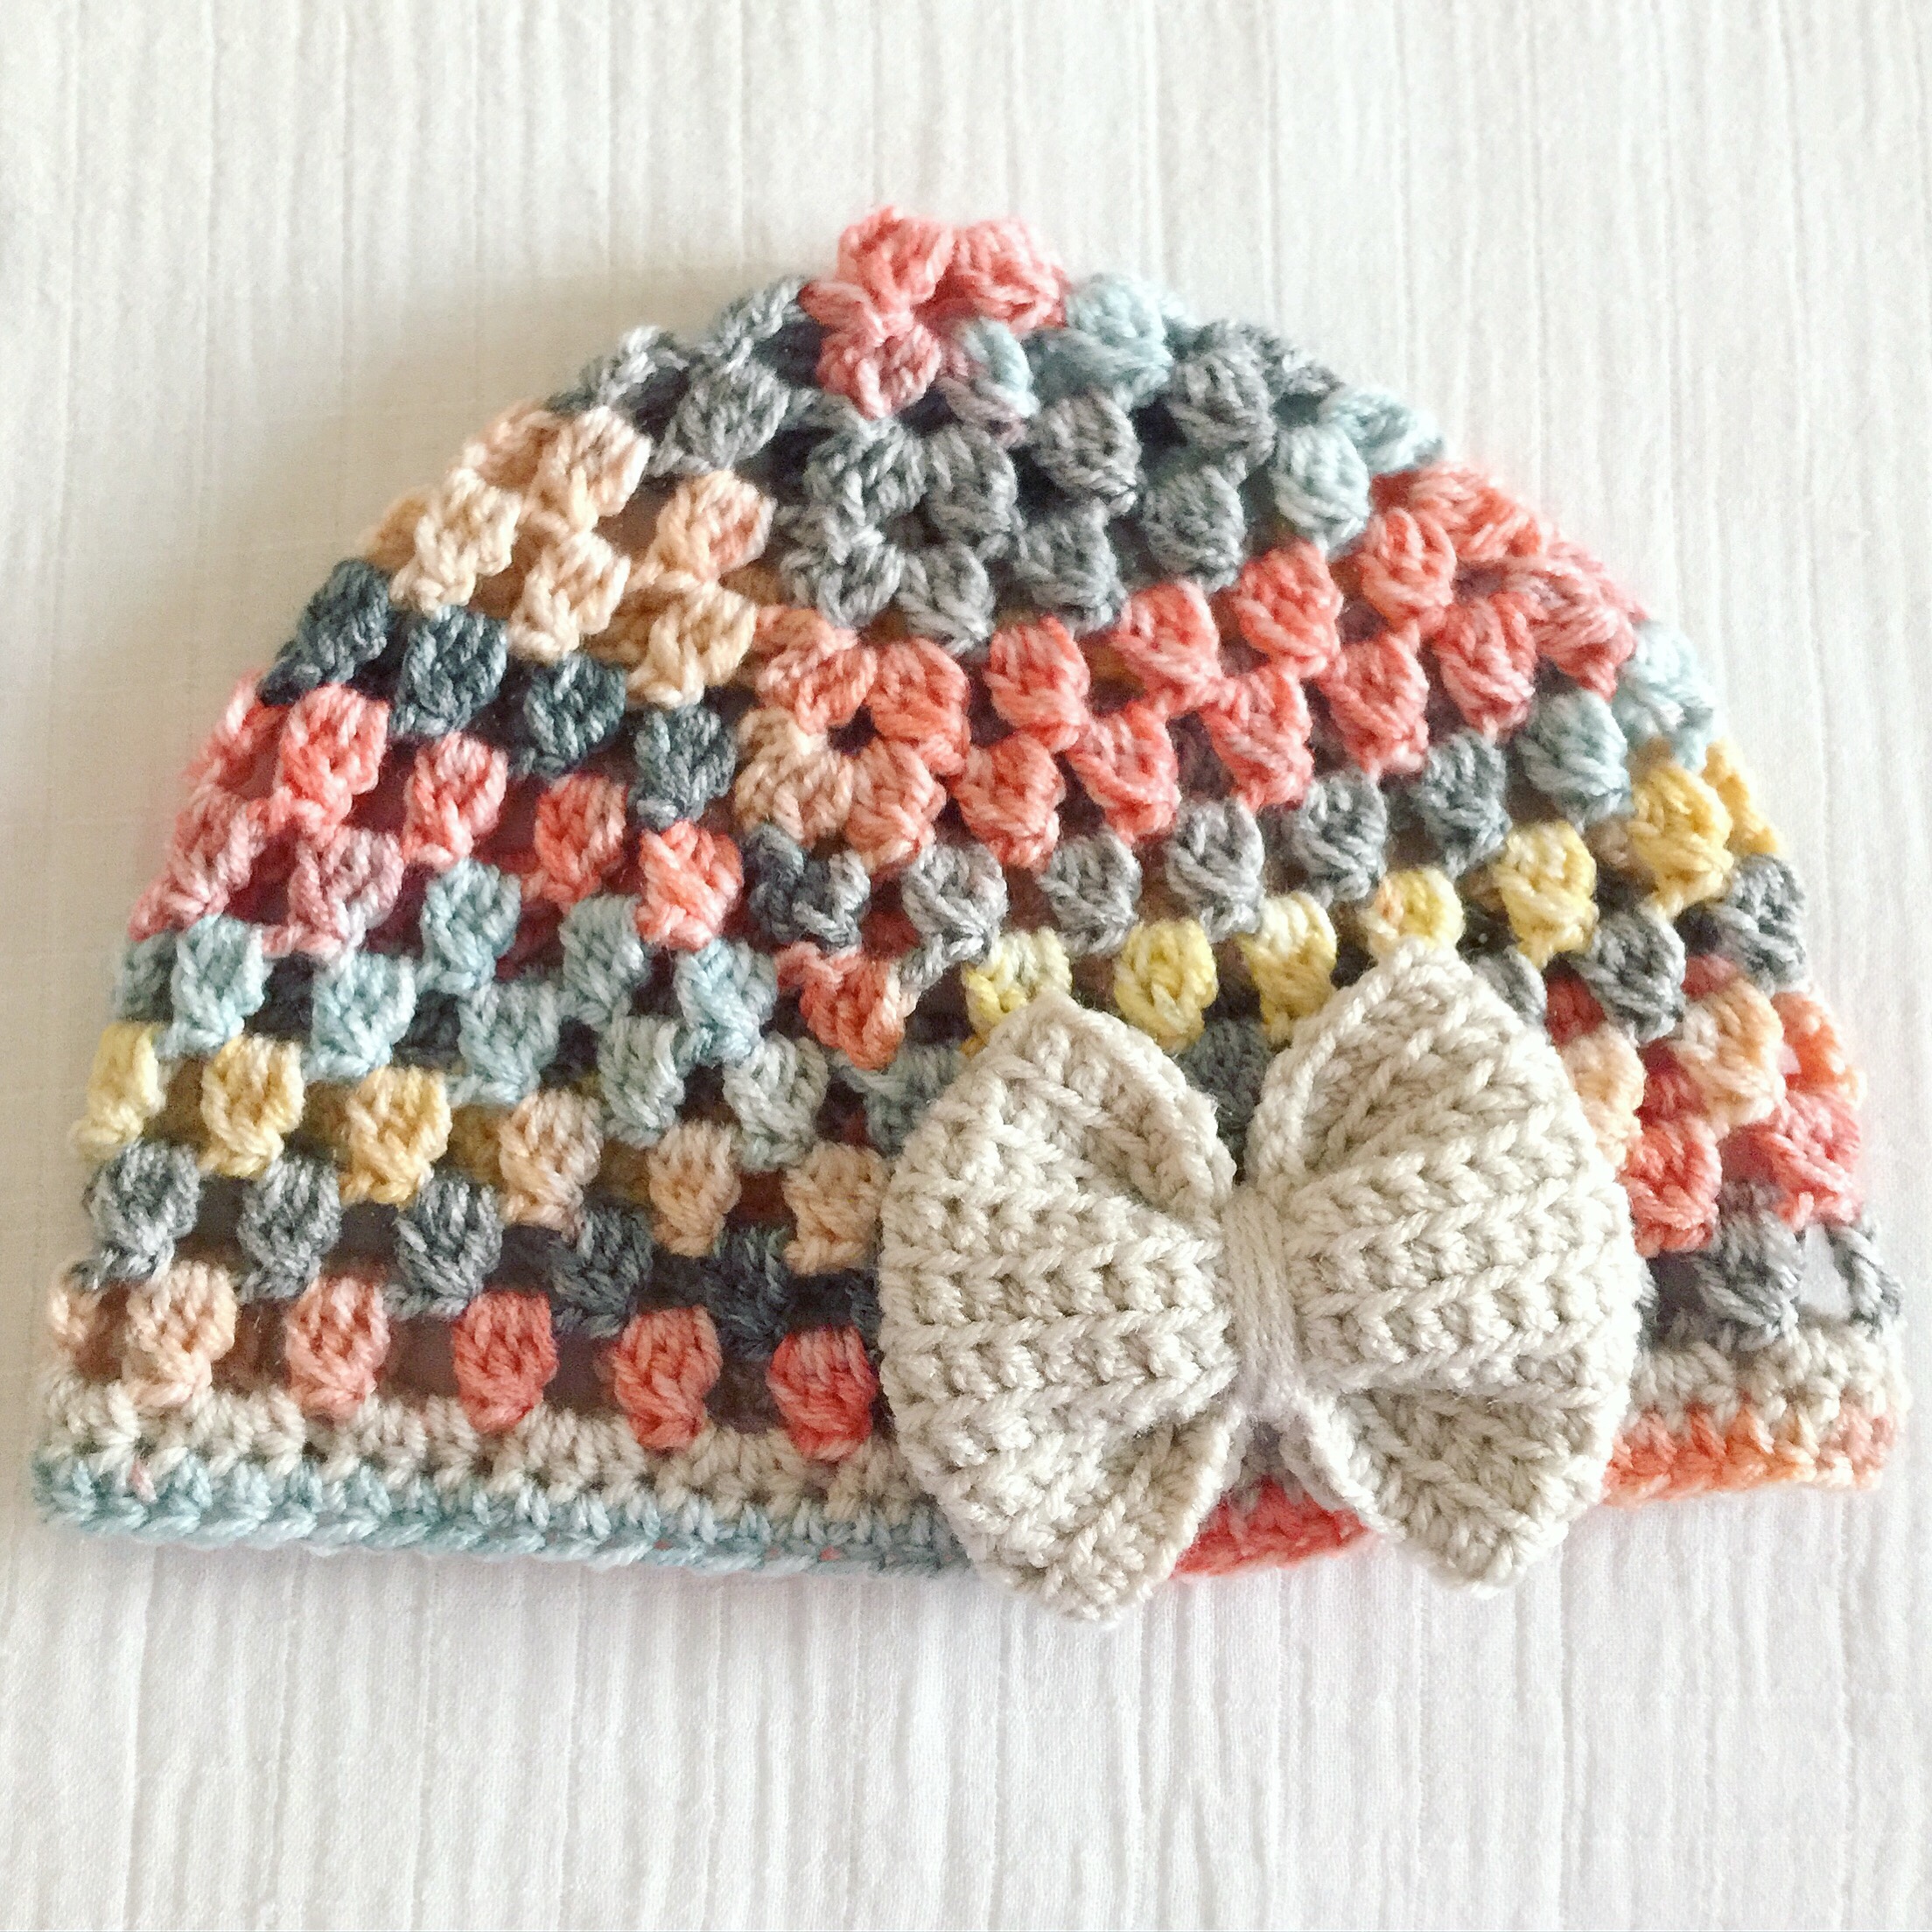 Give your mom the gift of handmade this Mother’s Day! Each Miss Priss hat is handmade with lots of love and care. If you purchase the pattern to make your own Miss Priss Hat on Ravelry
  I am slowly making progress on crocheting one of my old patterns in order to update it. I’m loving these bright cheery squares! These colors together make me so happy.
  For a project like this, I would normally wait until all the squares are made to see them together. However I needed to be able to visualize what they would look like in a row as well as take some measurements, so I’ll be assembling them as I go. It will be fun to see this blanket take shape one row at a time.
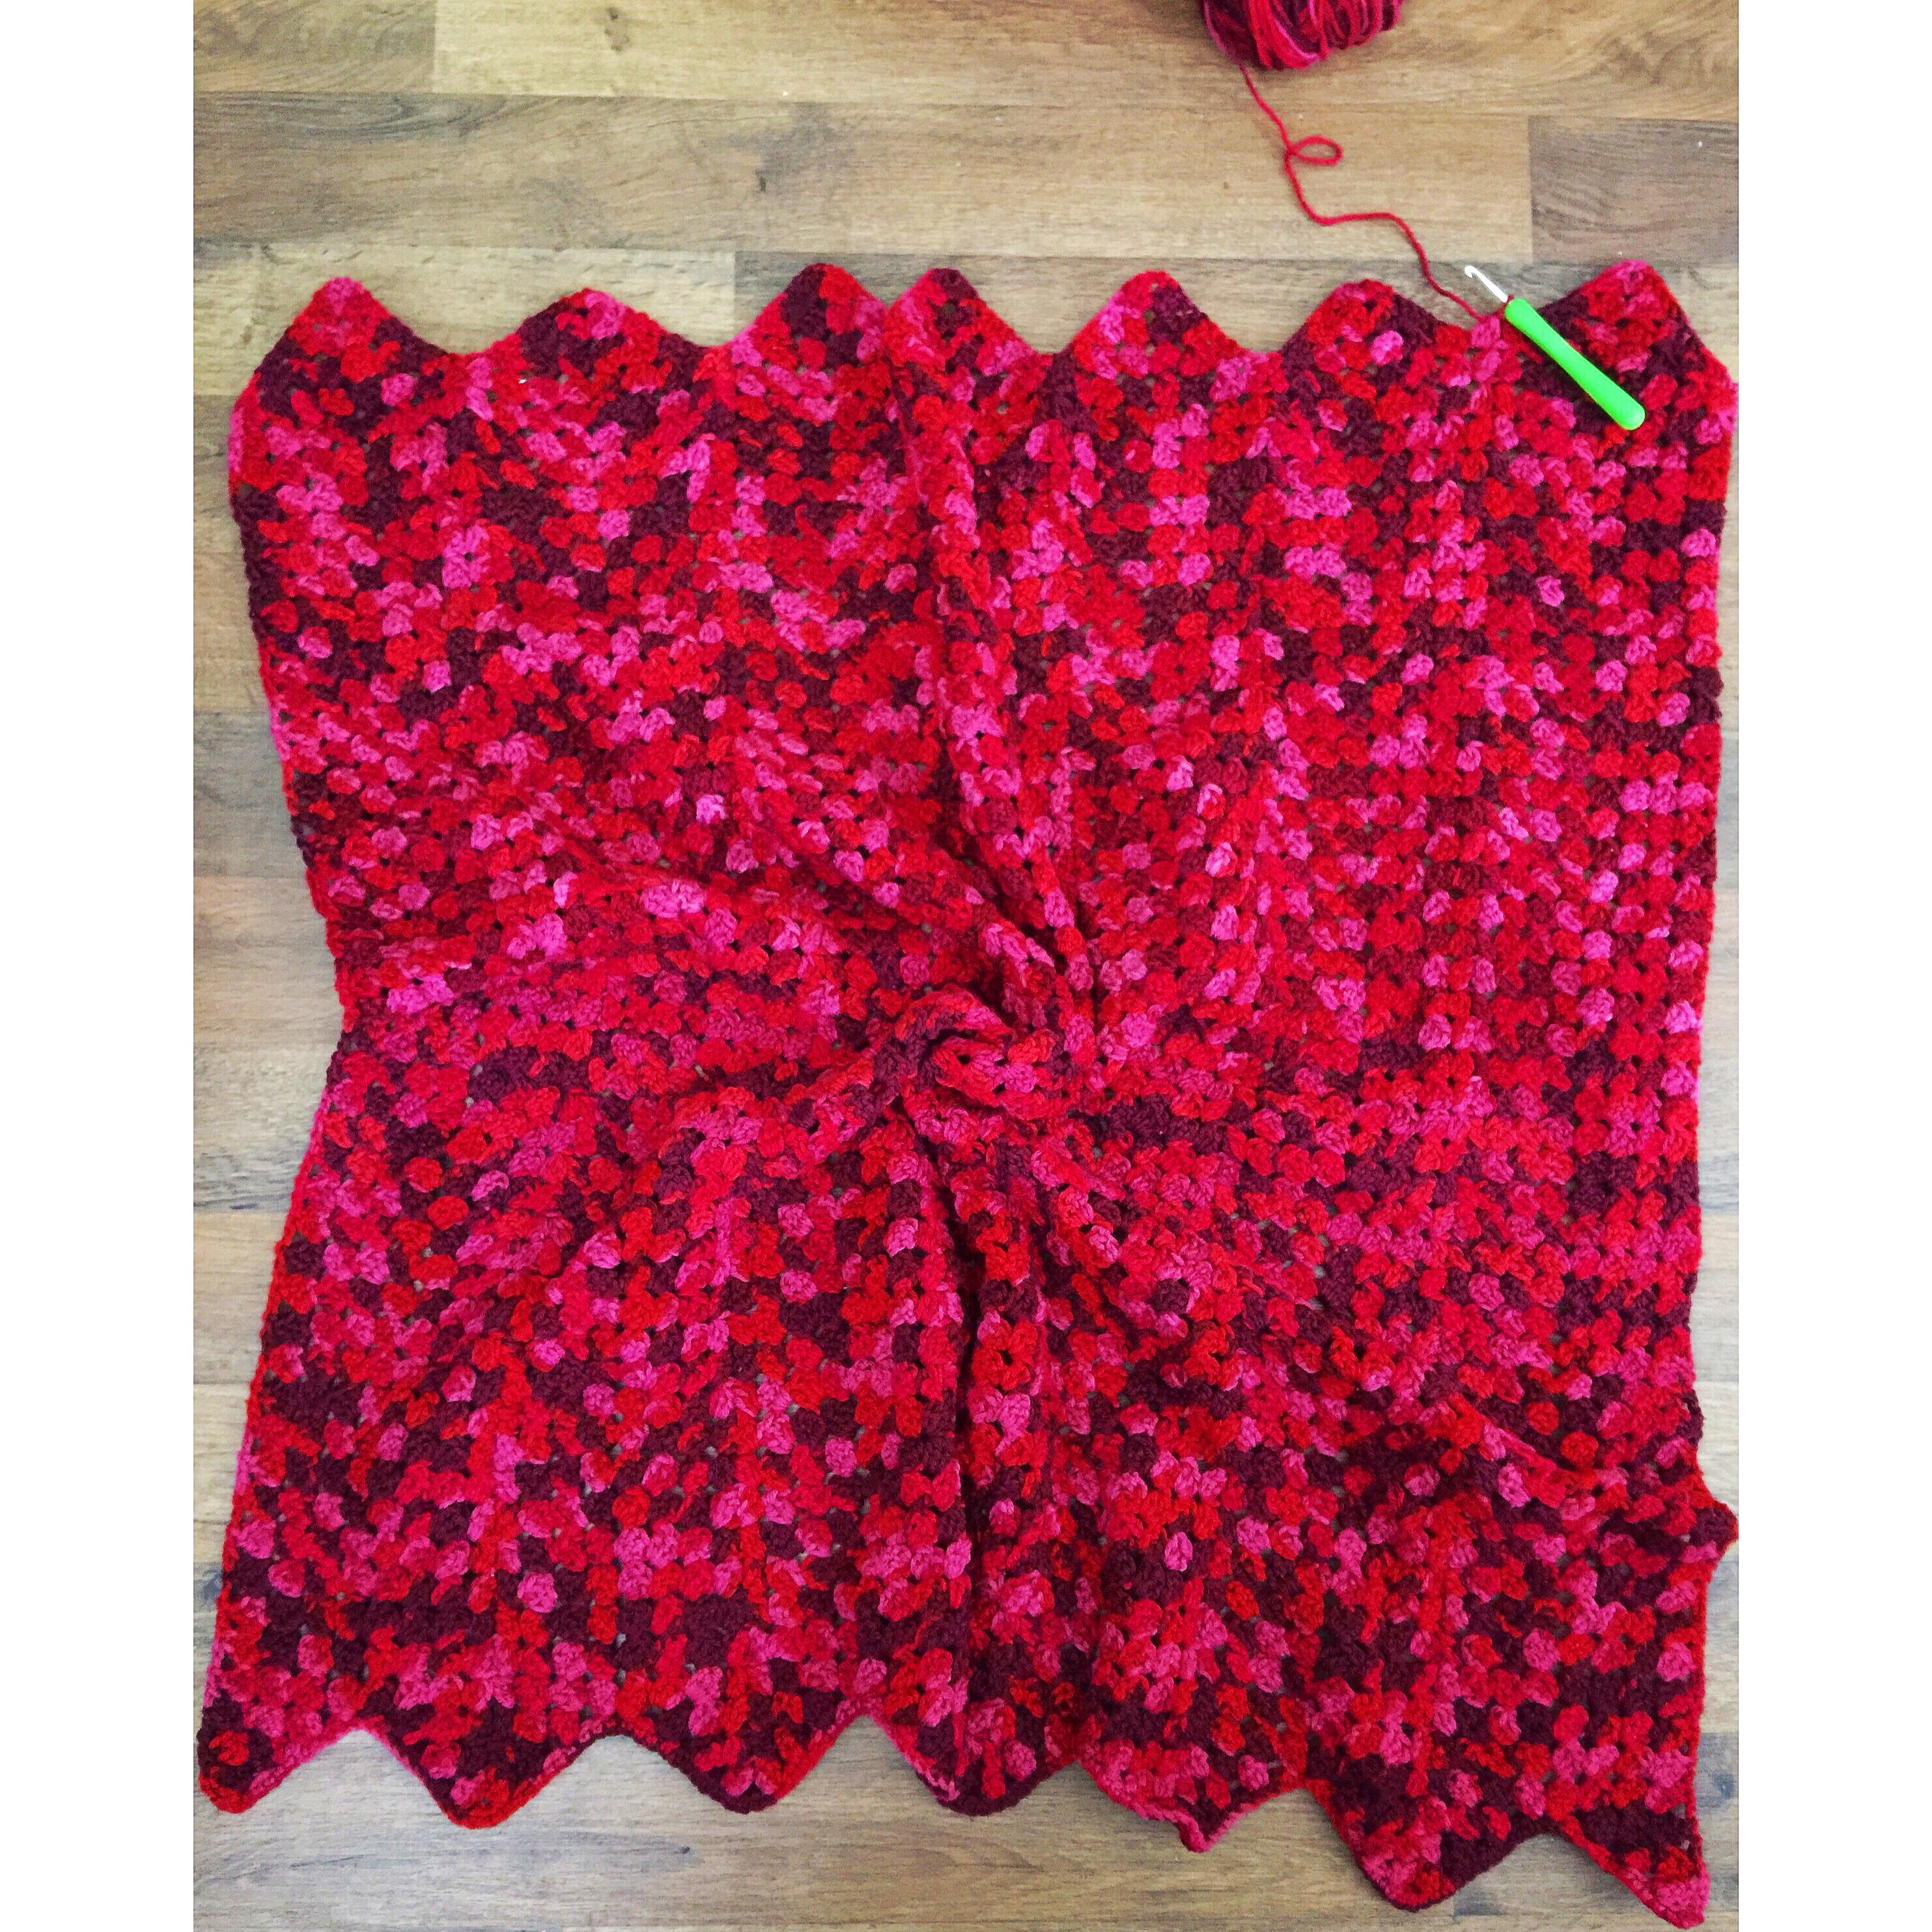
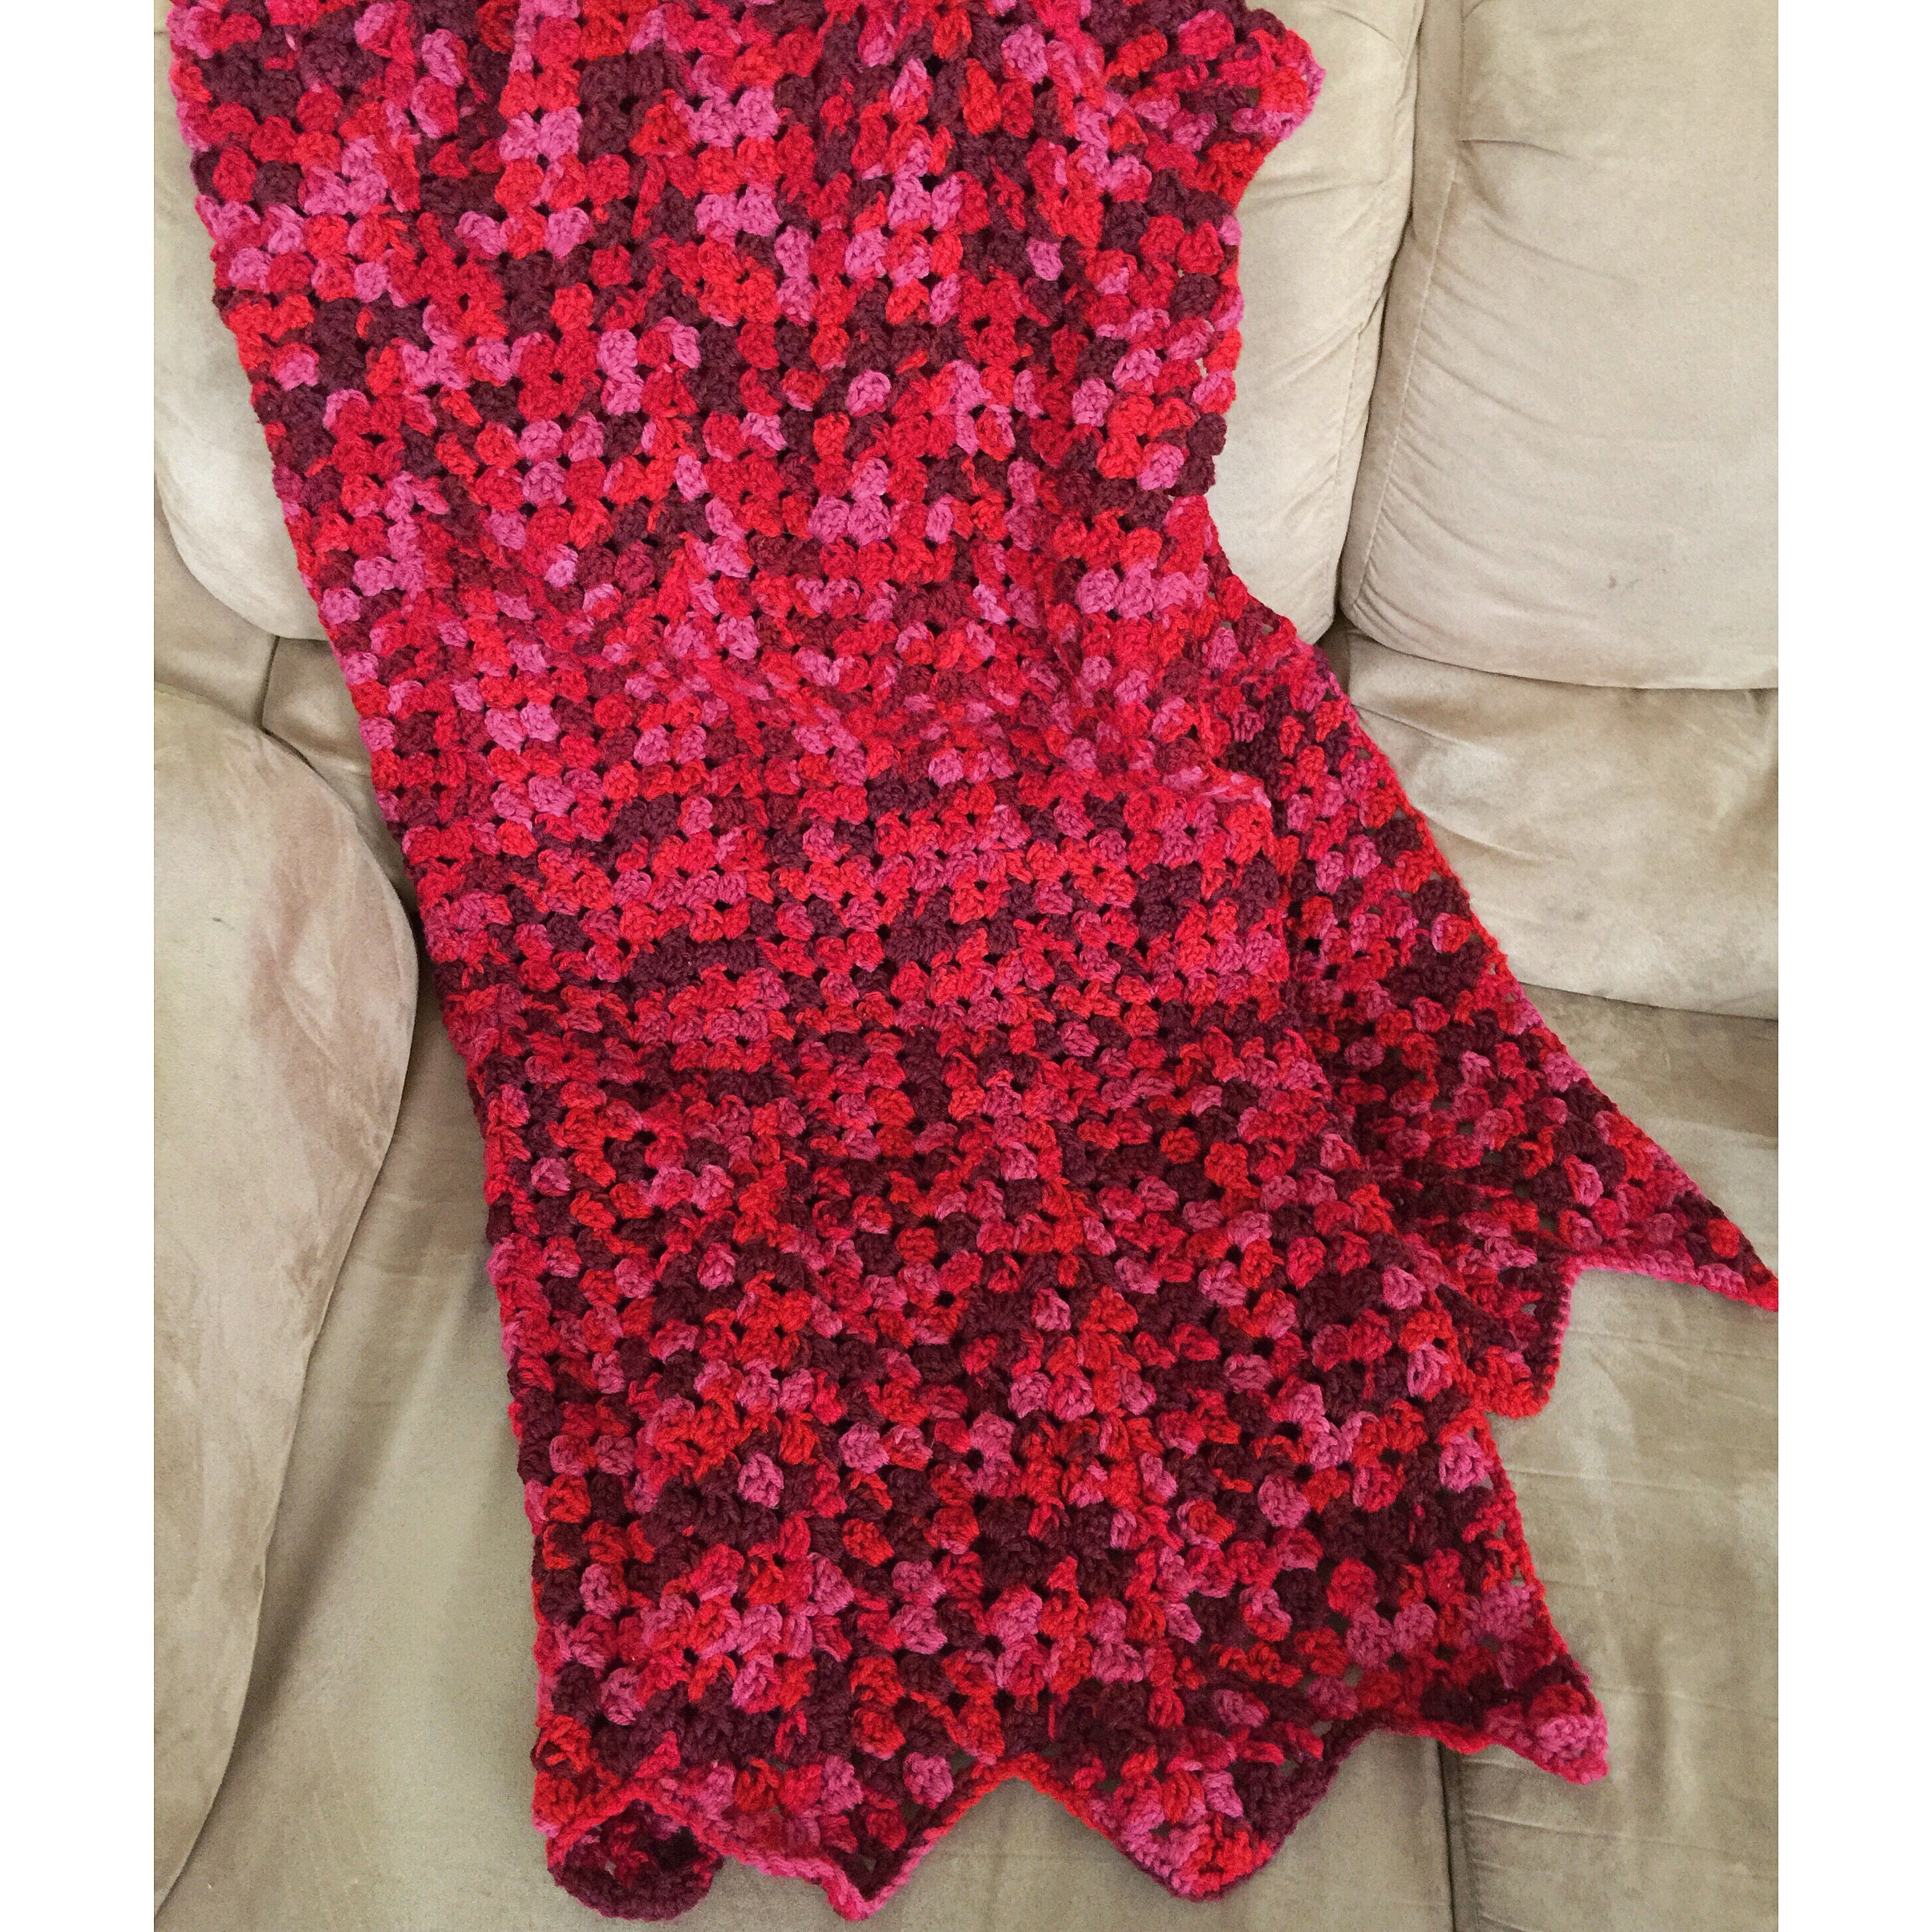 The reason why April 20 is significant to me is because that is the day my sister Heather died 8 years ago. I had originally started knitting a blanket for her with this yarn to give her for what would end up being her last Christmas, but unfortunately I never finished it in time. The project sat in a bag for many years and several moves before last year I finally decided to repurpose the yarn into a different blanket for myself. The original pattern I picked wasn’t a good fit for this yarn, but for 6 years I didn’t have the heart to undo my work, even if it never made it to my sister.
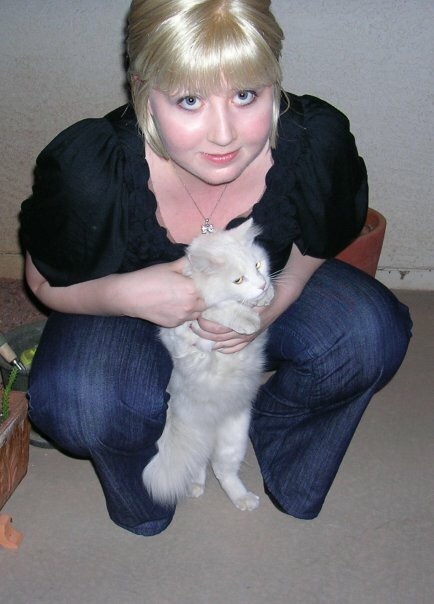
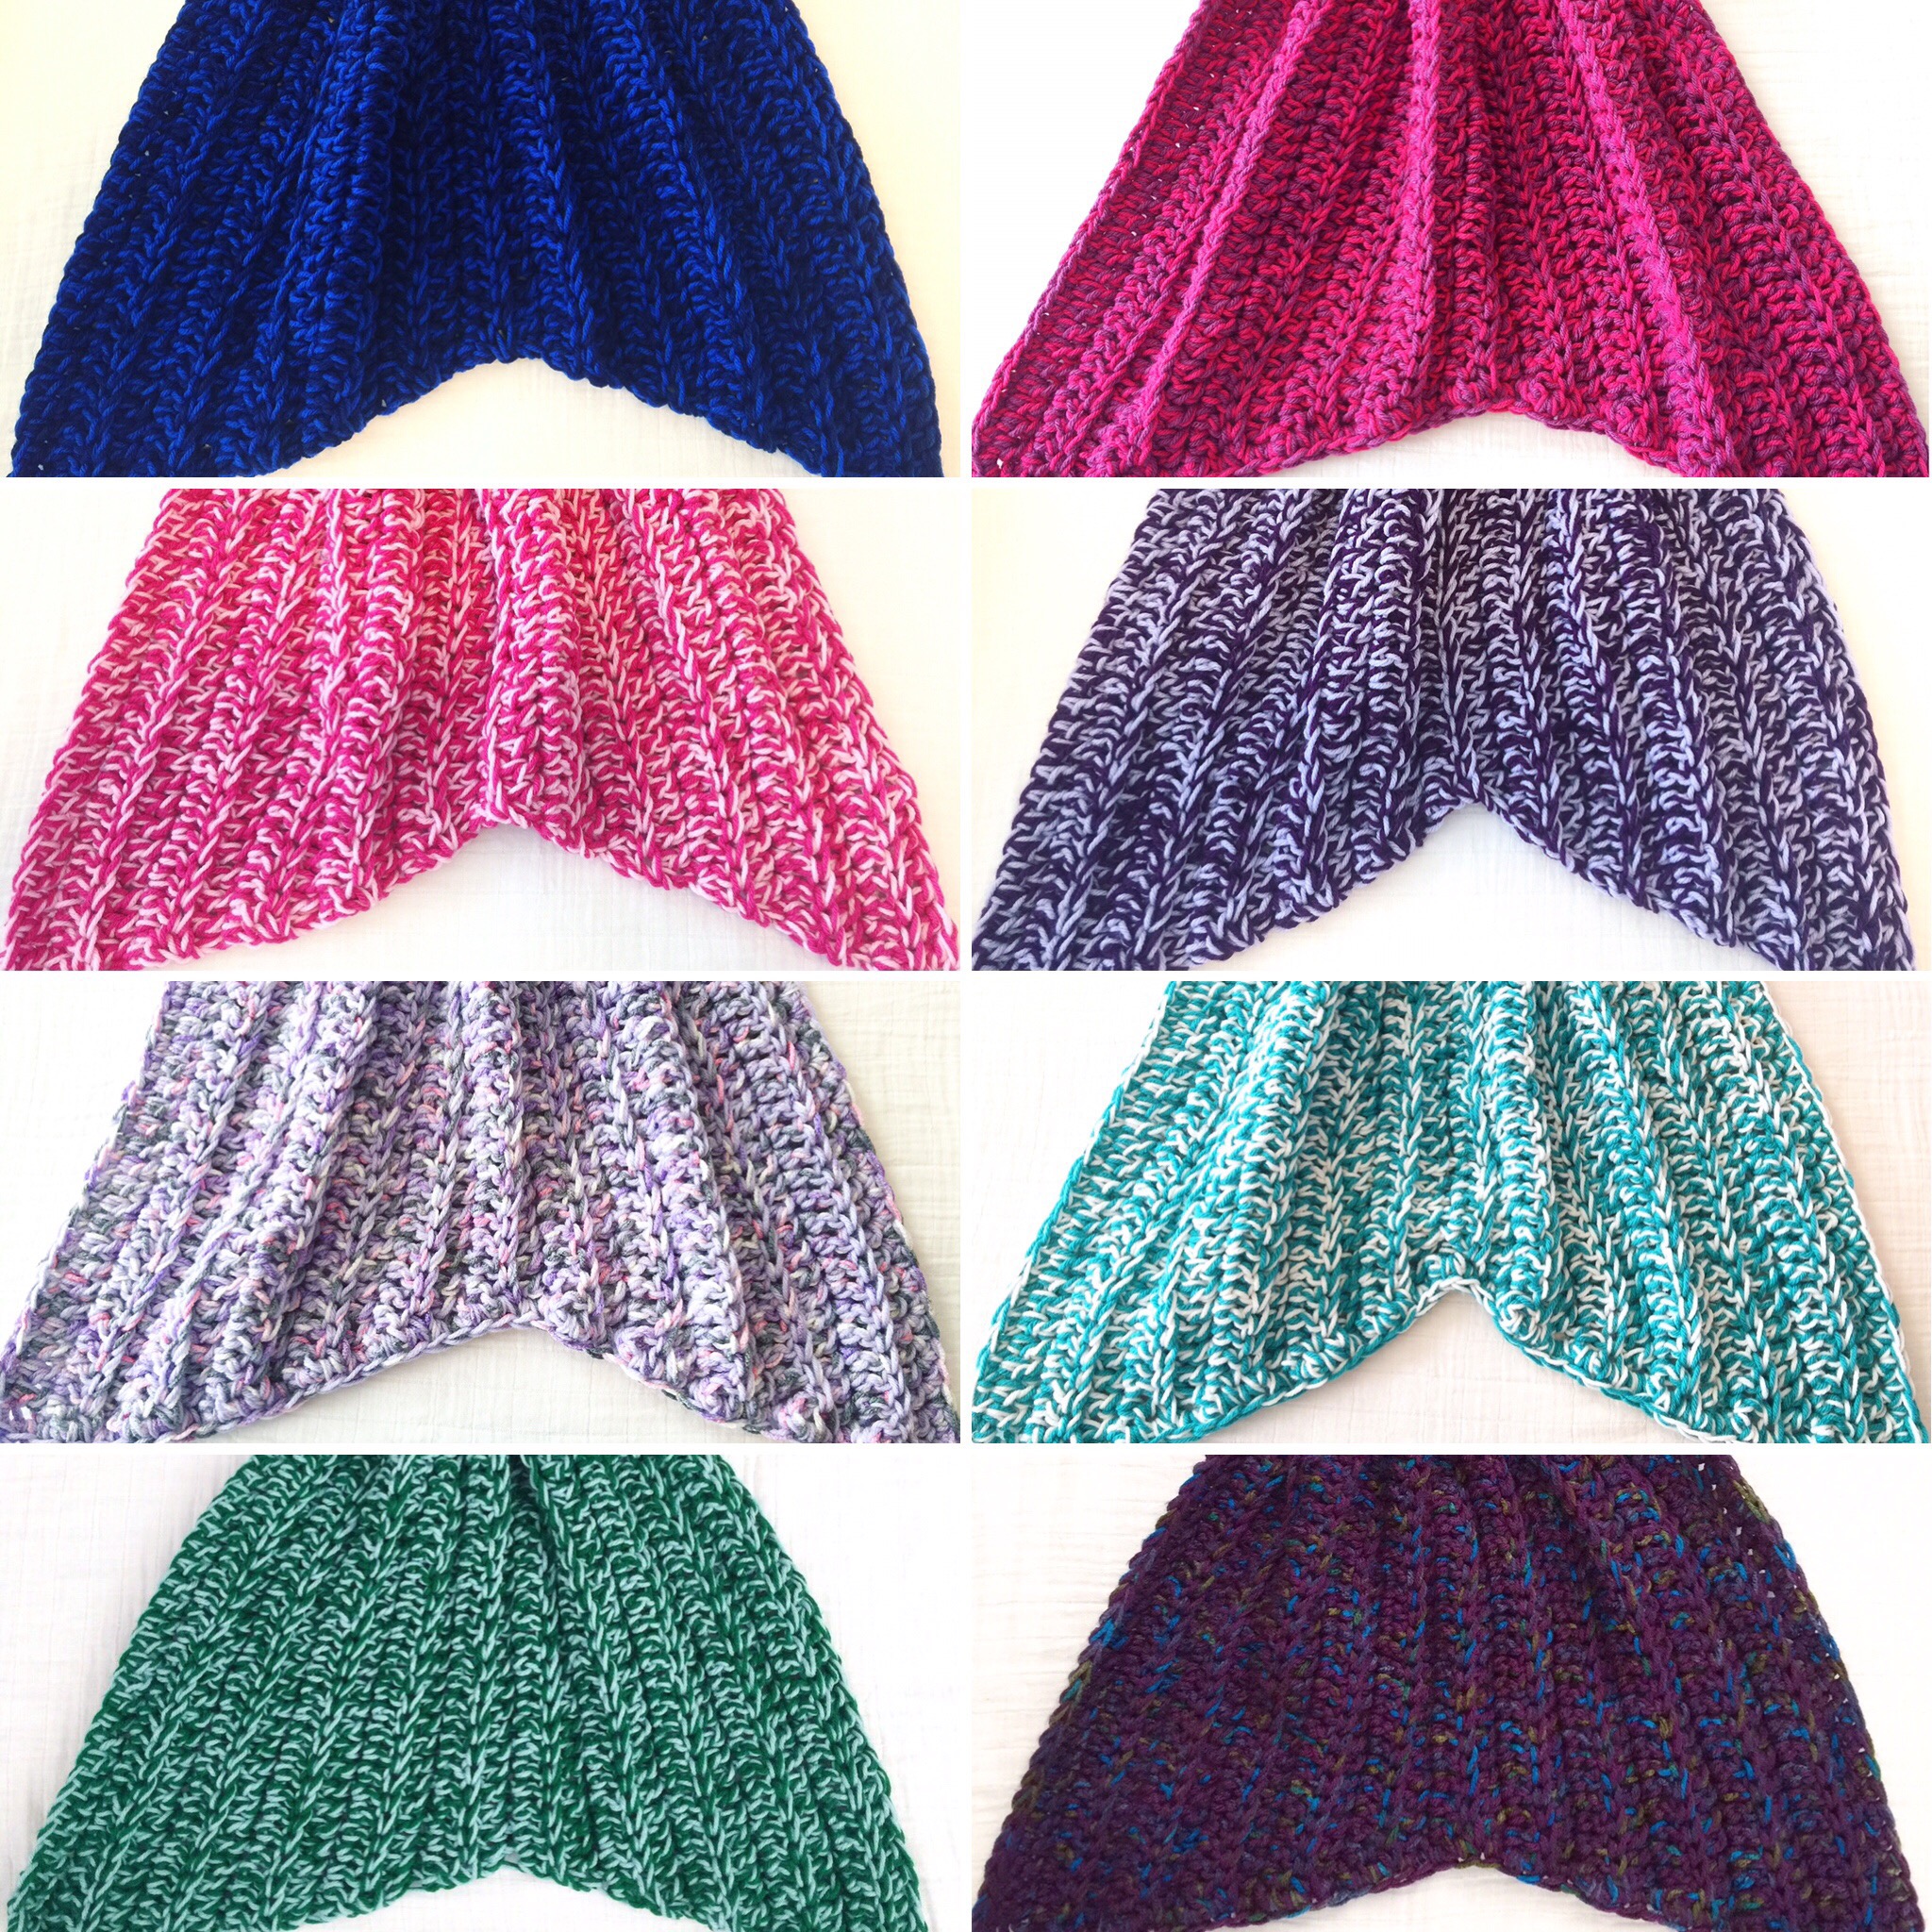 Available in child and adult sizes. Two styles available and 8 color options to choose from.
 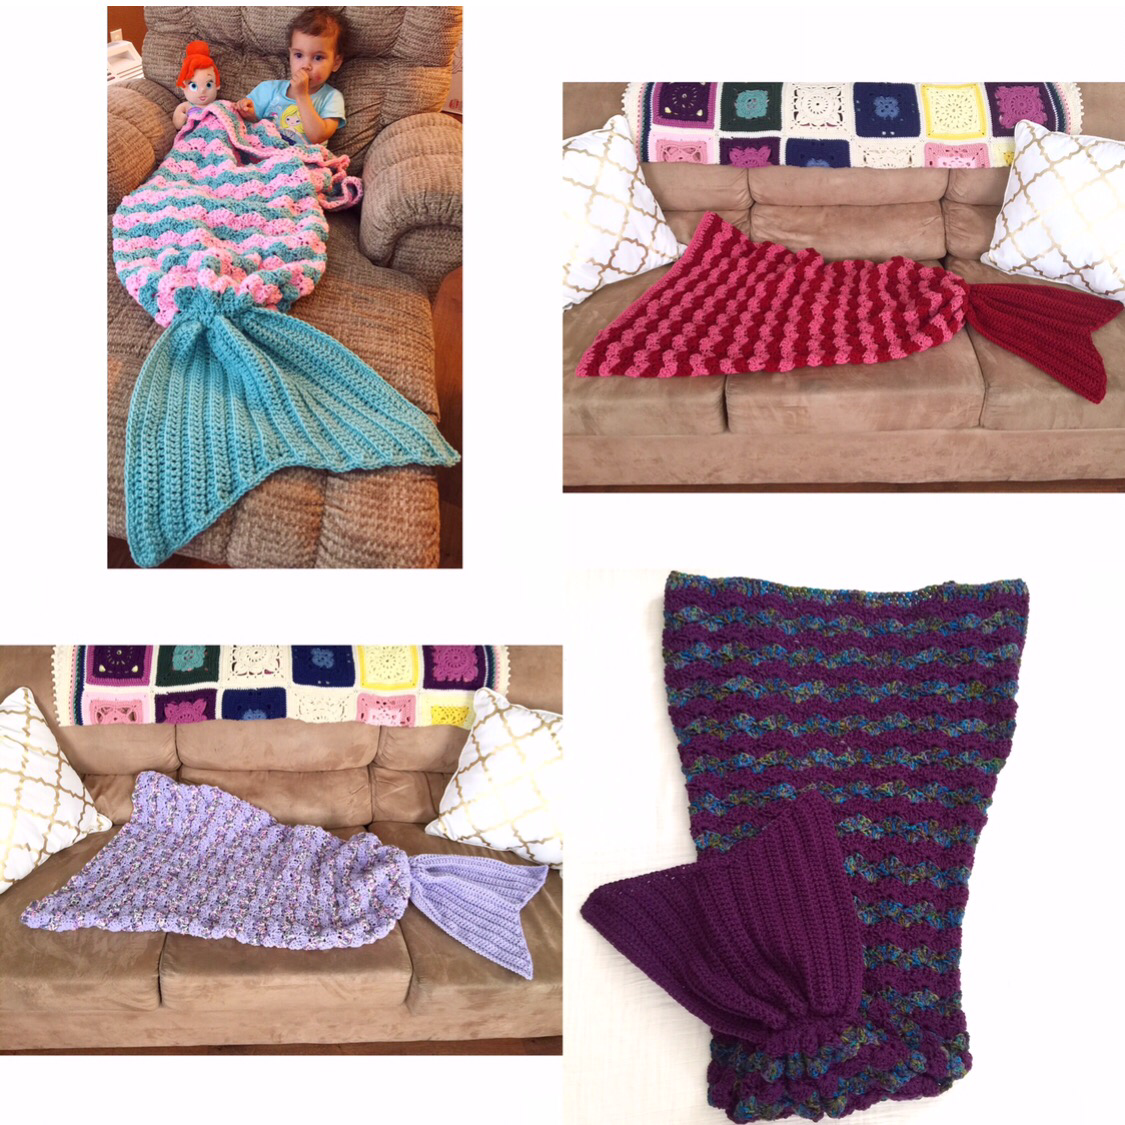 Limited spots available to order. These blankets are made to order in the colors of your choice. Order by November 29th to ensure Christmas delivery!