Sanders Mittens

Remember when this image went viral last year as a whole mood for what was happening in the world? Well I’ve got a pattern for that!

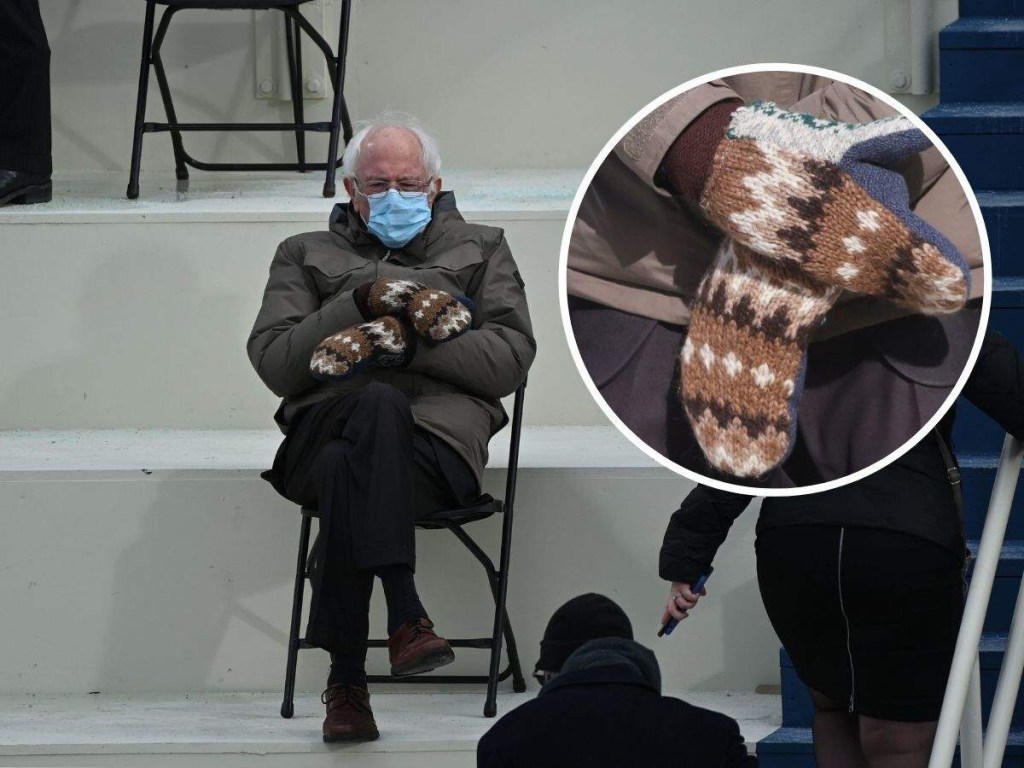
As soon as I saw this image of Bernie Sanders hunkered down in the cold with these cozy mittens, I knew it needed to be a knitting pattern. That very same day I pulled out a pencil and some graph paper to chart out a similar colorwork pattern as to the ones shown in the picture. By the end of the day, I had a Sanders Mitten and my version of the pattern was born.

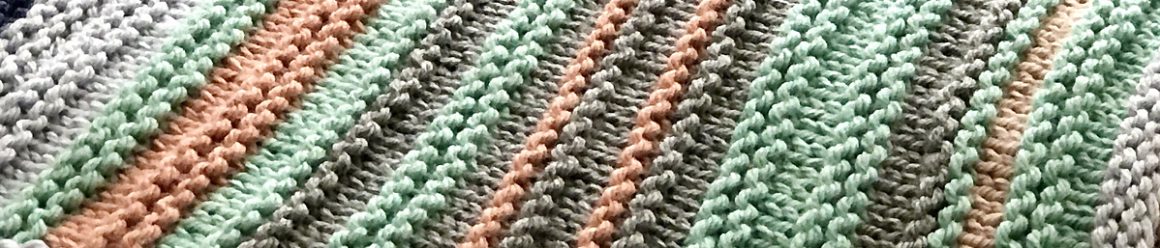
I wanted to make sure my mitten pattern would be available in at least two sizes, so I picked a totally different color palette for the second pair of mittens. Of course the smaller ones would be for me, so I went with pinks and reds. What I didn’t realize is that when I substituted in the red color, little hearts appeared!

I also wanted to make sure the pattern would be beginner friendly, so the colorwork does not use more than 2 colors per row, has solid rows of knit in between each chart for a break, and no colorwork on the thumb or top decrease section. I also used a 9” circular to knit my mittens, which helped make the entire project just fly off the needles. A light blocking helps smooth everything out, and I recommend starting the second mitten right away so you won’t have second mitten syndrome, like I do a year later! I made the two sample mittens in the two colors but didn’t finish the respective mates. Now I need to find them and finish them! Thankfully my testers were able to finish a pair of mittens during testing, so the pattern is fully tested and edited.

And there you have it, the Sanders Mittens knit pattern by Jenny GL! You can find the pattern on Ravelry here and on Etsy here. Make sure to tag me @kountingsheep and use hashtags #kountingsheep and #sandersmittens on Instagram if you post your project.

Advertisement

How I Kettle Dyed My First Roving

I have been wanting to try dyeing yarn and roving for a long time, so I picked up a bunch of Kool-Aid in different colors, pulled out some undyed Corridale roving I’ve had stashed away for awhile, and got to work. I looked up some different techniques online and decided to do kettle dyeing since it was the least messy option.

image

First I picked purple (grape) and blue (tropical punch) because I knew that they would mix together well. I put 3 packets of each in two separate measuring cups of 2/3 cup of warm water and set aside. To prep the roving, I put two 2.5 ounce bundles in my crockpot with warm water. The biggest thing to remember is not to put the fiber through any extreme temperature change or it will start to felt.

I let the roving heat up on the “hot” setting for an hour in the crockpot covered. Then I took the purple and added it to the water first. The roving immediately starting soaking up the color. I carefully flipped the roving in the water (again, don’t agitate too much or it will cause felting) and then added the blue to where I could still see white. I gently pushed the roving back down into the water so it could get completely saturated with dye.

image

After another almost 2 hours of heat-setting the dye on high in the crockpot covered, the dye was exhausted (meaning the water was clear and all the dye was soaked up into the fiber). I let the roving cool back to room temperature and then dumped the water and gently rinsed the roving in warm water. A quick squeeze in a towel and a few hours outside to dry, the fiber was done! 

image

I call this “Royal Tuesday” and I was shocked by the color depth that I was able to get from just a few packets of Kool-Aid. I am excited to spin this up so I can see if I should keep dyeing fiber (I can guess the answer will be “yes!”).

Redo

image

Several years ago I made the above pictured hat out of my handspun yarn, and as soon as it was finished, I knew it was the wrong pattern for the yarn. The complicated cables got muddled in the self striping sequence and the softness of the yarn didn’t lend well to the structure this hat needed. When I wore it, the hat constantly slid down my head and was too floppy. I loved the yarn but I didn’t love the hat.

image

Fast forward to last week when I decided to frog the hat (and matching fingerless mitts, which also didn’t work for the same reasons and had developed a hole needing mended) and make something that I would love to wear. I knew a simpler pattern would help showcase the yarn, so I decided to knit a garter stitch hat instead. The finished hat is perfect now, sitting just right on my head and not sliding off, not too slouchy, and the garter stitch gives the soft yarn just the right structure it needs.

image

The handspun was one of my most favorite ones ever so I couldn’t stand to have a finished object that I didn’t love to wear. Now I am super happy with the new hat and so glad that knitting can always be taken out and redone.